How To Select Time To Post?
Statusbrew's scheduling tools help you plan and schedule social media content in advance. You can plan and schedule multiple posts across different profiles and networks at the same time. You can schedule content on a number of platforms using Statusbrew, including Facebook, Instagram, X (formerly Twitter), LinkedIn, Pinterest, YouTube, Google My Business, Threads, Bluesky, and TikTok.
Once you finish creating your post, you have a few ways to schedule it through the Statusbrew web and mobile app.
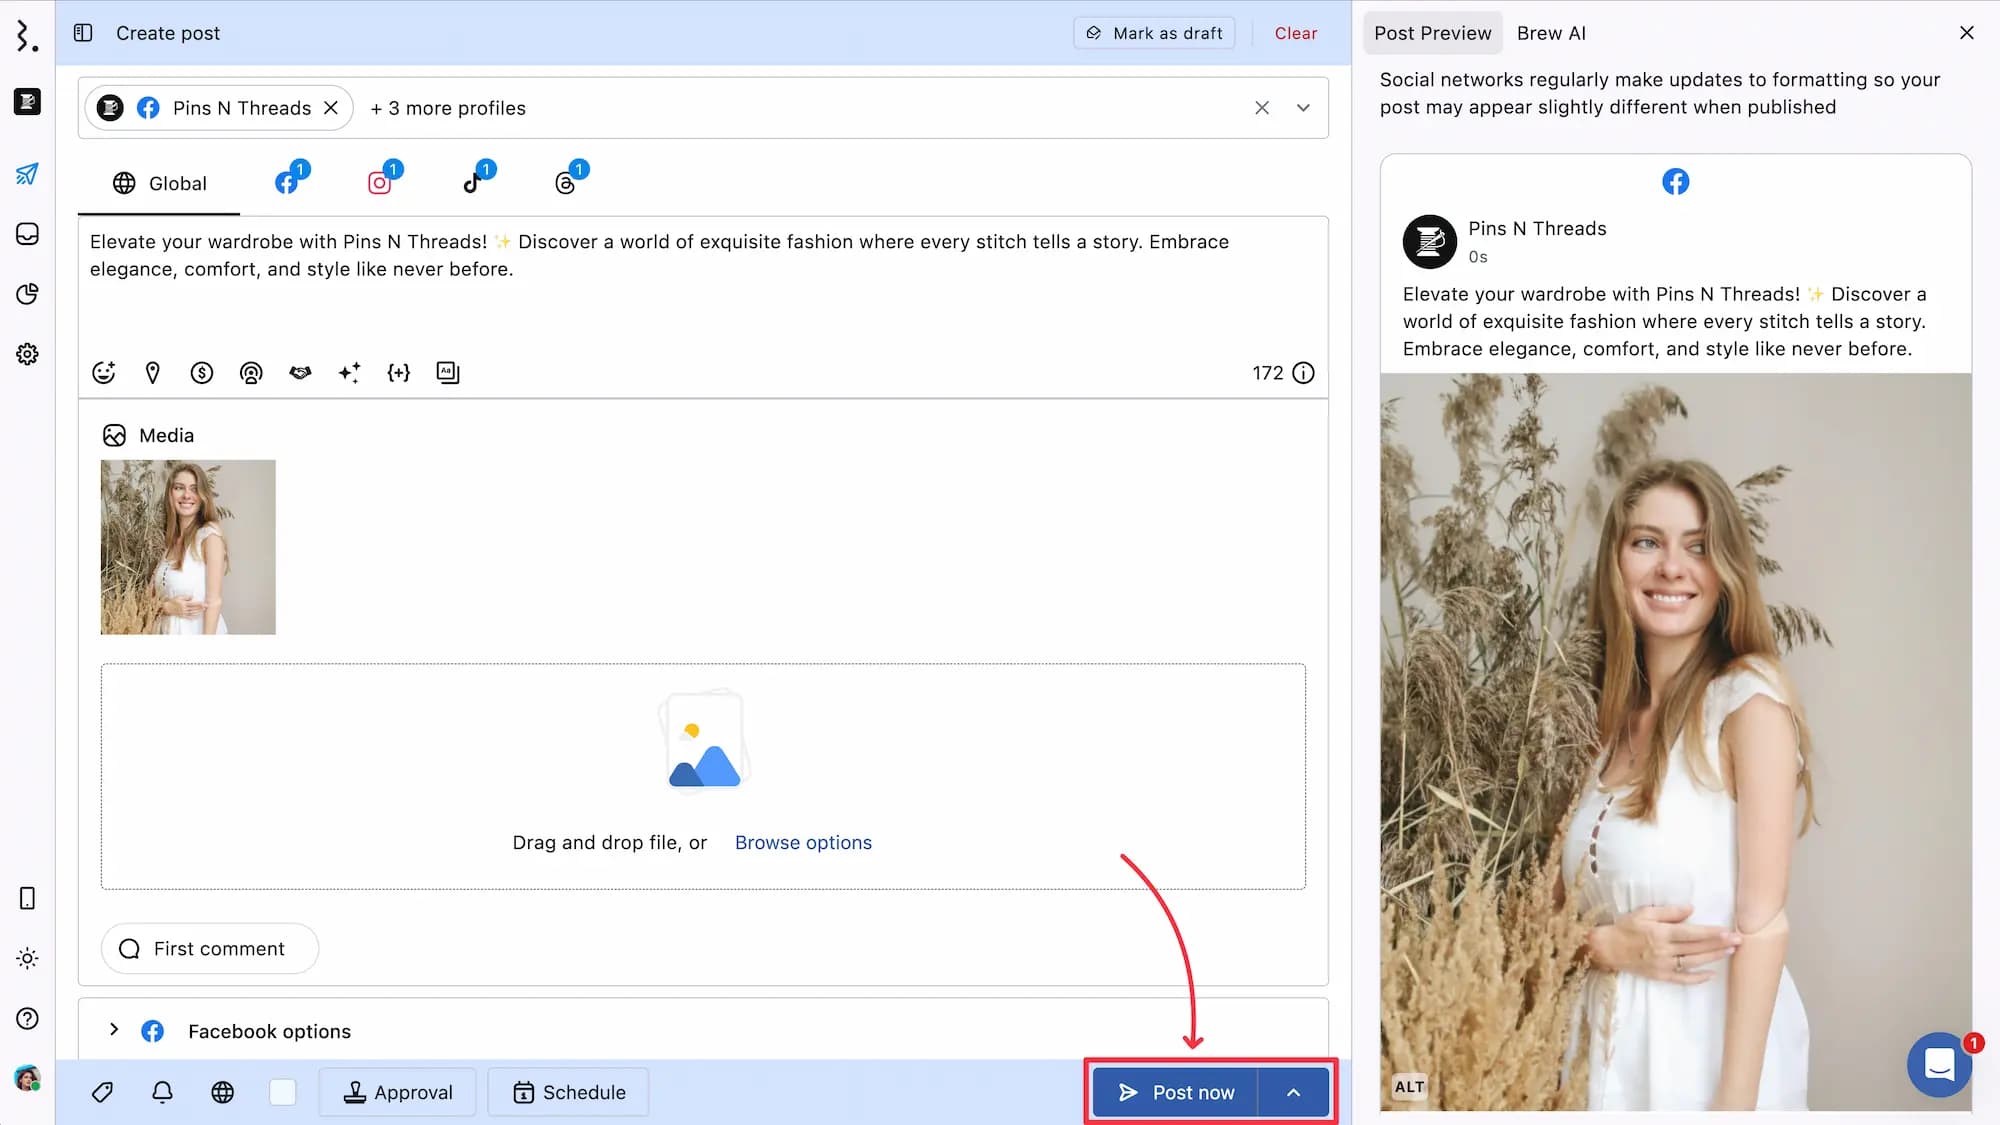
Post now
Statusbrew allows you to instantly publish your content with the Post now option. By default, posts are set to post immediately. Use this option for posts related to time-sensitive announcements or spontaneous updates.
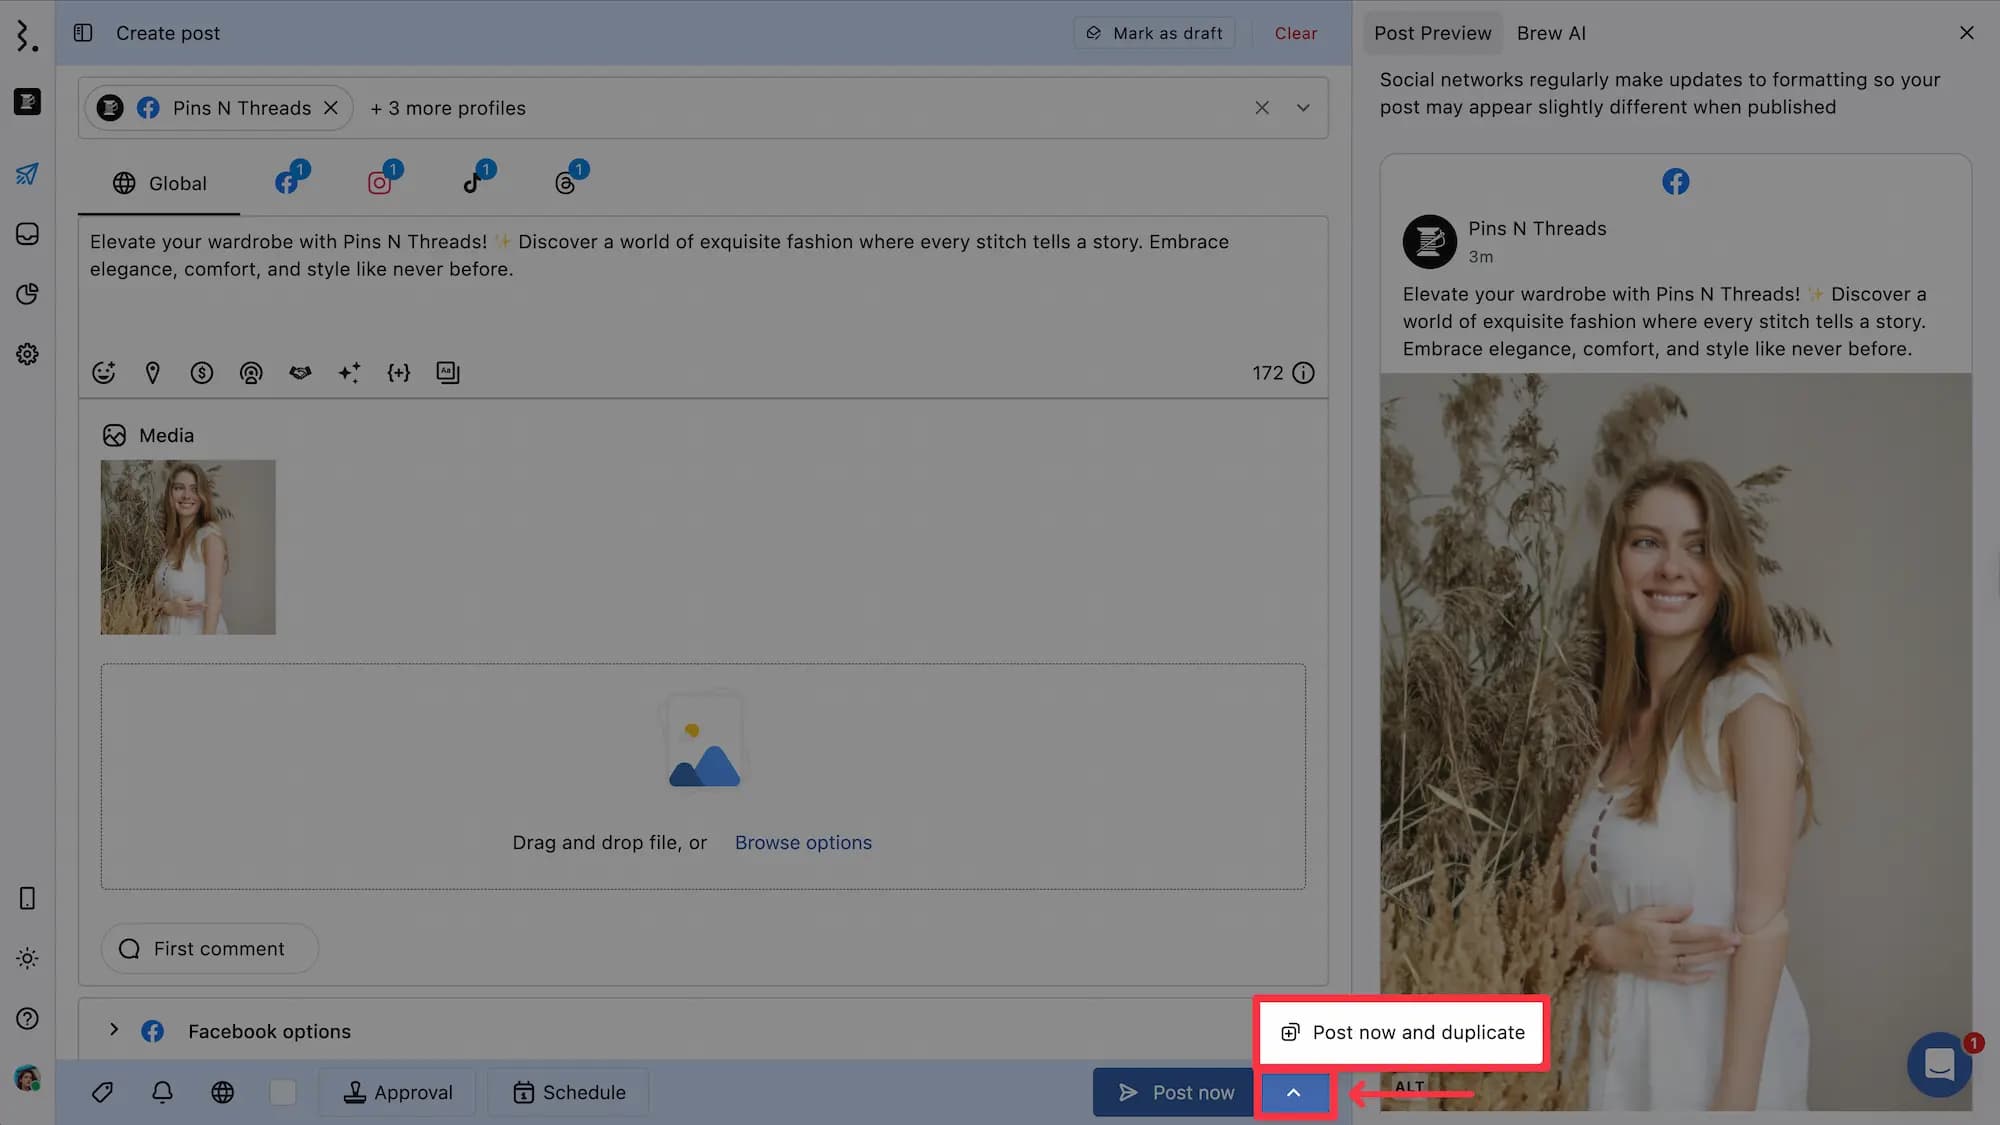
Post now and duplicate
Quickly publish and duplicate posts by clicking the Post now and duplicate. Clicking beside Post now will reveal the Post now and duplicate option.
This option delivers your posts and reopens Compose with the same post content and other settings to edit for other profiles or networks.
Schedule Manually
Time-sensitive content, like posts related to promotions or campaigns, is best managed using manual scheduling. When you choose Choose date & time, the Select schedule type dialog box appears.
Statusbrew provides three options to access the content scheduling window:
From the Statusbrew dashboard, click on Compose. Click Choose date & time.
From the Statusbrew dashboard, go to Publish. Click on the post to reschedule to open its Post Detail Sideview. Click the date and time shown at Scheduled At.
Immediately
Select Immediately > Apply > Post now to publish the post immediately.

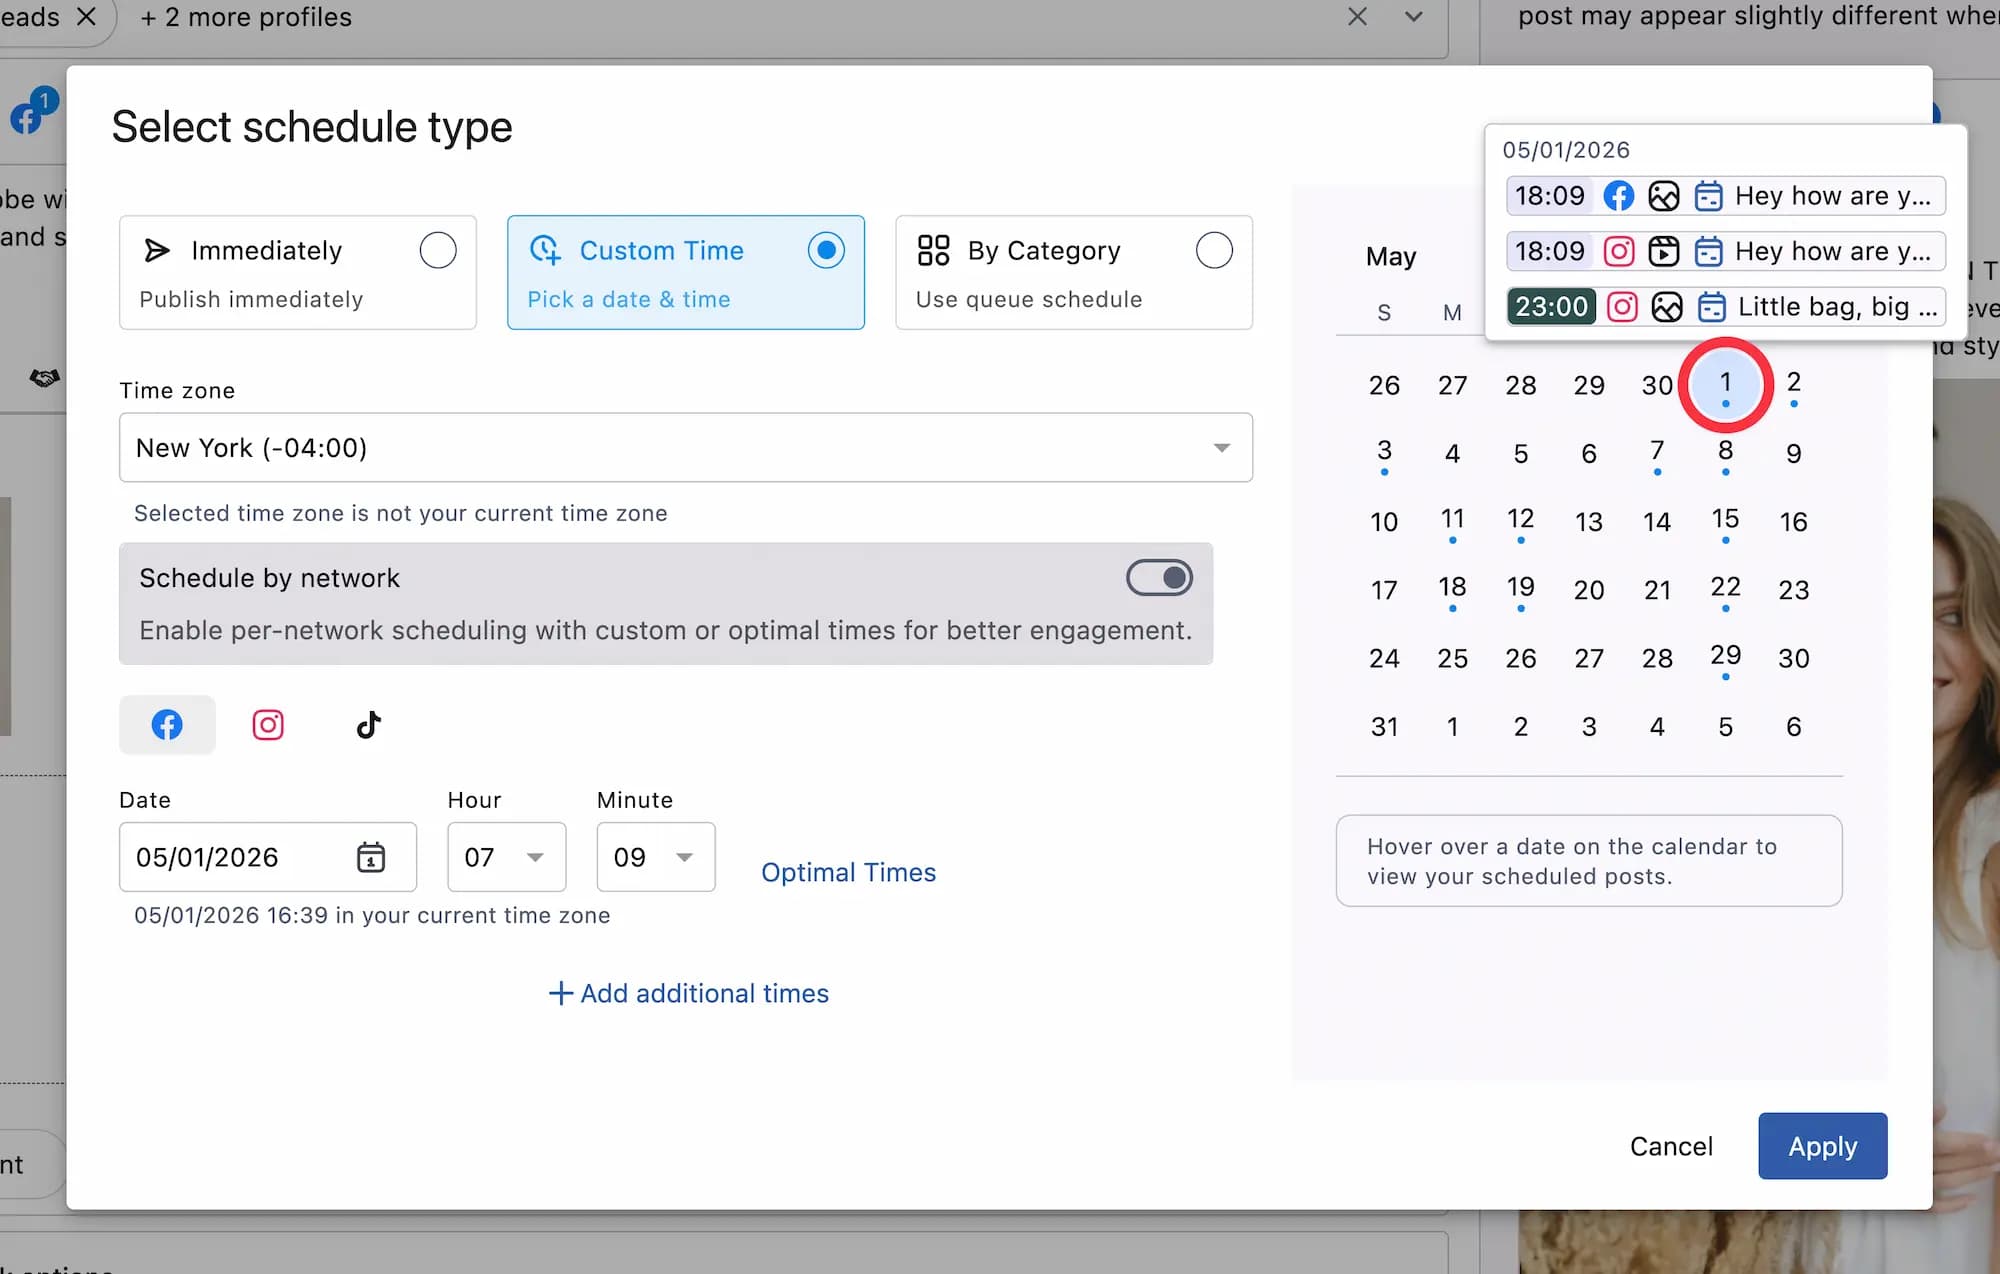
Custom time
Select Custom time to manually choose a date and time to schedule your content. By default, the current date and time set is one hour apart from the current time. You can change and select a date and time to schedule (schedule time should be at least 15 minutes ahead of the current time). Statusbrew allows you to schedule posts down to the minute.
You will be shown the scheduled date and time converted to your current time zone to help you confirm when the content will be published locally.
If you want to schedule your post for the best time of the day, click Optimal Times after selecting the date. You will see the suggested best time to post, which is highlighted in yellow with a star beside it. Click on that time to set it. You can also select from the Additional Times in the dropdown.
You can also select the time zone for your posts by selecting one from the Time zone drop-down.
You will also see a message below indicating if the selected timezone differs from your current time zone, helping you schedule accurately.
You can schedule a post to publish repeatedly on multiple different schedules. Click Add additional times to add another schedule.
The calendar on the right side of the Select schedule type dialog box shows which date posts are scheduled, with a blue dot beneath the date on the selected profiles. This allows you to plan your content accordingly so that you don't post too often on the same day.
You can hover over the dates with the blue dots to see the post titles of the posts scheduled on that date, along with their scheduled date and time, post type, social network icon, and post state.
Navigation for the previous and next months is located at the top of the calendar.
As you select the date and time to schedule your post, the corresponding date will automatically be highlighted in the scheduling calendar in blue.
After you have selected the date and time for scheduling, click Apply. The Choose date & time button will change and show the date and time of scheduled content.
If you have added more than 1 schedule, you will see an n badge (n=number of additional schedules, e.g., +2) next to the scheduled date and time, indicating the number of additional schedules set. Hovering over it will display the full list of scheduled times along with the timezone.
Note: You can schedule content up to 12 months in advance.
Schedule by category
Content such as product tips or evergreen blog posts are not time-sensitive and are best suited for Schedule by category.
You can pre-save your best posting times for different campaigns and target your prospects around the world by posting in their time zone.
In the content scheduling window, select Schedule by category and choose from the Category dropdown.
Click Apply. The Choose date & time button will change and show the selected Category name. You can also create a category by selecting Create category from the dropdown.
After selecting the date and time or category for scheduling, the Post now will change to Schedule.
Note: You can also Schedule and duplicate by clicking beside Schedule button.
Your post will get scheduled with the message “Success! Your post is scheduled for publishing,” and reopen a blank Compose to create new content.
Choose approval
Statusbrew’s Approval Workflows help teams collaborate by creating multiple-user and multiple-step workflows for submitting, reviewing, and approving or rejecting outgoing posts.
Refer to our article on Approval Workflows to learn how to send a post for approval.