Publish Schedule Categories
Creating Category is a great way to schedule multiple posts for your profiles and publish them automatically throughout the day.
The Category simplifies the distribution of content that isn't time-sensitive. It is great for evergreen blog posts, tips about your product, etc. It can be used as a complement to your existing publishing strategy.
Every category can have up to 100 posting times and will be a repetitive cycle of posting times that restarts every week.
Any user can use the category to schedule a post.
This article explains how to configure and use the Schedule Category in Statusbrew.
Configuring Your Schedule Category

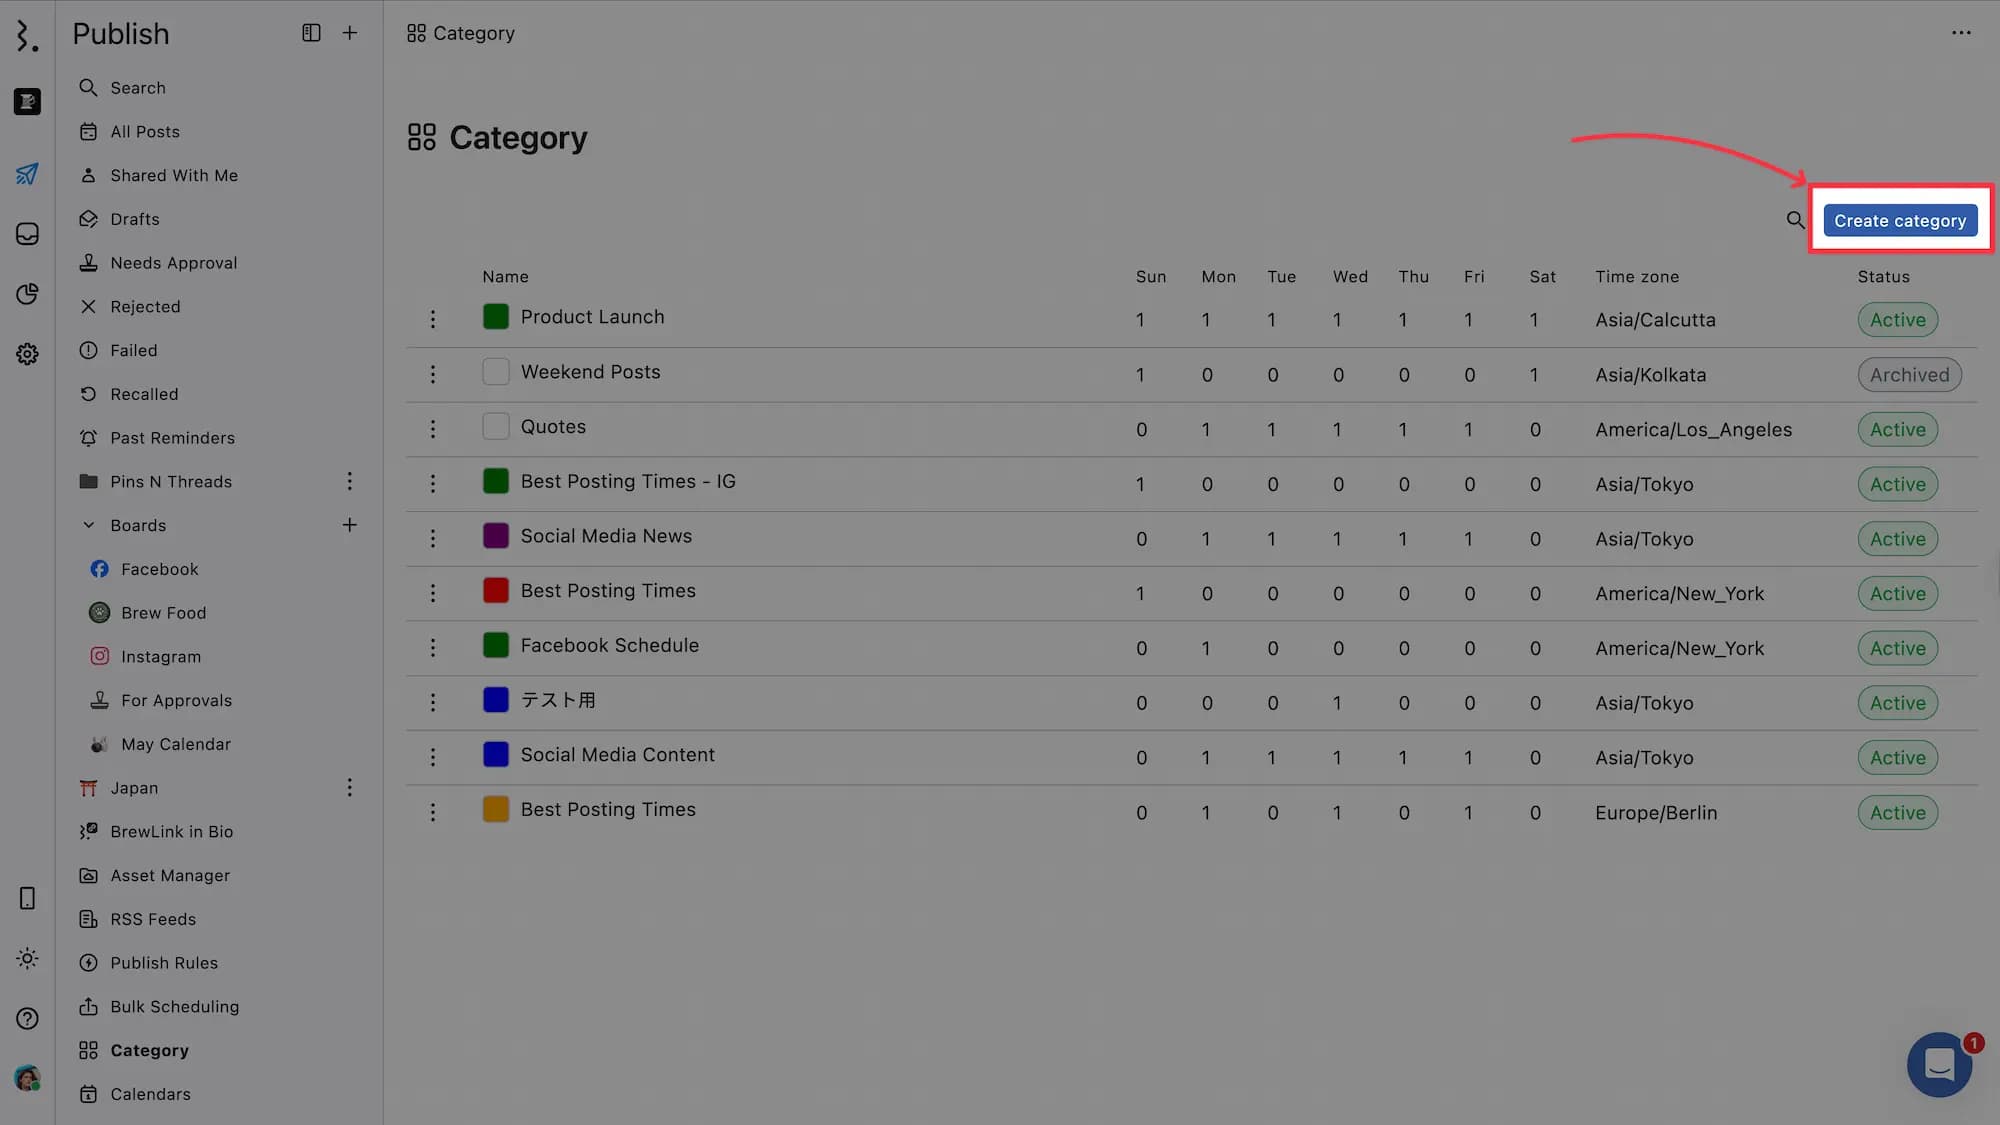
You can access the Category window in two ways:
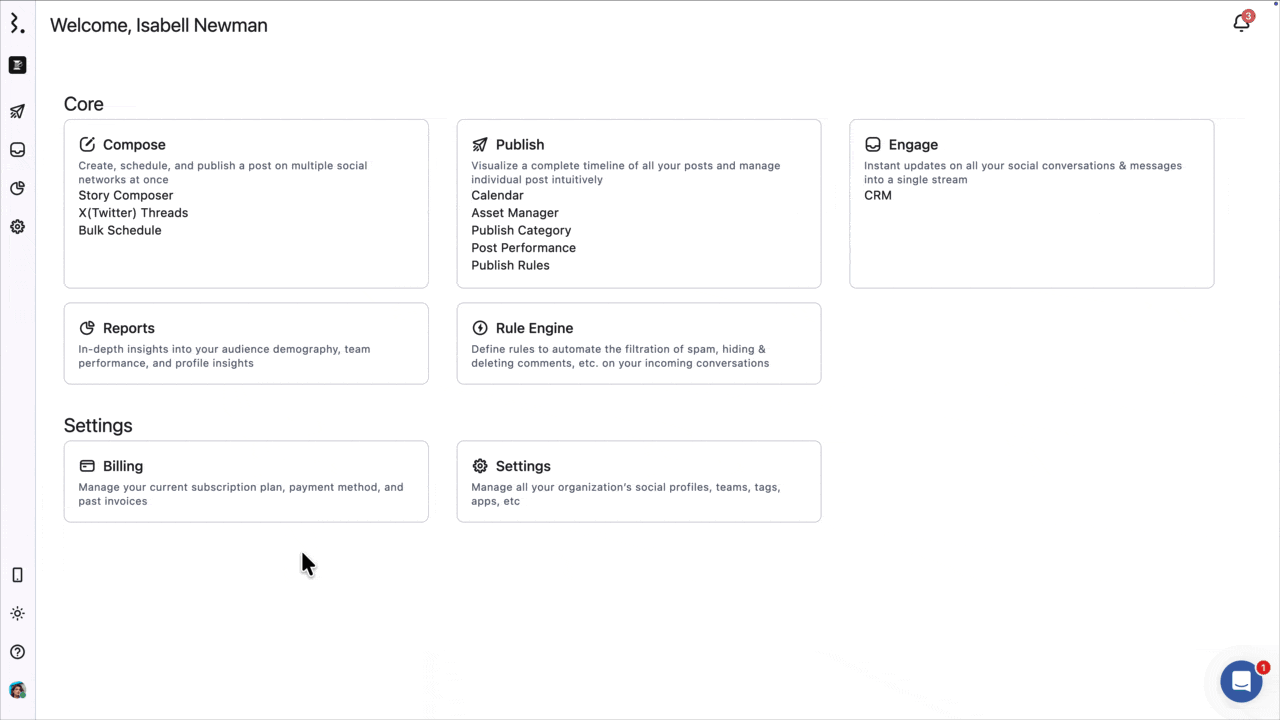
Go to Publish Category from the Statusbrew dashboard
Navigate to Publish from the Statusbrew dashboard and select Category from the sidebar.
In the Category window, select Create category. The Category window will open.
Give an appropriate Name to the Category.
Select a Time zone. Initial time zone defaults to the user’s time zone set in Your account.
To set the time zone for your Statusbrew account:
Click on your Profile Avatar from the bottom left of your Statusbrew dashboard and select Your account.
Select Account from the left side nav.
In the Time zone section, select your time zone from the list.
Click Save.
Select color to make it easier to identify the posts with the category in the Planner.
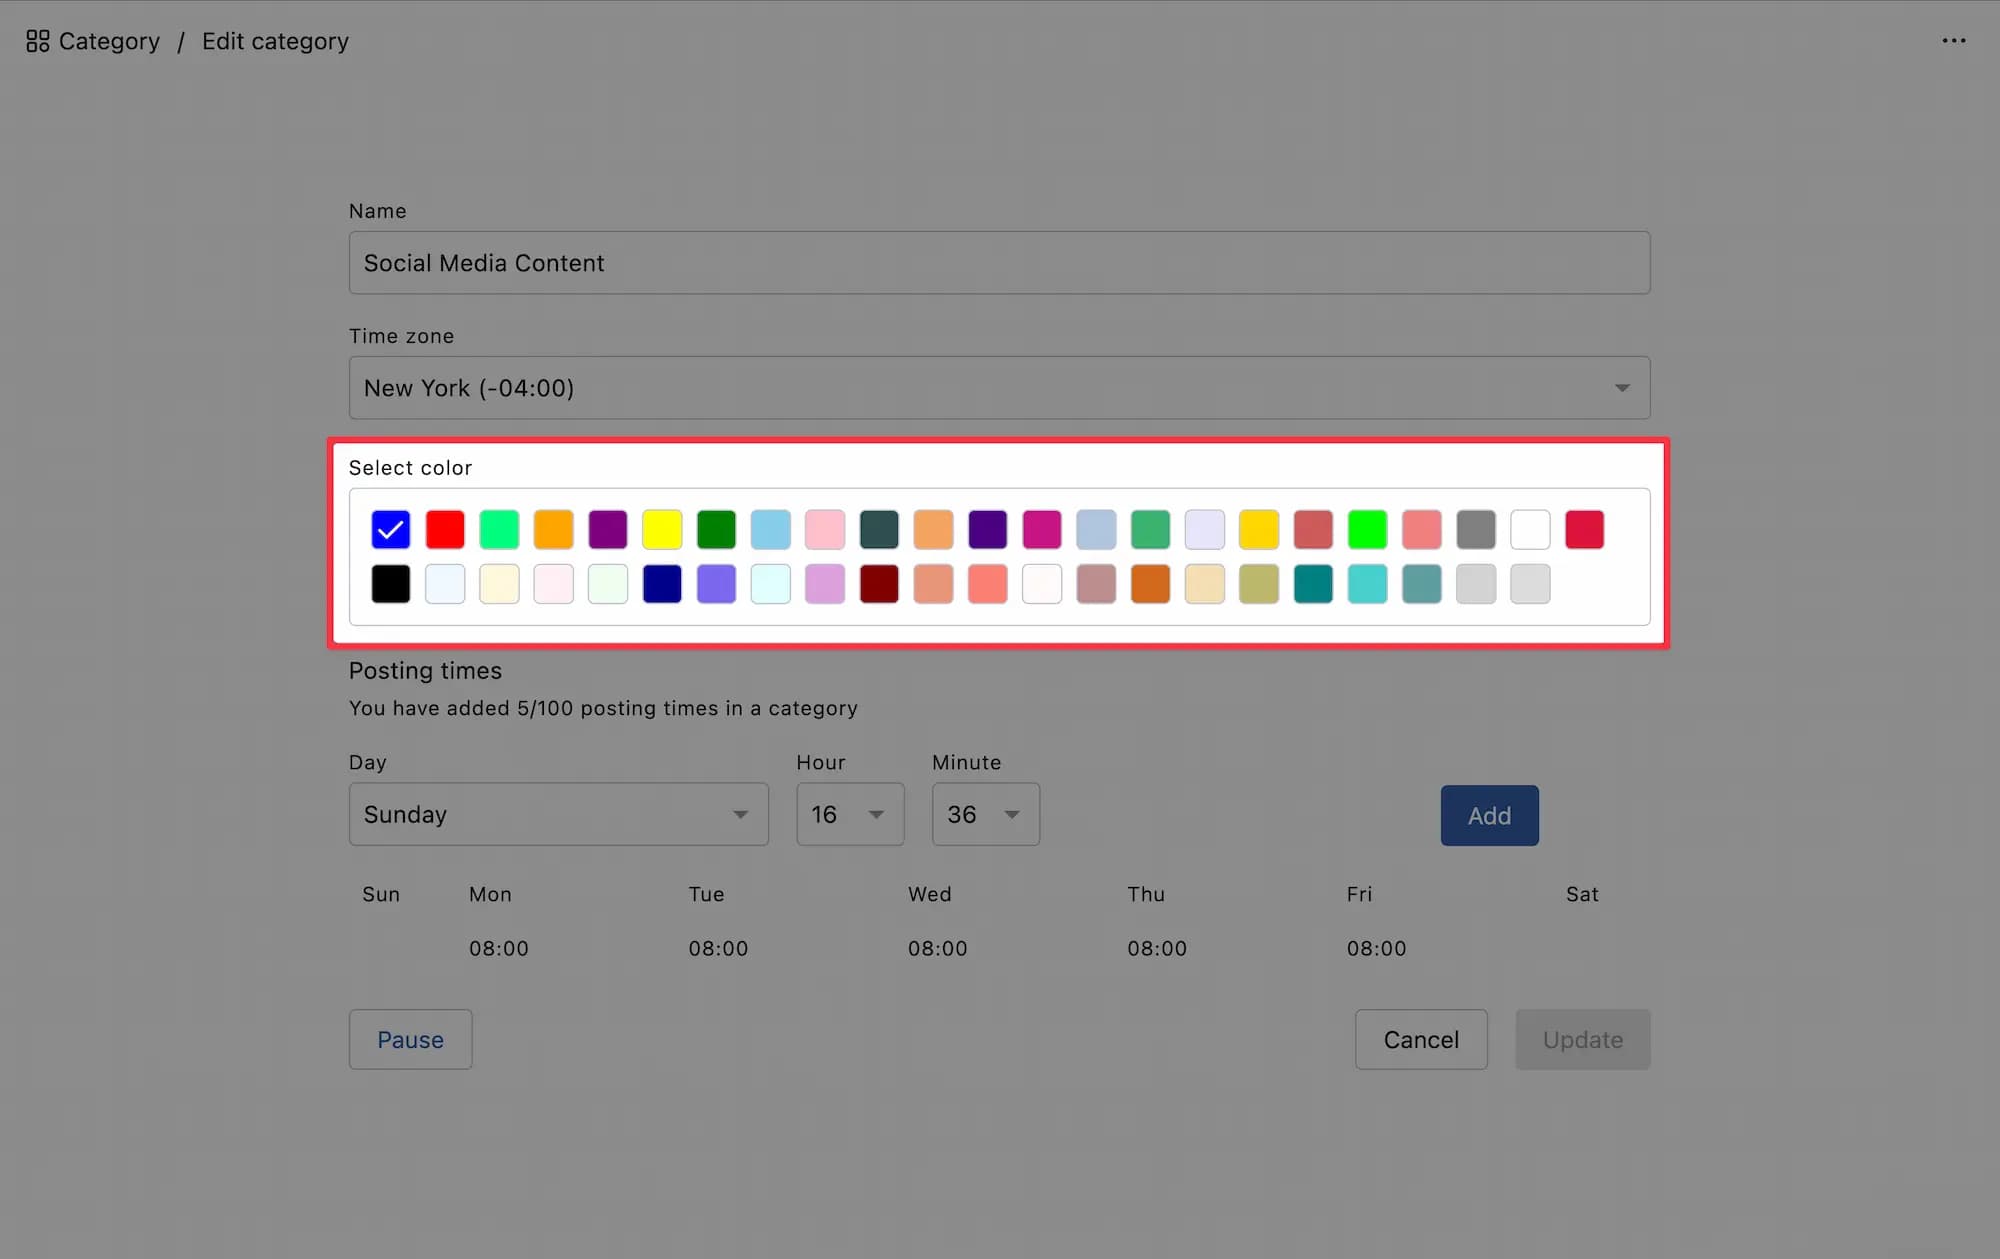
Add Posting times.
Select the day from the dropdown menu. You can select from Everyday (will apply the selected time range to all seven days of the week), Weekdays (will apply the time range from Monday to Friday), Weekends (will apply the time range to Saturday & Sunday), or individual days of the week.
Next, set your timeslot by using the time pickers to select the hour, minute, and am/pm time for each day or weekday/weekend. Click Add to add the timeslot.

A particular time of the day when your content is scheduled to be published is known as a “Timeslot” and you have complete control over them, so you can specify exactly when you want your post to be published.
To remove a time slot, hover over it and click (Remove).
Once you have added all the time, click on the Create button. Now, you can use this category to schedule your content while creating a post or uploading a CSV.
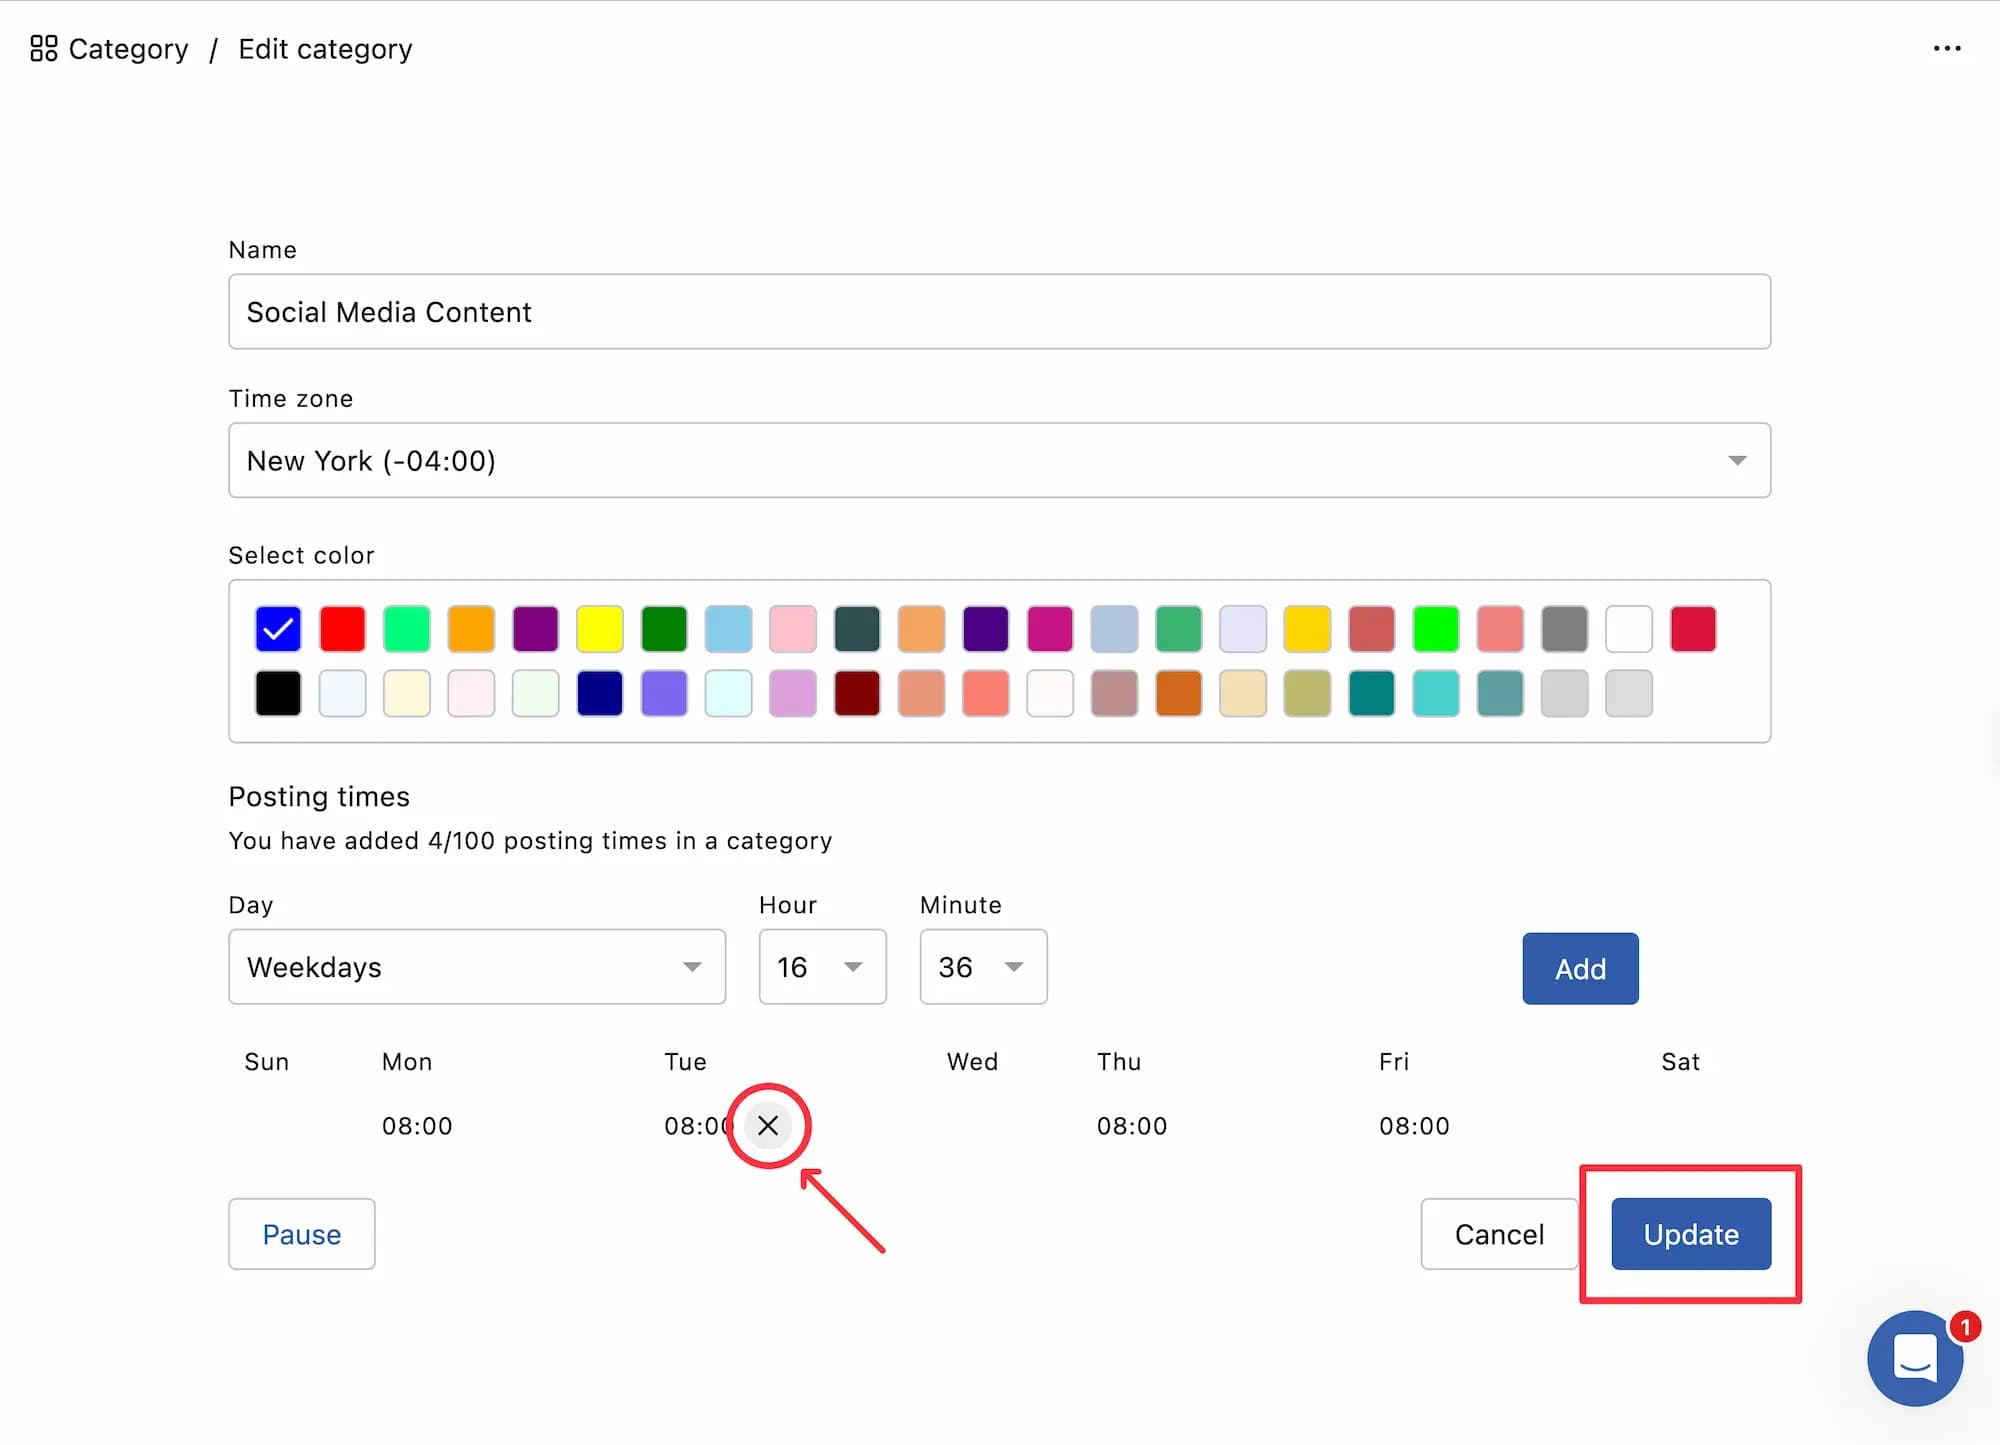
You can add a maximum of 100 posting times in a category.
If you’re unsure about the best time to publish, you can experiment with different posting times. Our reporting section will then provide insights into how your content performed, helping you identify the best times to publish.
Adding A Post To Your Schedule Category
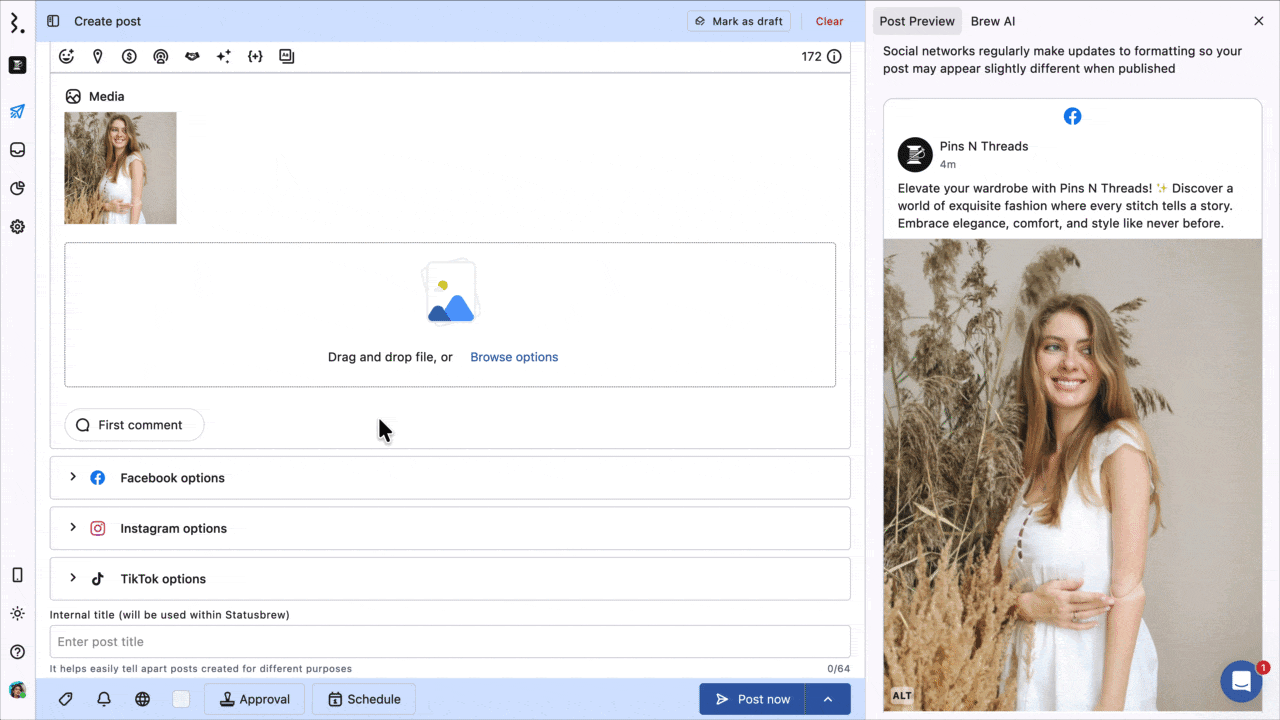
The Schedule category can be used in Compose when creating a post in Statusbrew to schedule it.
Go to Compose
From the bottom bar, select Choose date & time. The Select schedule type dialog will open.
Select Schedule by category and choose the category from the dropdown.
Click Apply.
Click Schedule.
Your post will be published at the next time slot in the respective category
Managing Schedule Category
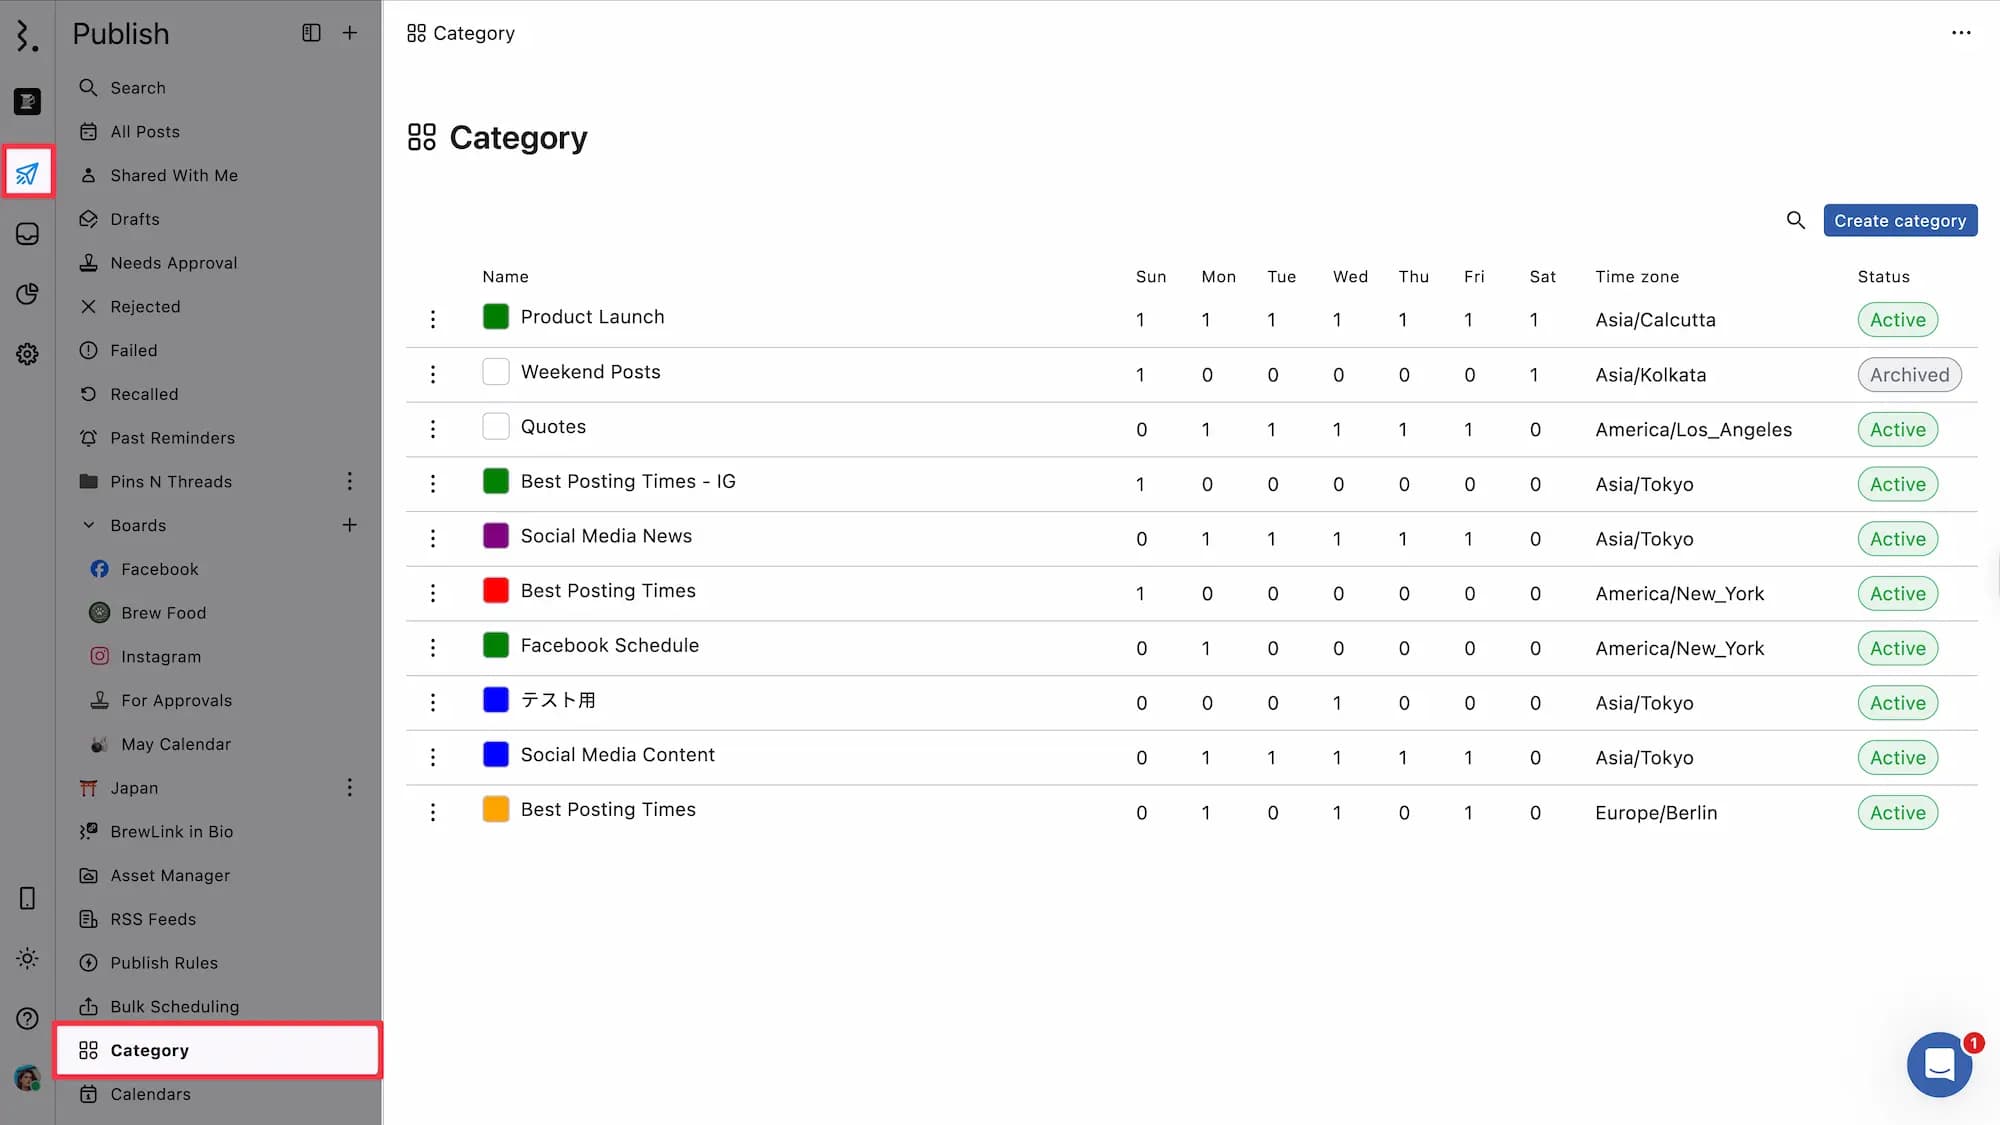
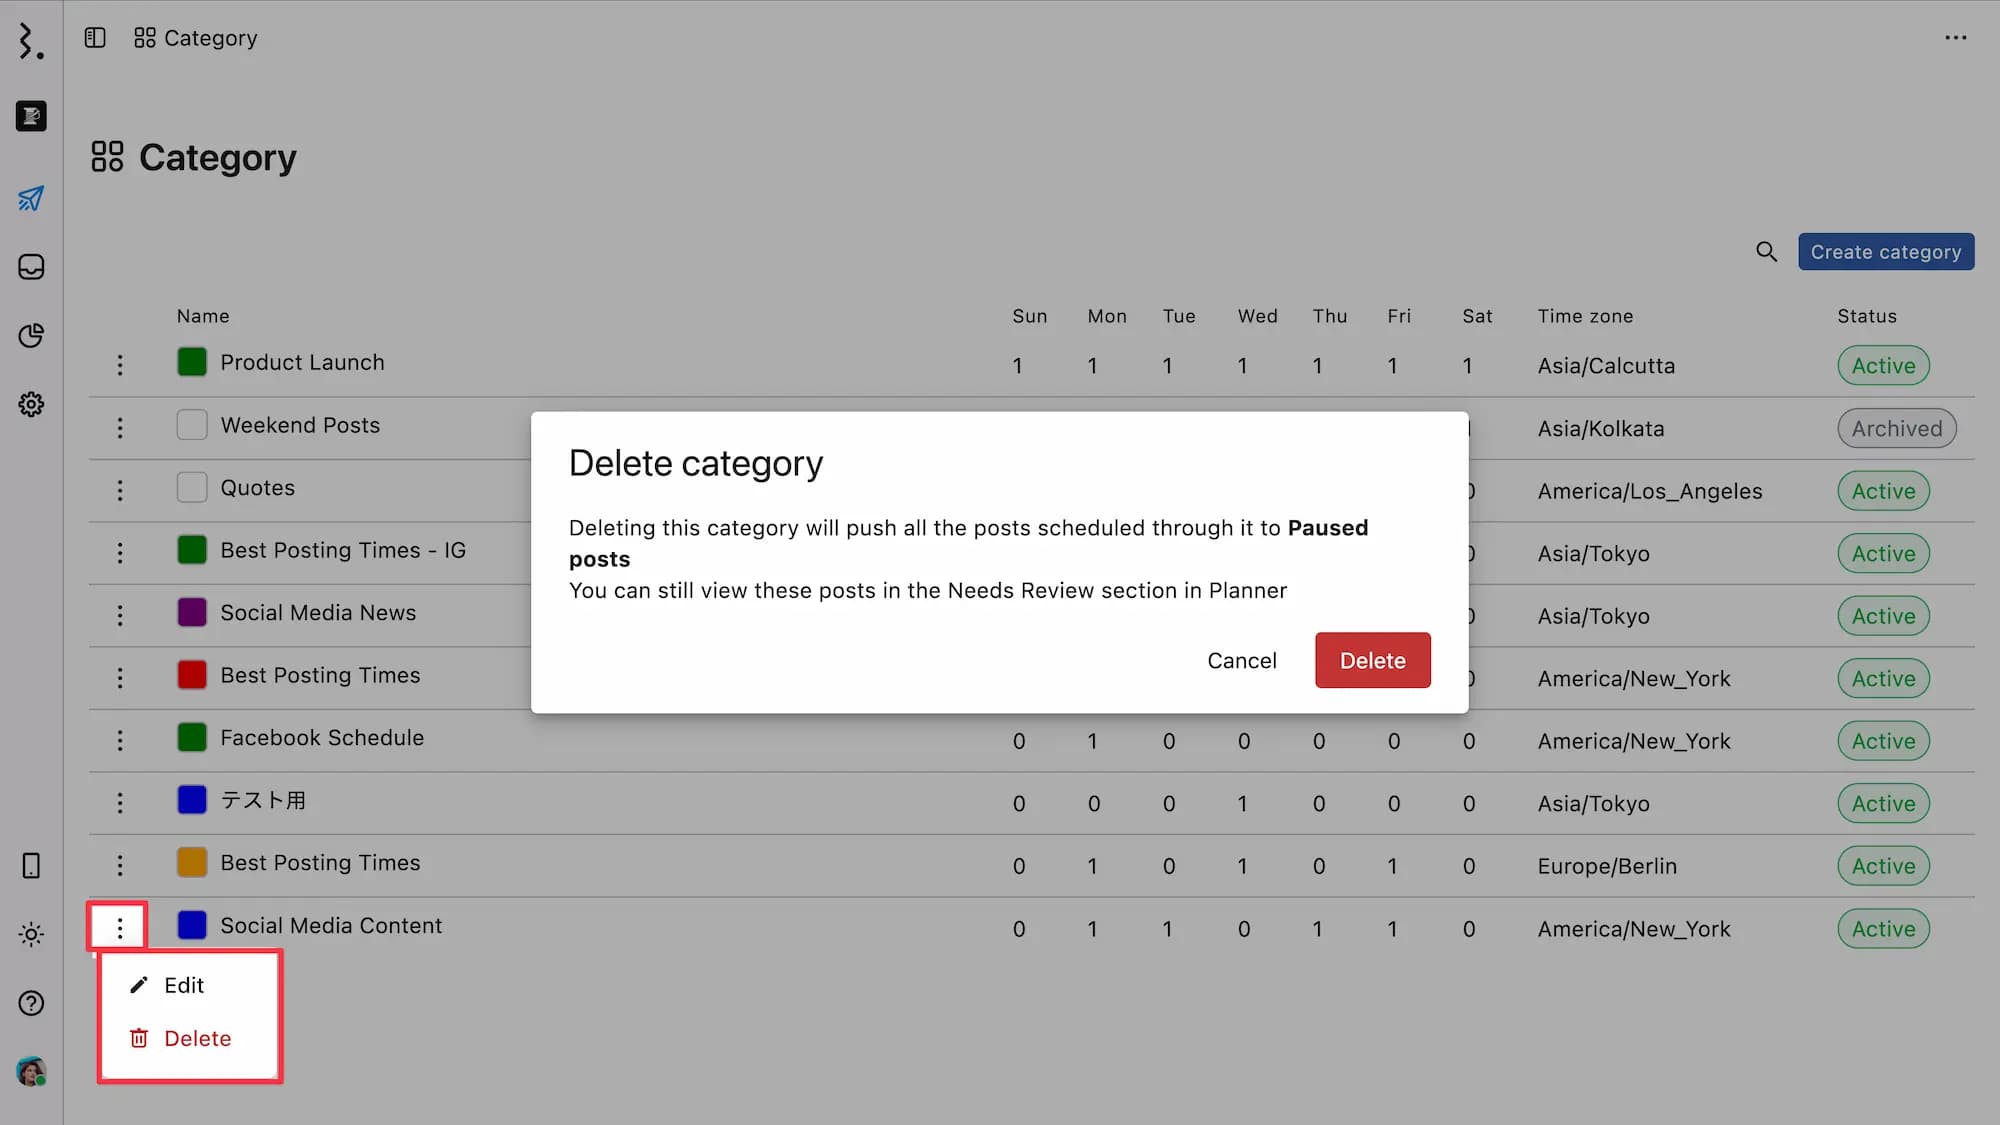
The Category window displays all schedule categories created by you and your team.
Here’s what you’ll see in the Category window:
Category Name with color
Time slots set for each day of the week. A 0 means no slots are currently scheduled for that day.
Time zone of the category
Status of the category (Active or Archived)
Active: The category is available for scheduling.
Archived: The category has been paused. You and your team will no longer be able to use the category for scheduling until it is reactivated.

Editing A Schedule Category
To edit a category, click (More) beside the category, make the required changes in the Edit category window, and click Update to save the changes.

Deleting A Schedule Category
To delete a category, click (More) beside the category and select Delete and click confirm your decision.
Pausing A Schedule Category
To pause a category, click (More) beside the category, select Pause in the Edit category window, and click confirm your decision.
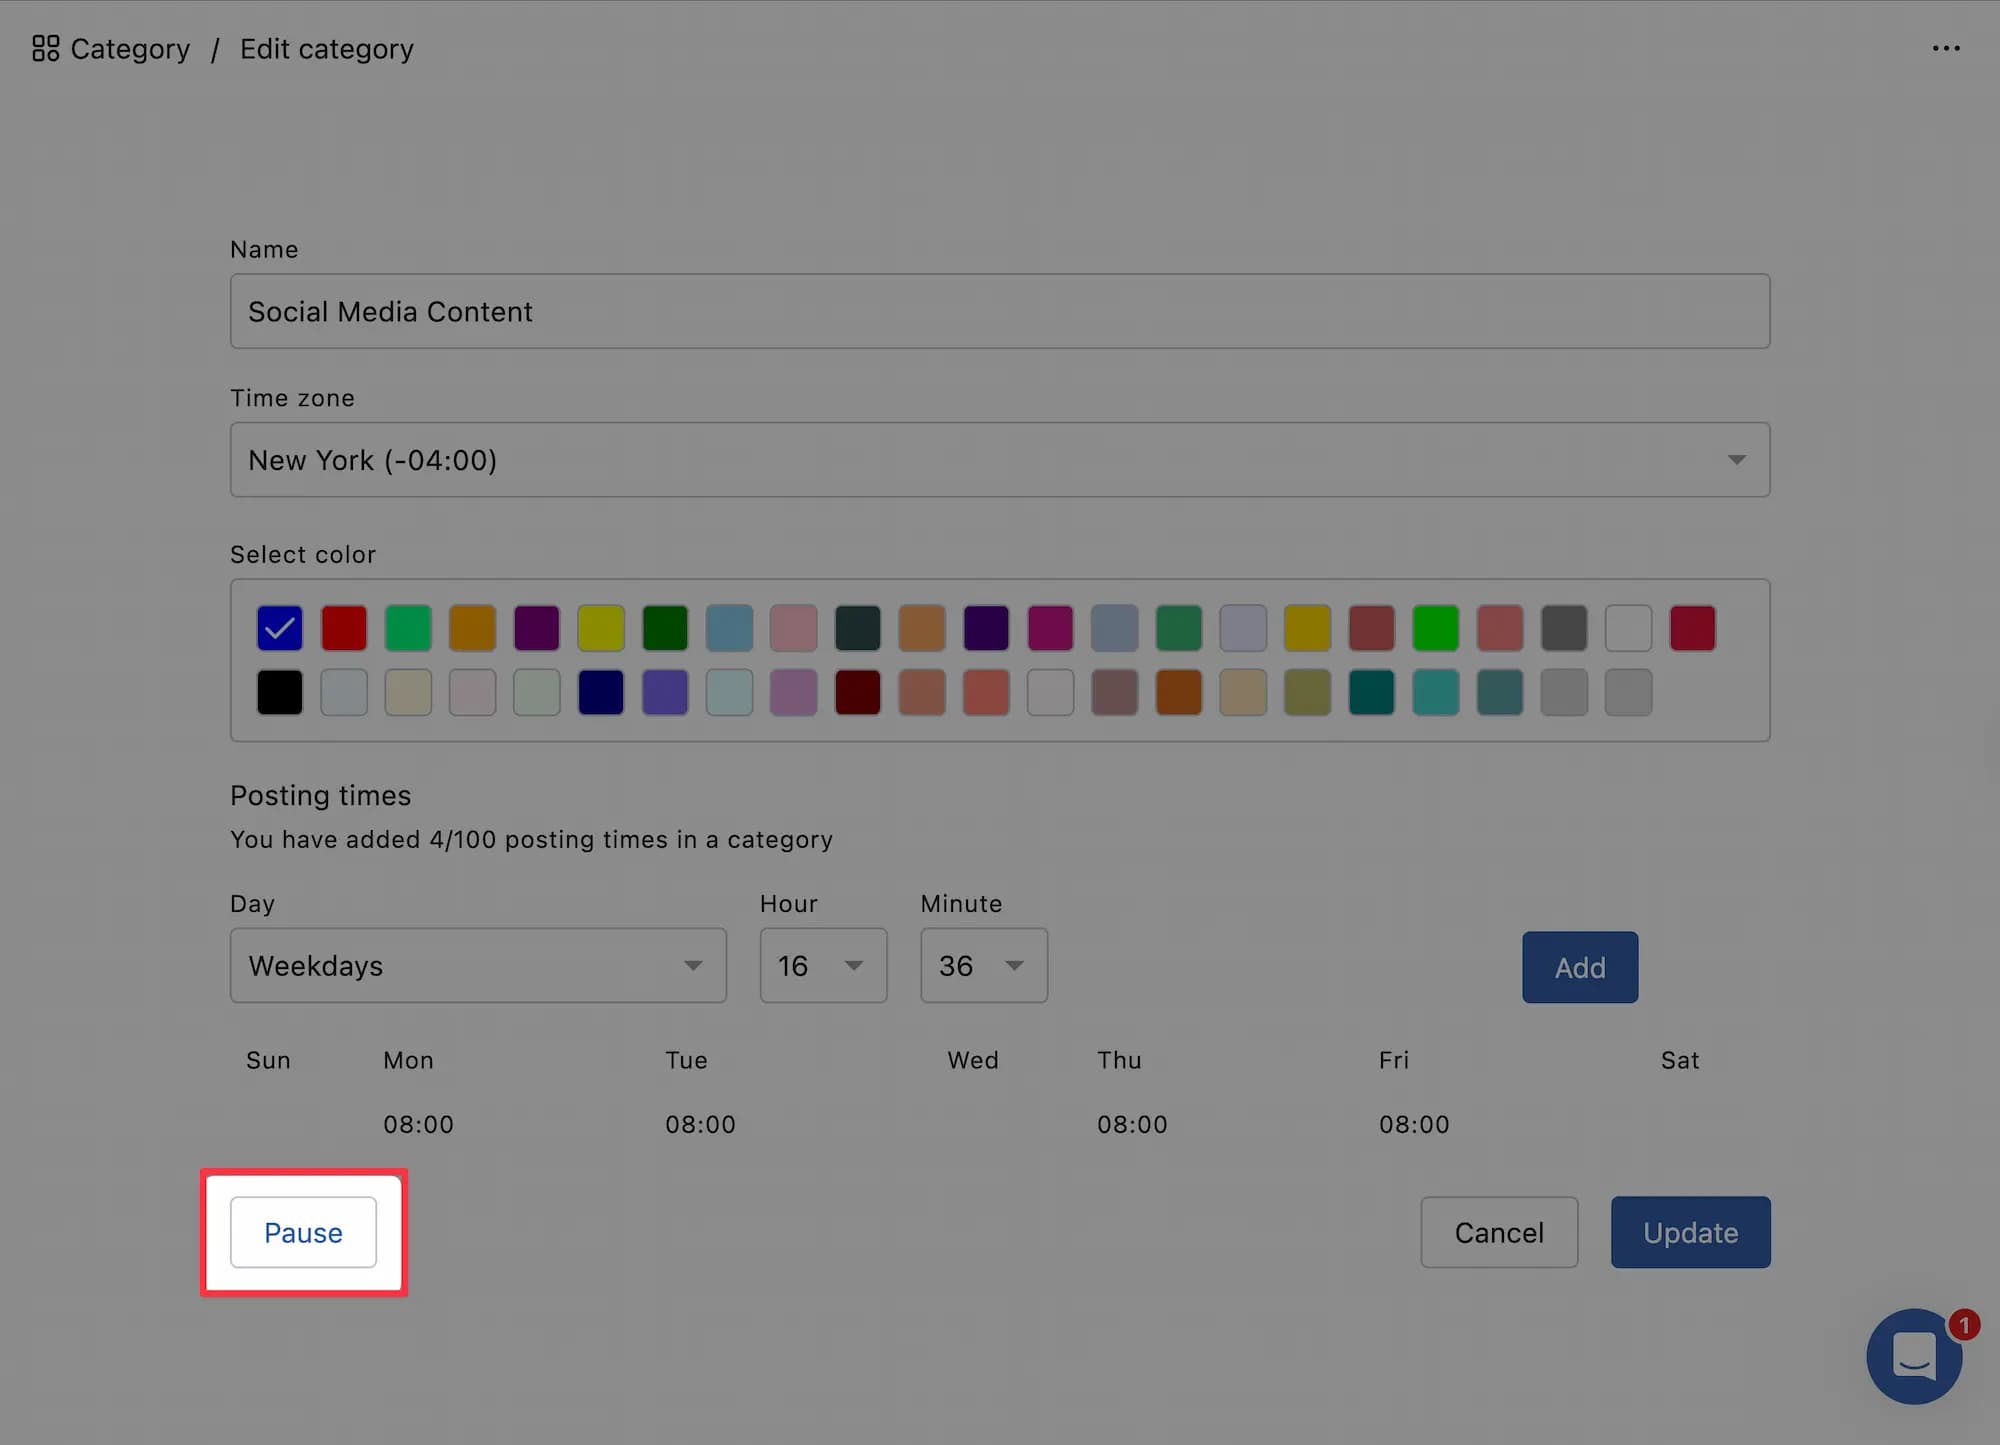
Pausing a category will also pause all the posts scheduled through that category. However, you can still view these posts in the Planner.
To activate the category, click (More) beside the category and select Activate in the Edit category window.
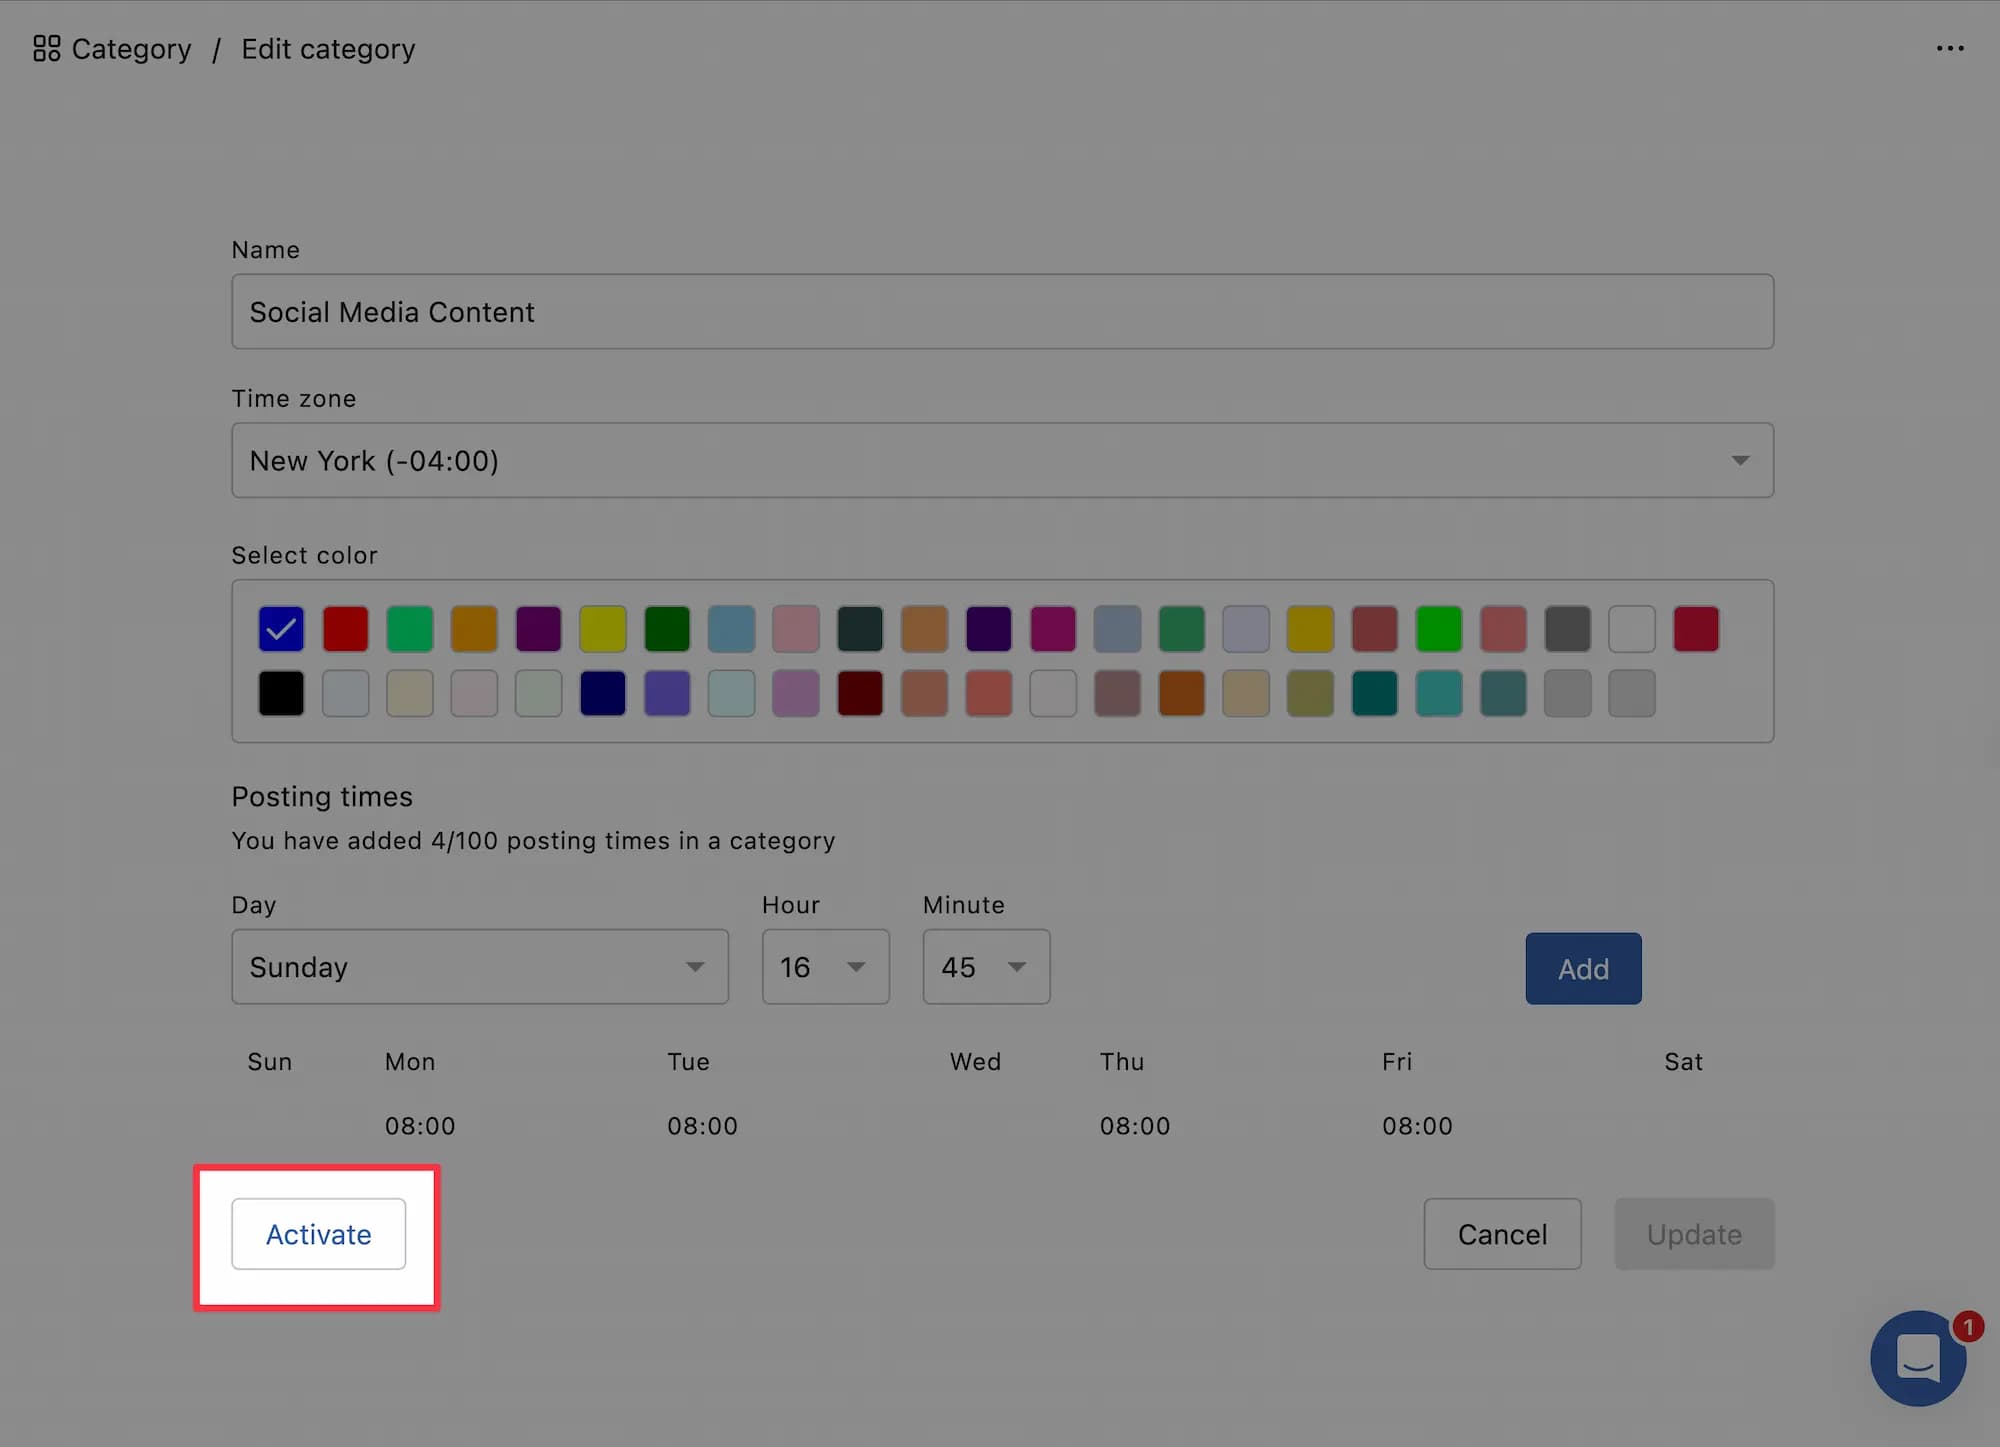
Whenever you reactivate the category, it will start publishing your scheduled posts from the next available time slots in the category.