Assigning Conversations To Team Members
As you work through the Engage Inbox, there may be a conversation that requires a response, but you are not the best person to handle it. You can assign such conversations to the appropriate team members to respond to it quickly.
This way, you and your customer support team can improve their experience working from a shared inbox to more reliably resolve customer issues, answer their questions, and improve your brand’s reputation on social.
How To Assemble All Unassigned Conversations?
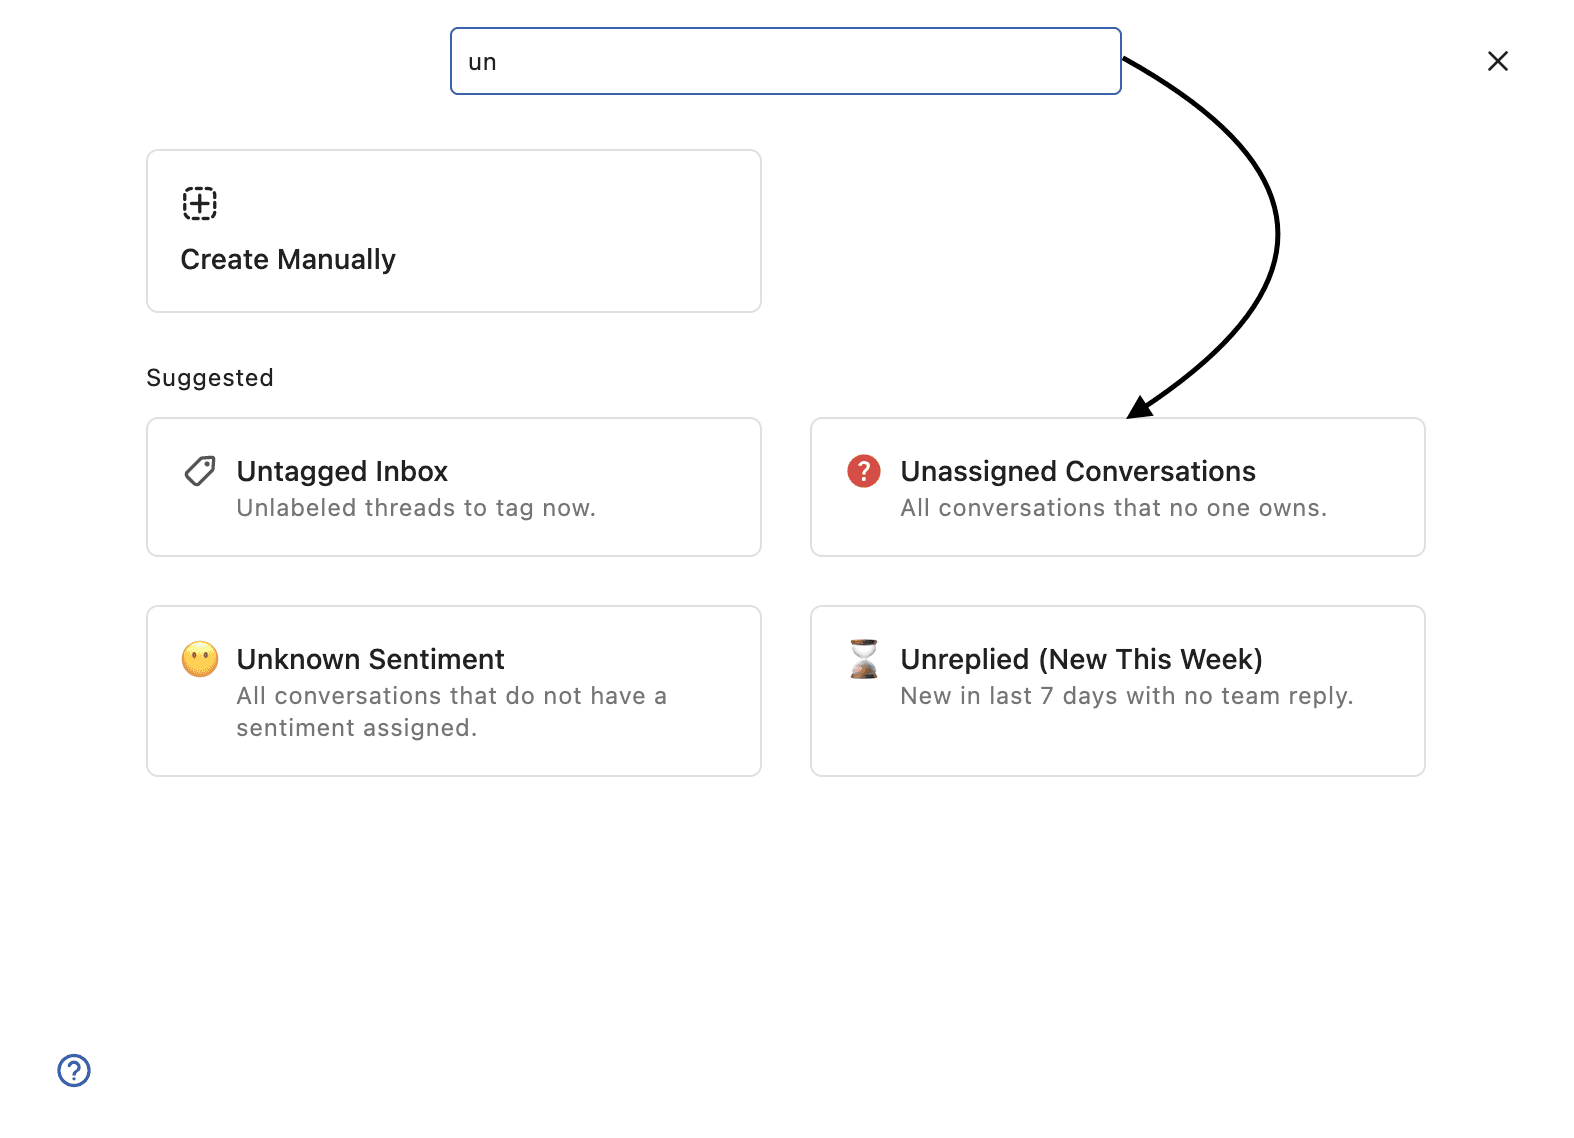
You can create a View to compile all the Unassigned conversations and assign them more conveniently.
You can create the view manually or simply select the Unassigned Conversations template.
How To Assign Conversations Manually?
To assign a conversation to a user or a user group:
Go to Engage.
Open the conversation you want to assign.
From the Conversation details section, click Unassigned beside Assign a Conversation. The Assign conversation dialog box will open. Or you can also click
afrom your keyboard to open the Assign conversation dialog box.Click on the desired user or user group to assign the conversation. You can also search for a specific user/user group to assign the conversation to.
You can only select one user or user group to assign to each conversation.
The selected user or user group will appear beside Assign a Conversation in the Conversation details section. Click on the user or user group to reopen the Assign conversation dialog box.
Statusbrew offers two assignment methods for user groups: Default Assignment (all members get the same conversation) and Round Robin (conversations are assigned sequentially). Learn more about them in our article on What Is A User Group.
How To Bulk Assign Conversations?
To bulk assign conversations to a user or user group:
Go to Engage.
Open the inbox whose conversation you want to bulk assign.
Hover over a conversation and click the checkbox to select it. In the same way, select all conversations you wish to assign in bulk. To select all conversations in the list, click the checkbox located in the top left corner of the list.
Click Assign Conversation button from the middle of the screen. Or click
afrom your keyboard to open the Assign conversation dialog box.Select the desired user or user group.
The conversation has now been assigned to the user/user group.
How To Auto-Assign Conversations?

Instead of manually assigning conversations to the appropriate teams/team members within your Statusbrew space, you can automate assigning conversations to the user(s) or user group(s) to get the right messages to the right teams quickly.
Statusbrew's Rule Engine allows you to auto-assign inbound conversations based on defined conditions to improve your team’s responsiveness and troubleshoot issues right away.
To auto-assign conversations:
Go to the Rule Engine and click Add new rule.
Name the rule (e.g., "Auto-assign Negative Comments").
Select the Data sources (the desired Profiles & Profile groups whose conversations you want to auto-assign).
Choose a Trigger type (e.g., Message received).
Add Filters. If you want to auto-assign all negative sentiment conversations, select Add condition > Sentiment > In (=) > Negative.
Add Actions. Click Add a new action > Assign conversation and select the desired user or user group.
Click Submit to save and activate the rule.
Now, whenever you receive a negative sentiment conversation, it will be automatically routed to the selected team members to take action.
Best Practices To Auto-Assign Conversations
Add multiple filters to get as detailed as possible with the correct conversations. This will help avoid accidentally auto-assigning conversations to the wrong team or team members.
If you want the user or user group to be notified about the conversation being assigned to them, create an additional action of Notification Actions.
You can also add an additional action of Move to Engage Inbox to manage a specific Team Inbox for auto-assigned conversations.
Add an additional action, such as adding tags for a holistic view of message volume.