Customize your business hours
We understand how difficult it can become to benchmark response rates for your customer care executives working in different time zones.
To eliminate discrepancies between business and off-hours, you can now set up Office Hours in Statusbrew for each social profile in different time zones and see how quickly each executive responds to customer queries over time.
Here's why it matters
Evaluate agents on actual working hours:
Match office hours to your brand's operating schedule to measure agent performance accurately — separating in-hours work from offshore or night-shift activity.
Set benchmarks by profile and time zone:
Managing multiple regional profiles? Customize hours per profile to track response rate goals at the right time zone and operational context.
Align expectations with availability:
Set realistic customer service standards based on when your team is actually online — leading to fairer performance reports and better customer satisfaction.
Primary Owners, Owners & Admins can configure office hours.
Office Hours are available on the Premium & Enterprise Plans. See full pricing details.
Configuring Office Hours
Go to Settings > Office hours. The office hours window will open.
You can also use the search bar in settings to find the appropriate one.
Select Set office-hours.
Select one or more profiles from the profile picker.
Assign a time zone for the profile(s). Initial time zone defaults to the user’s time zone set in Your account.
Click Add times to start adding office hours. Select the day from the dropdown menu. You can select from Everyday (will apply the selected time range to all seven days of the week), Weekdays (will apply the time range from Monday to Friday), Weekends (will apply the time range to Saturday & Sunday), or individual days of the week
Next, set your desired start and end times using the time pickers.
To remove an office hour, click Remove item in front of it. Office hours can be configured for each day of the week.
Click Add times to add another time slot.
Once all time slots are configured, click Save to apply your office hours settings for the selected profile(s).
Note: Office hour changes apply moving forward, not retroactively.
Managing Office Hours
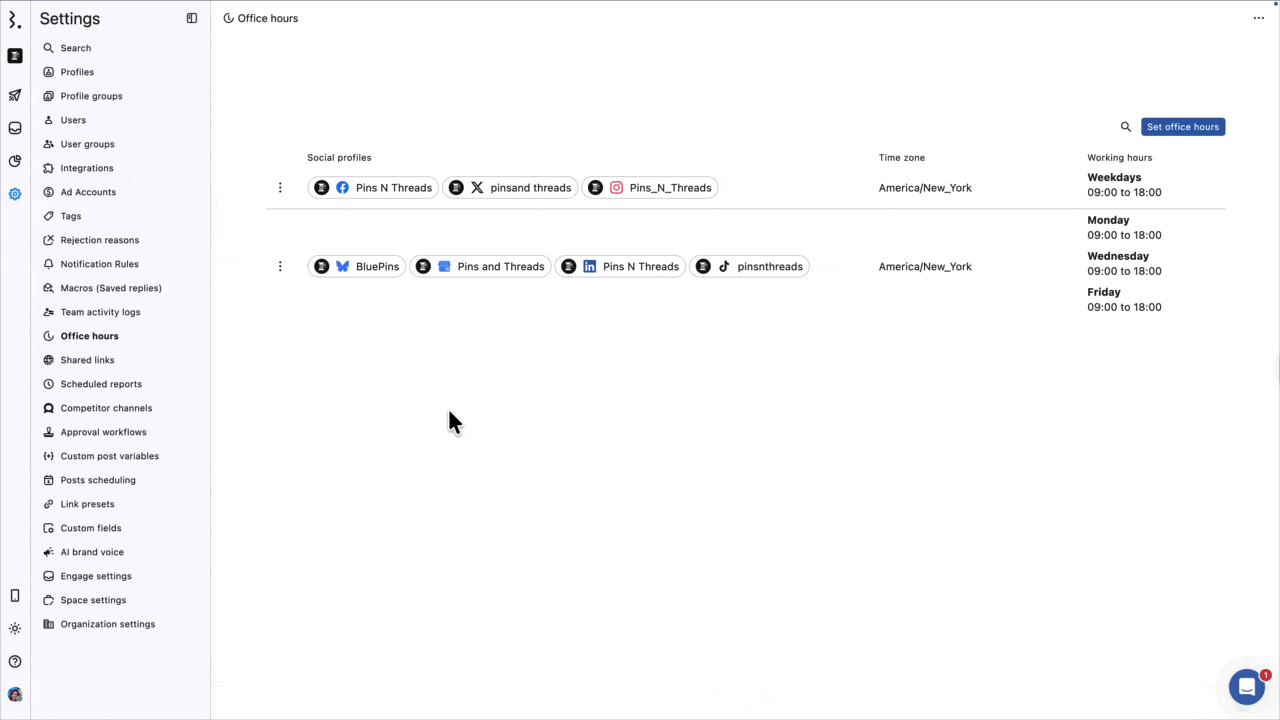
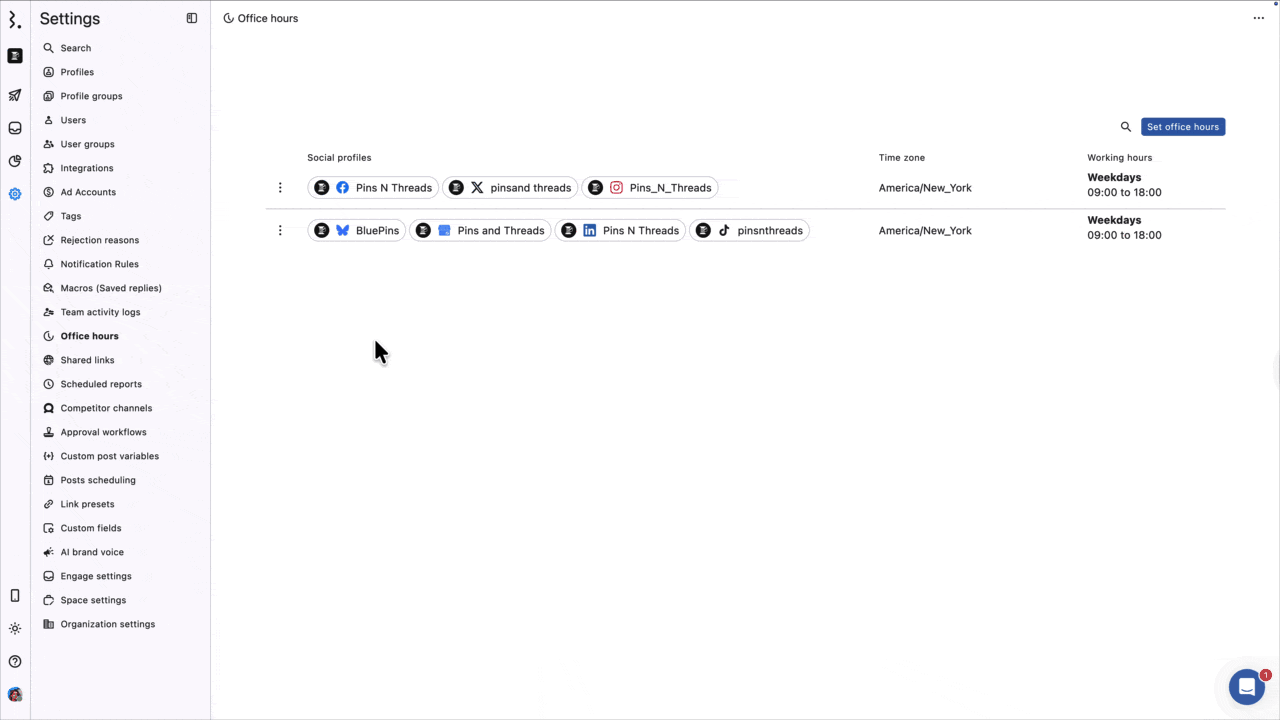
Go to Settings > Office hours. This will open the office-hours window, where you will find all the office hours you and other users in your workspace have created.
Each office hour schedule is organized into three columns:
Social profiles: Displays the list of profiles for which the office hour is created.
Time zone: Indicates the applicable time zone.
Working hours: Shows the day(s) and time range the office hours apply to.
You can also use the search bar to find the appropriate one.

Click (More) beside the office hour you wish to manage. Now you have two options:
Edit: Clicking Edit will open the Edit office hours window, where you can make modifications to your office hours and click Update to save the changes.
Delete: If you want to remove a created office hour from your workspace, click Delete and confirm your action. This action cannot be undone, so proceed with caution.