Adding A New Tag
Tags help you organize and track messages, posts, conversations, and contacts across your workflows in Statusbrew. Whether you're publishing content, managing conversations, or maintaining contact records, adding relevant tags makes it easier to analyze performance, monitor trends, and segment data.
Learn more about what tags are in Statusbrew and how to create them in our article on Internal Tags.
Note: Only Users with space admin access can create and add tags.
How To Add Tags When Creating Posts?
Go to Compose and create your post.
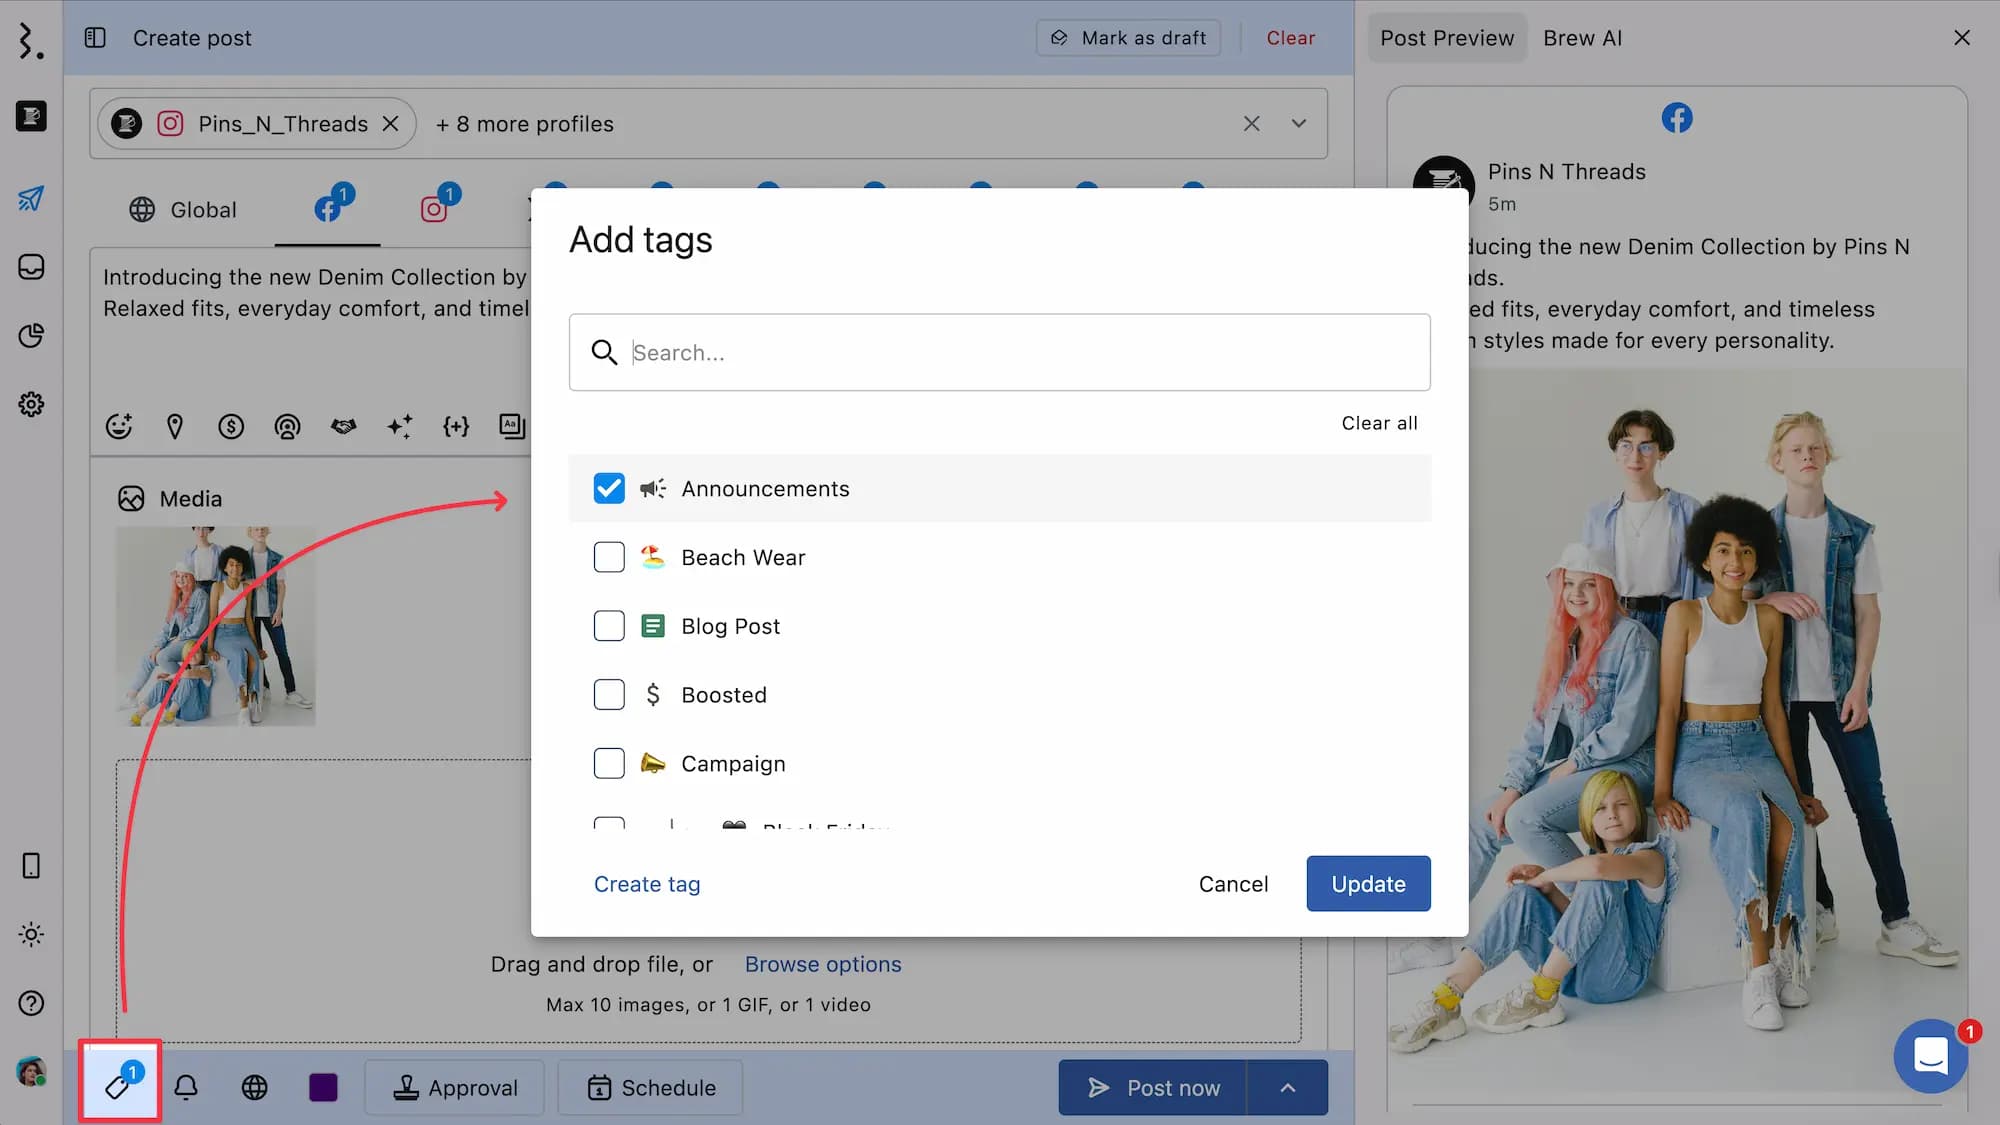
From the bottom bar, select (Add tags). The Add tags dialog box will open.
Check the box next to one or more tags to apply them. You can also use the Search bar to quickly find the tags or select one from the Frequently used section.
Once you’ve selected the desired tag(s), click Update.
Note: If you're creating multiple posts, the selected tags will be applied to all posts in that group.
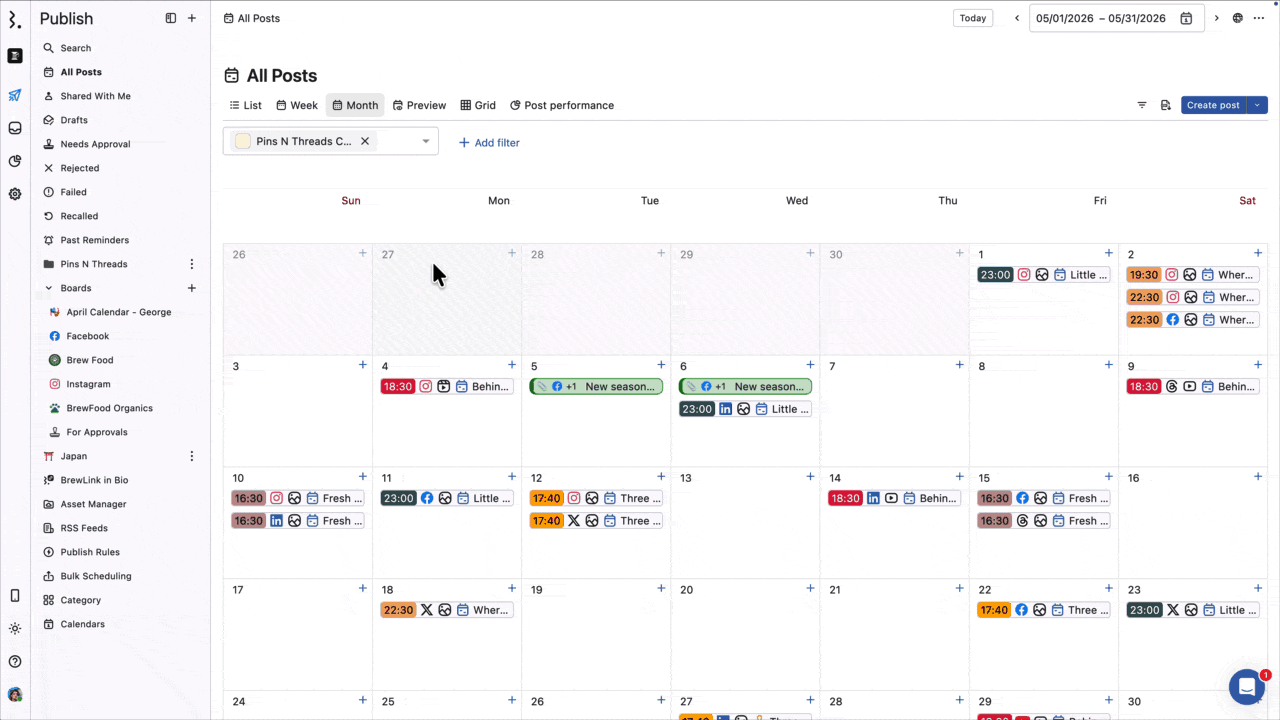
How To Add Tags To Posts From Publish?
If you missed applying tags when creating the post, you can still add them from the Planner.
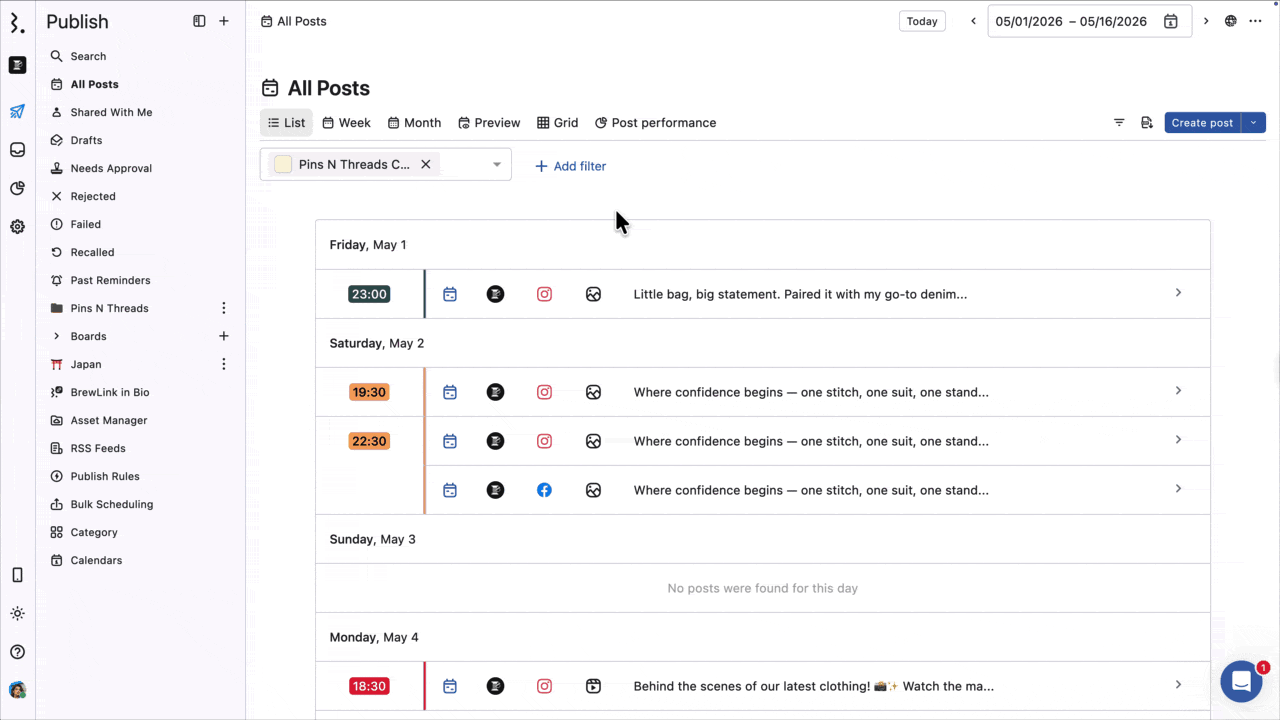
Go to Publish.
From the List, Week, Month, Preview, or Grid View, find the post you want to apply tags to and click on it to open the Post Detail view.
You will be able to see the already applied tags in the Tags field. Click Add tags to new apply tag(s). The Add tags dialog box will open.
Check the box next to one or more tags to apply them. You can also use the Search bar to quickly find the tags or select one from the Frequently used section.
Once you’ve selected the desired tag(s), click Update.
When you hover over a tag, tooltip will appear showing the tag name, the user who added the tag, and how long ago it was added.
How To Bulk Add Tags To Posts?
Go to Publish.
From the List View, select the posts to which you want to apply tags.
Click Tags selected. The Add tags dialog box will open.
Check the box next to one or more tags to apply them. You can also use the Search bar to quickly find the tags or select one from the Frequently used section.
Once you’ve selected the desired tag(s), click Update
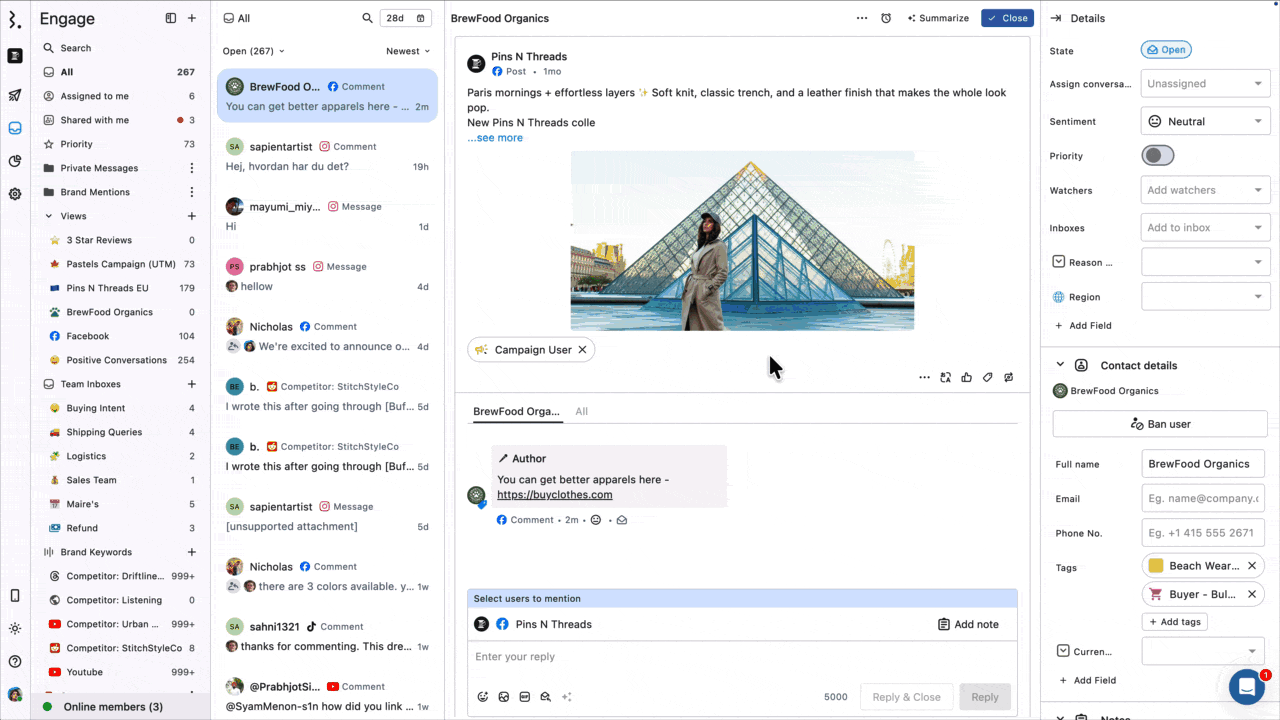
How To Add Tags To Conversations?
Go to Engage.
Open the conversation you want a add a tag to.
Hover over the right side of the conversation and select (Add tags). The Add tags dialog box will open.
Check the box next to one or more tags to apply them. You can also use the Search bar to quickly find the tags or select one from the Frequently used section.
Once you’ve selected the desired tag(s), click Update.
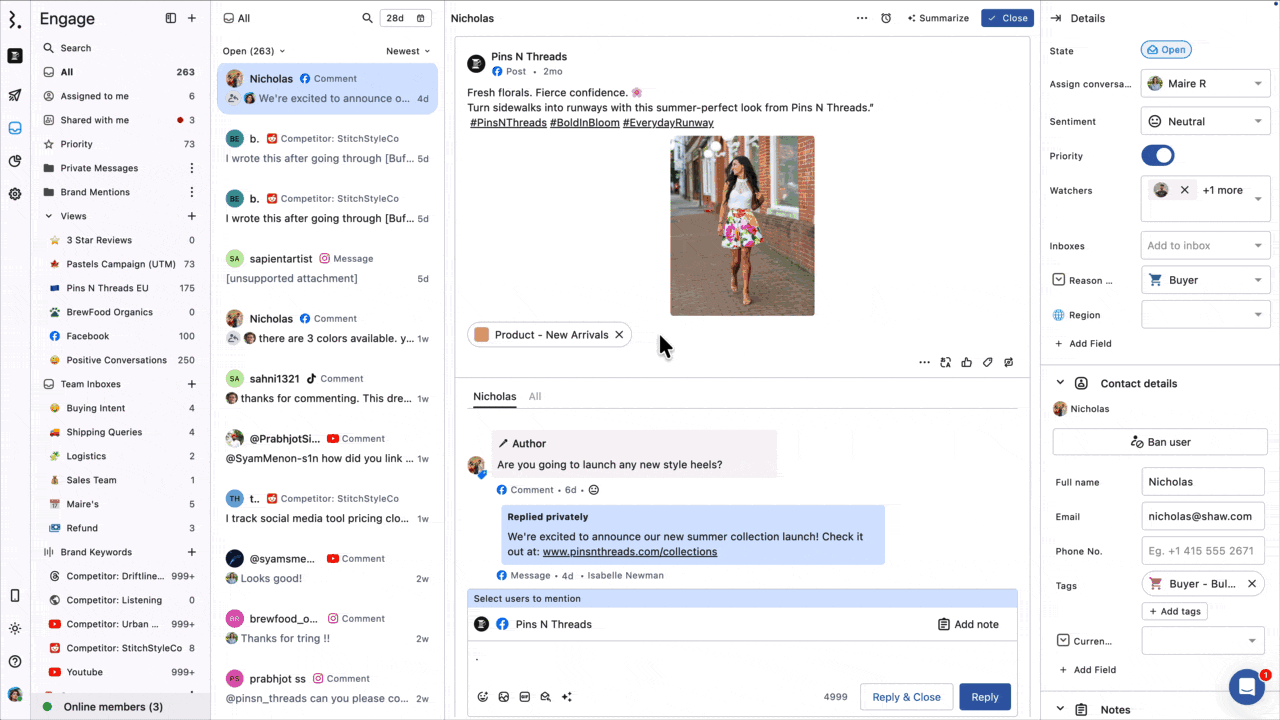
The applied tag(s) will appear below the conversation.
How To Bulk Add Tags To Conversations?
Go to Engage.
Open a conversation of the owned media and go to All.
Select the conversation you want to bulk apply tags to. Alternatively, you can click Select all to select all the conversation at once.
Click (Add tags). The Add tags dialog box will open.
Check the box next to one or more tags to apply them. You can also use the Search bar to quickly find the tags or select one from the Frequently used section.
Once you’ve selected the desired tag(s), click Update.
How To Automate Assigning Tags To Posts?
Go to Publish Rules.
Click Add new rule.
Name the rule (e.g., "Black Friday Campaign Posts").
Select the Data sources (Profile or Profile groups).
Select a Trigger type (e.g., Post created).
Add Filters:
Click Add condition > Message Content > In(=) > Black Friday > Exact match.
Add Actions:
Click Add a new action > Add tags. The Add tags dialog box will open. Check the box next to one or more tags to apply them (e.g., "Campaign - Black Friday"). You can also use the Search bar to quickly find the tags or select one from the Frequently used section. Once you’ve selected the desired tag(s), click Update.
Click Submit to save and activate the rule.
How To Automate Assigning Tags To Conversations?
Go to Rule Engine.
Click Add new rule.
Name the rule (e.g., "Customer Support Inquiries").
Select the Data sources (Profile or Profile groups).
Select a Trigger type (e.g., Message received).
Add Filters:
Click Add condition > Message Content > In(=) > help, support, issue
Add Actions:
Click Add a new action > Add tags. The Add tags dialog box will open. Check the box next to one or more tags to apply them (e.g., "Customer Support Inquiry"). You can also use the Search bar to quickly find the tags or select one from the Frequently used section. Once you’ve selected the desired tag(s), click Update.
Click Submit to save and activate the rule.
How To Add Tags To A Contact?
Statusbrew lets you segment contacts and organize them based on specific criteria. Refer to our article on Contact Tags to learn how to use them.
How To Add Tags To Assets?
You can add tags to assets from the Asset Manager when creating and even once they've been created.
When Creating
When uploading a new asset, you can assign tags to organize them from the start.
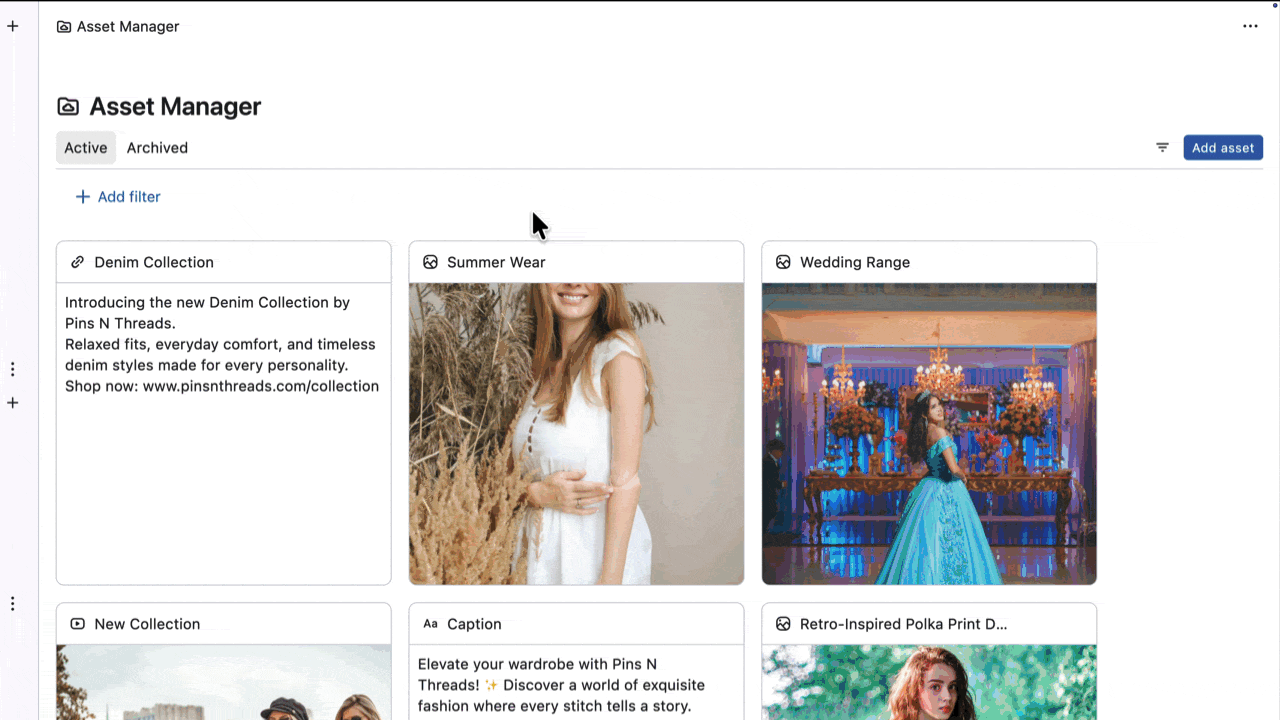
Go to Asset Manager.
Click Add asset.
Add the asset.
In Add tags section, select Add tags. The Add tags dialog box will open.
Check the box next to one or more tags to apply them.
Once you’ve selected the desired tag(s), click Update.
Update Tags
If you missed applying tags when creating an asset, you can still add them from the Asset Manager.
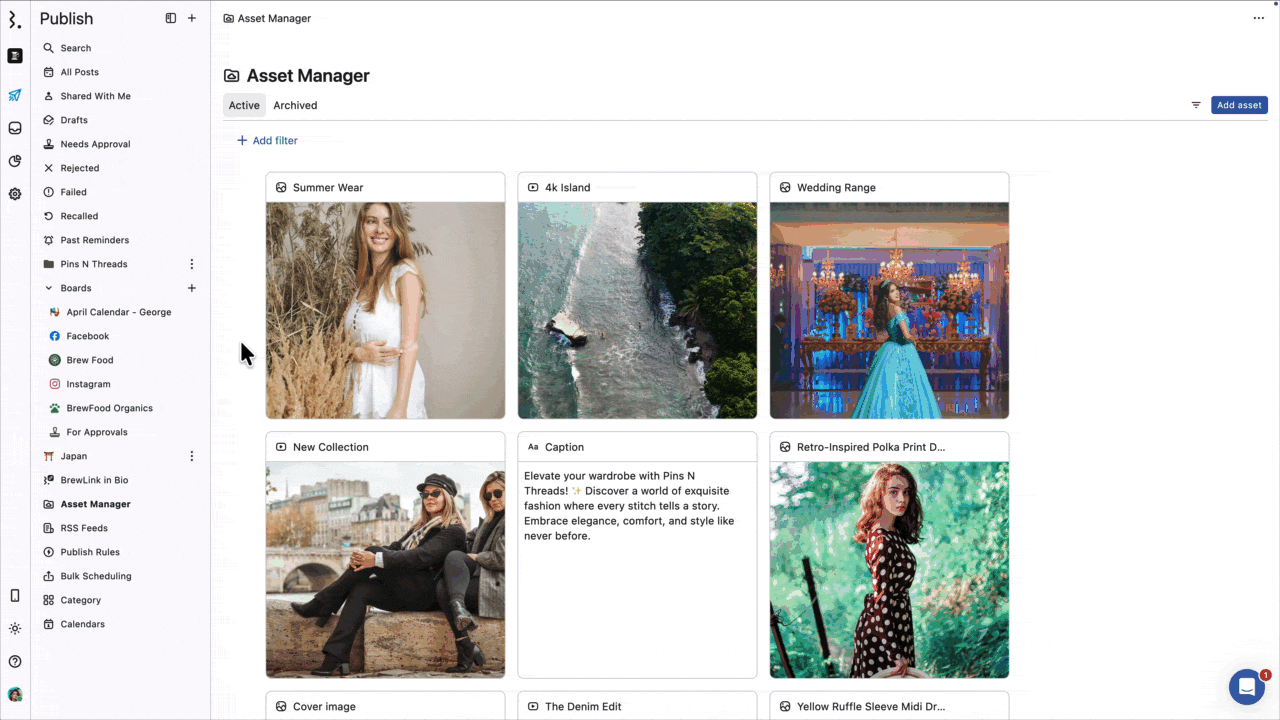
Go to Asset Manager.
Choose the asset you want to add tags to and click on it to open its detail view.
You will be able to see the tags that have already been applied in the Tags field. Click Add tags to new apply tag(s). The Add tags dialog box will open.
Check the box next to one or more tags to apply them.
Once you’ve selected the desired tag(s), click Update.
When you hover over a tag, tooltip will appear showing the tag name, the user who added the tag, and how long ago it was added.
How To Add Tags To Events?
You can add tags to Events either when creating them or after they’ve already been created.
When Creating
When setting up a new Event, you can assign tags right away to keep your planning organized.
Go to Publish & click Create event. The Create event dialog box will open.
Fill in the Event details (title, description, start date, end date, etc.)
In the Add tags section, click Add tags. The Add tags dialog box will open.
Check the box next to one or more tags you want to apply.
Once you’ve selected the desired tag(s), click Update.
Update Tags
If you forgot to add tags when creating an Event, you can apply them later.
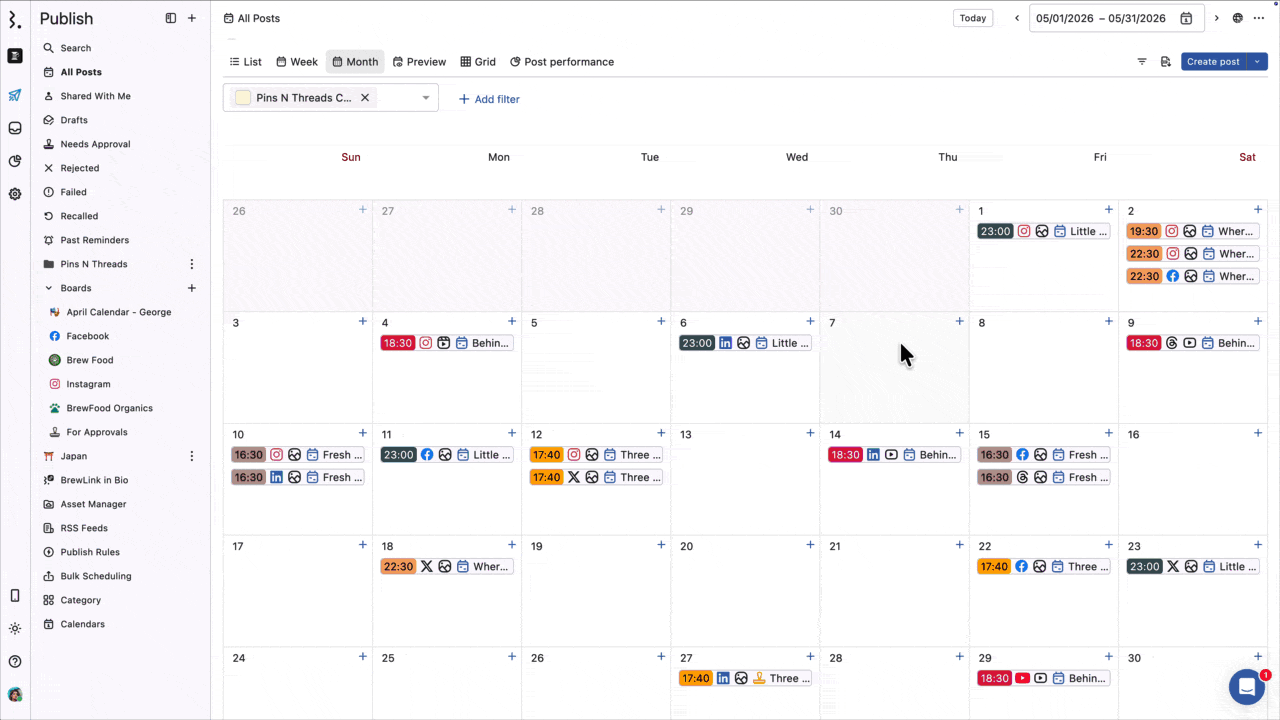
Go to Publish
Find the Event you want to update tags for and click on it to open its detail view.
You will be able to see the already applied tags in the Tags field. Click Add tags to new apply tag(s). The Add tags dialog box will open.
Check the box next to one or more tags to apply them.
Once you’ve selected the desired tag(s), click Update.