Asset Manager
The Asset Manager simplifies collaborative publishing and asset management within Statusbrew’s publishing workflow. You can create, organize, edit, and publish assets from a central location to publish visually engaging social posts.
The Asset Manager is available on Standard and above plans. See full pricing details.
Accessing Asset Manager
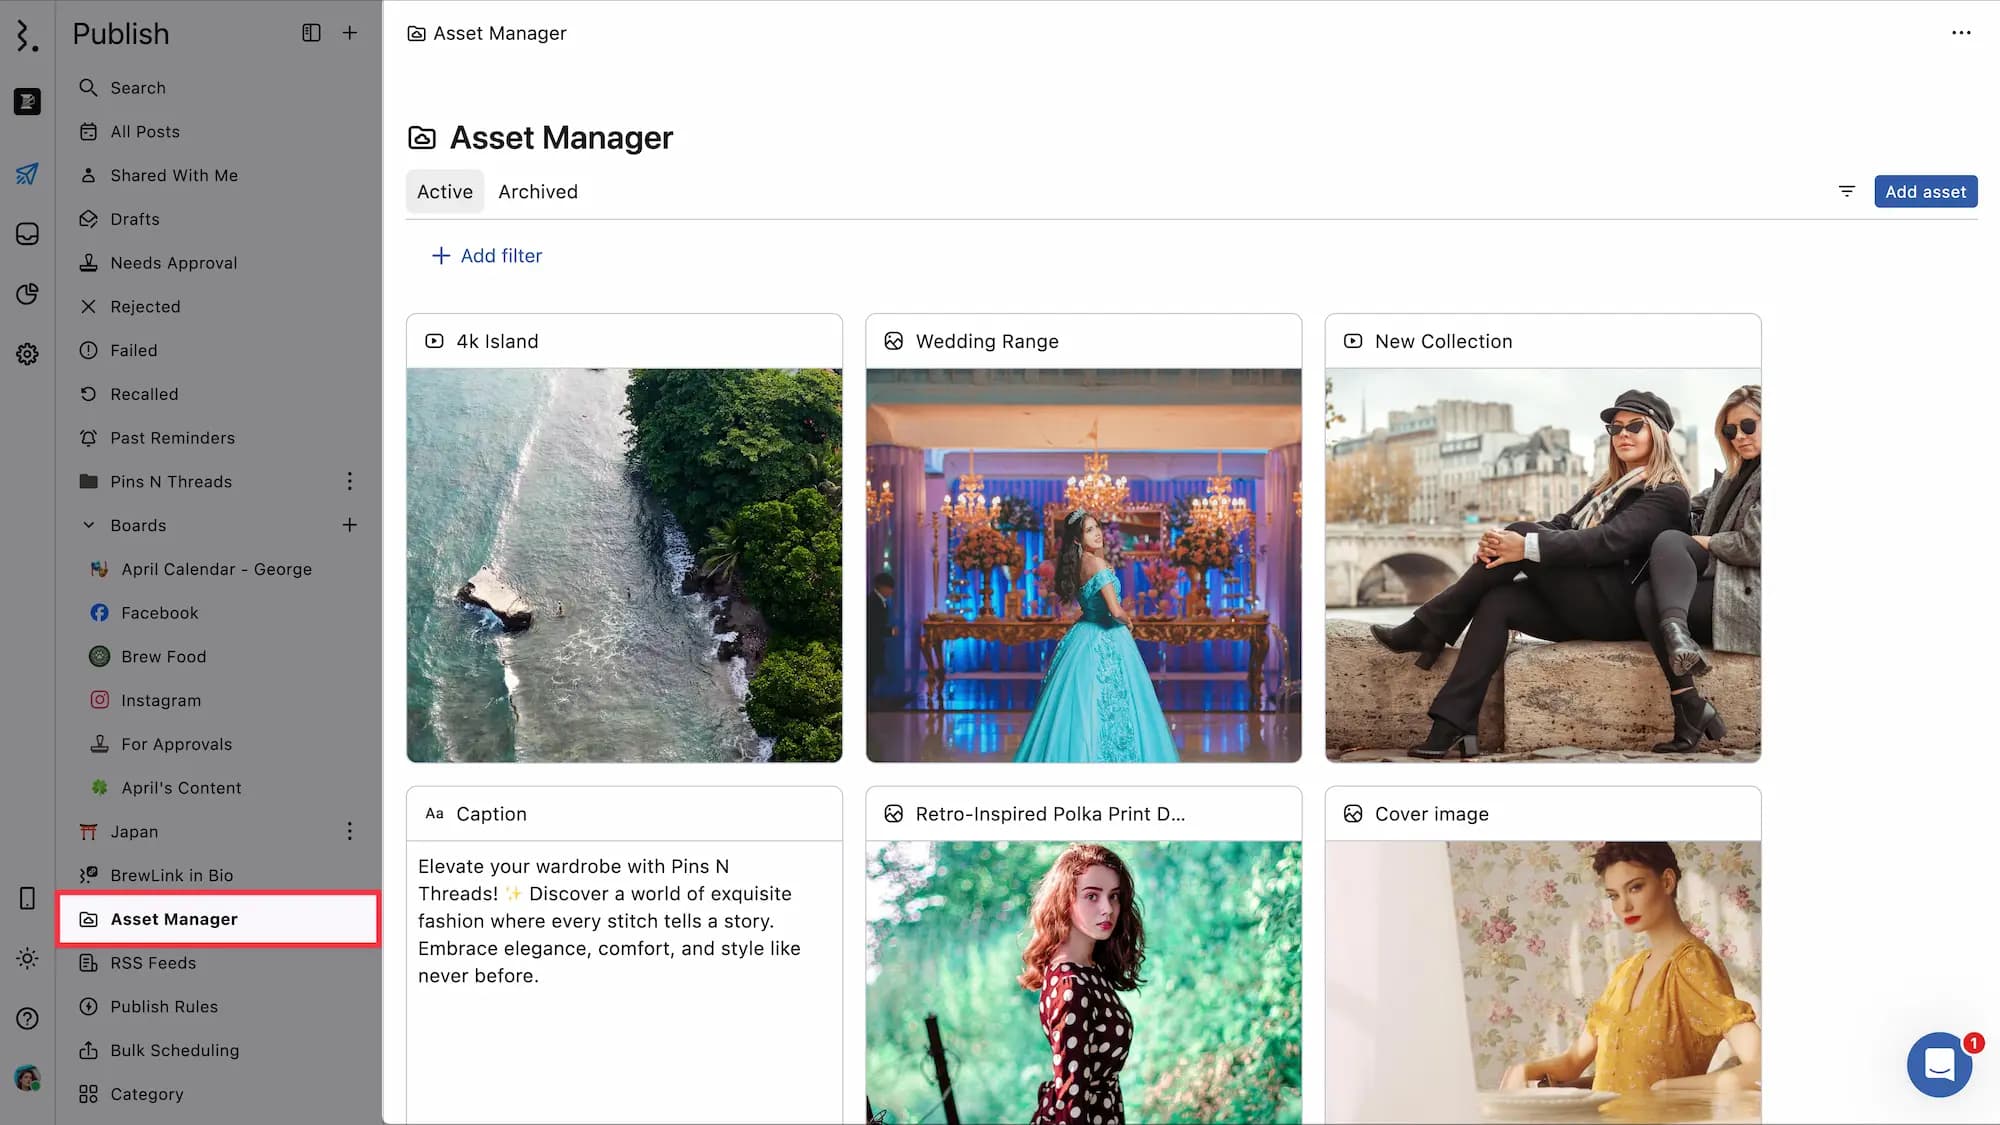
From the Statusbrew dashboard, select Asset Manager in Publish section.
Or
Go to Publish > All Posts > Assets
Or
Go to Publish and select Asset Manager from the sidebar.
Uploading Assets
Go to Asset Manager.
Click Add asset.
Give a Title to the asset (upto 64 characters)
For text or link assets, add it in the Text section.
Select Watchers.
In the Media upload box, upload an image, GIF, or video. You can max upload one image, GIF, or video at a time.
Under Share access with, choose the view’s shareability from All team members, Specific user(s)/user group(s), or Only me. By default, the Only me option is selected.
Add tags.
Click Save.
Editing Image Assets
Once an image is uploaded, clicking Edit image will open Statusbrew’s in-built image editor to change image ratios, add filters or text. Make the required changes and select EXPORT IMAGE or Close to disregard any edits.
You can also Add alt text and Add description for image assets.
To change or reupload the asset, click Archive.
To edit an uploaded video asset, click on any image asset to open its detailed view and then click Edit asset icon. It will take you to the Edit Asset window in detail view, where you can edit Title, Text, the uploaded asset, tags, and the shareability settings. The shareability setting is only editable by the user who uploaded the asset.
You can also add or update alt text and description for image assets.
Click Archive to archive the asset, Update to save the changes and Cancel to discard the changes you made.
You can restore archived assets, and if you are 100% sure an asset should be deleted, you can delete it too.
Generating Alt Text For Image Assets

Within the editing view of image assets, click Generate using AI to generate the alt text for the image with the help of AI. It will take a few seconds for the alt text to be generated. Once ready, the generated text will automatically appear in the text box. You can review and make changes to refine it, or choose to re-generate if needed.
If you want to regenerate the alttext, click Generate using AI again. All updates are saved automatically.
Editing Video Assets

Once a video is uploaded, you can:
Thumbnail from Frame: Use the seek bar to move to the desired point in the video and set that time frame as the video cover. The selected timestamp will be shown (e.g.,
0:04).Choose Thumbnail: You can add a custom thumbnail by either:
Clicking Upload to add an image from your device.
Clicking Asset Manager to select an image from your existing assets.
Subtitle: Upload subtitle files in the
.srtformat. Ensure your file name follows the required format:filename.[language code]_[country code].srtFor example:promo.en_us.srtfor English (US).
To change or reupload the asset, click Archive.
To edit an uploaded video asset, click on any video asset to open its detailed view and then click Edit asset icon. It will take you to the Edit Asset window in detail view, where you can edit Title, Text, the uploaded asset, tags, thumbnail, subtitle file, and the shareability settings. The shareability setting is only editable by the user who uploaded the asset.
Click Archive to archive the asset, Update to save the changes, and Cancel to discard the changes you made.
Viewing Assets
Go to Asset Manager.
In the Asset Manager window, you will be able to see all your uploaded assets.
Text assets will be labeled with for text and GIF assets, image assets with , video assets with and link assets with icon and their title.
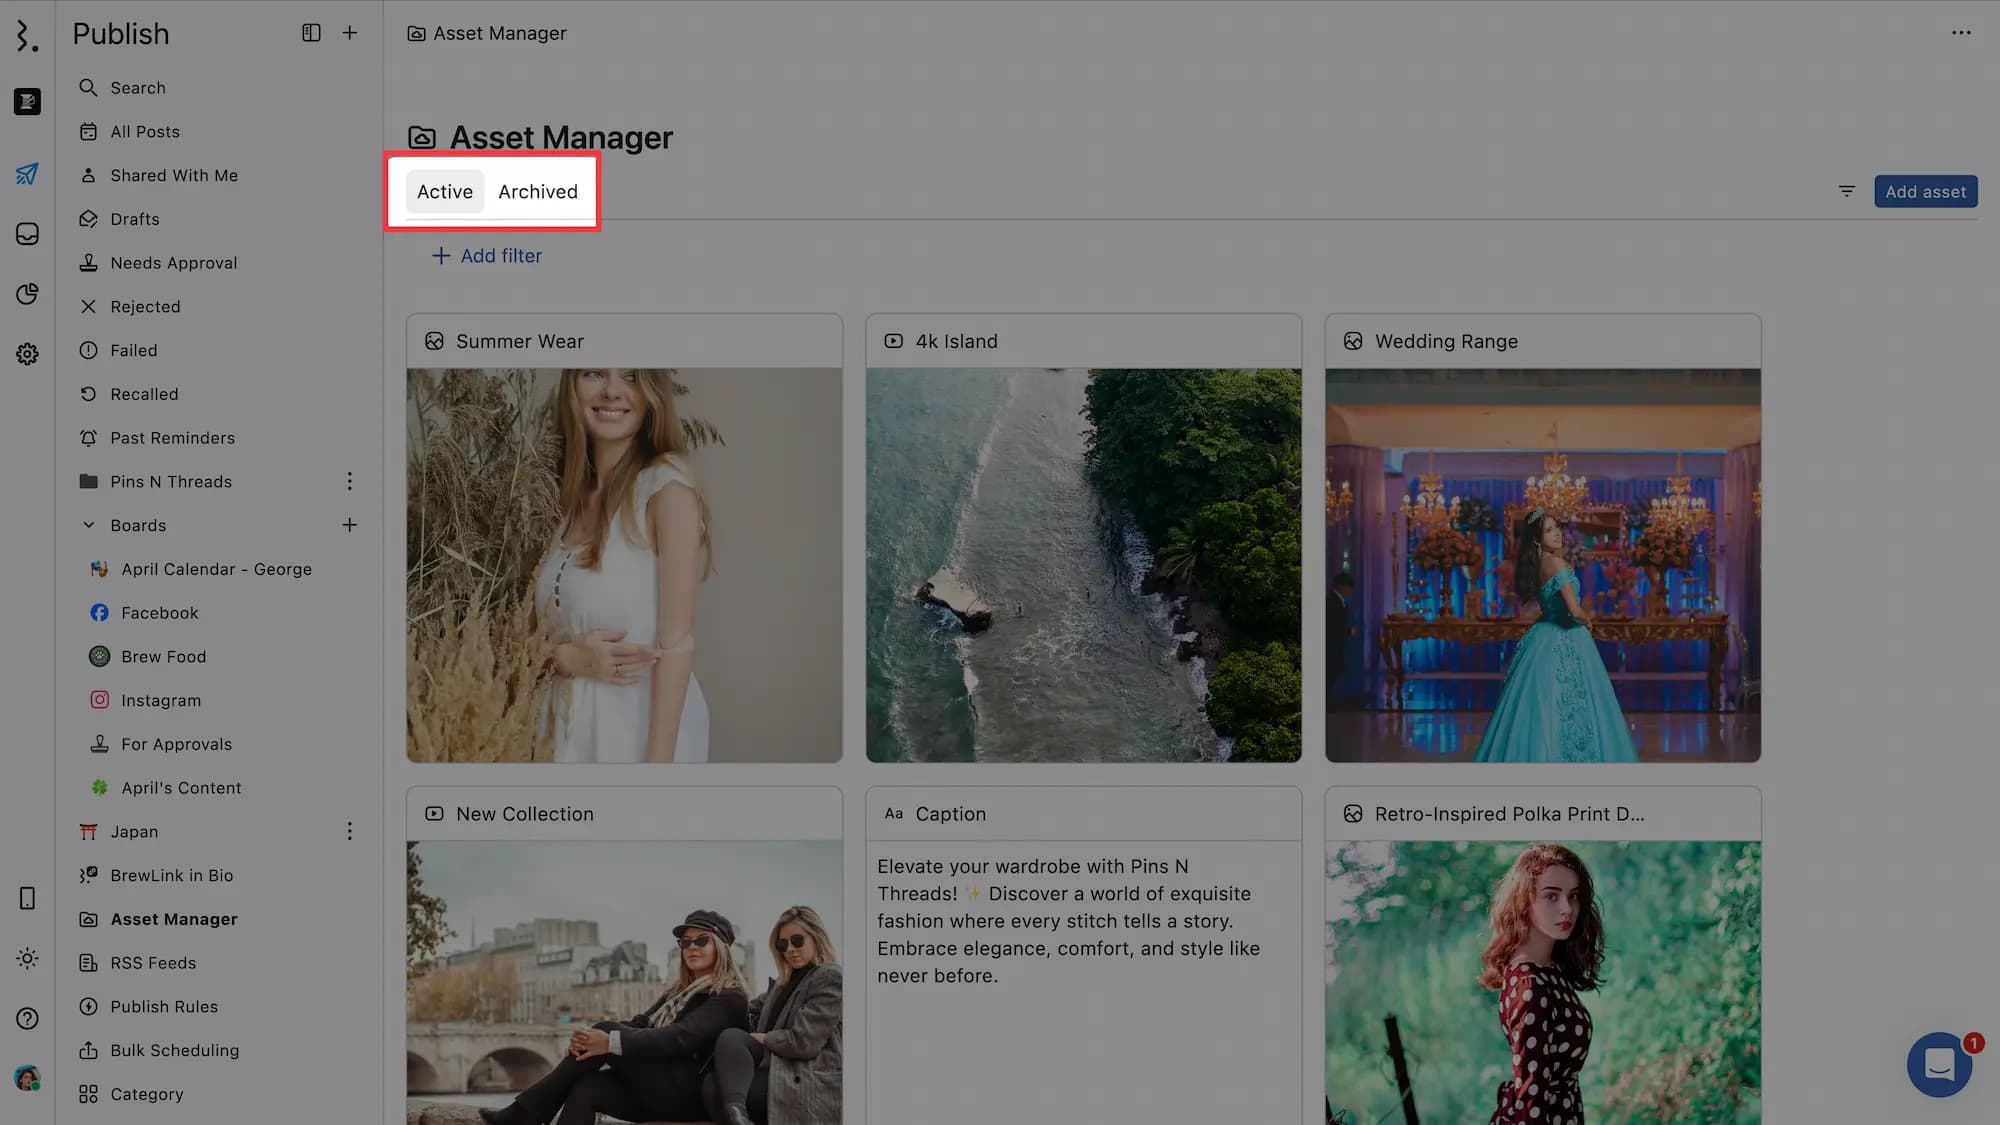
Click Status is active button to view only the assets that are active and not the archived ones.
Click Add filter to filter the assets by Post Types, Users, Tag.
You can also search assets by their title using the search bar.
Clicking on any asset will open its detailed view.
Here you will be able to see:
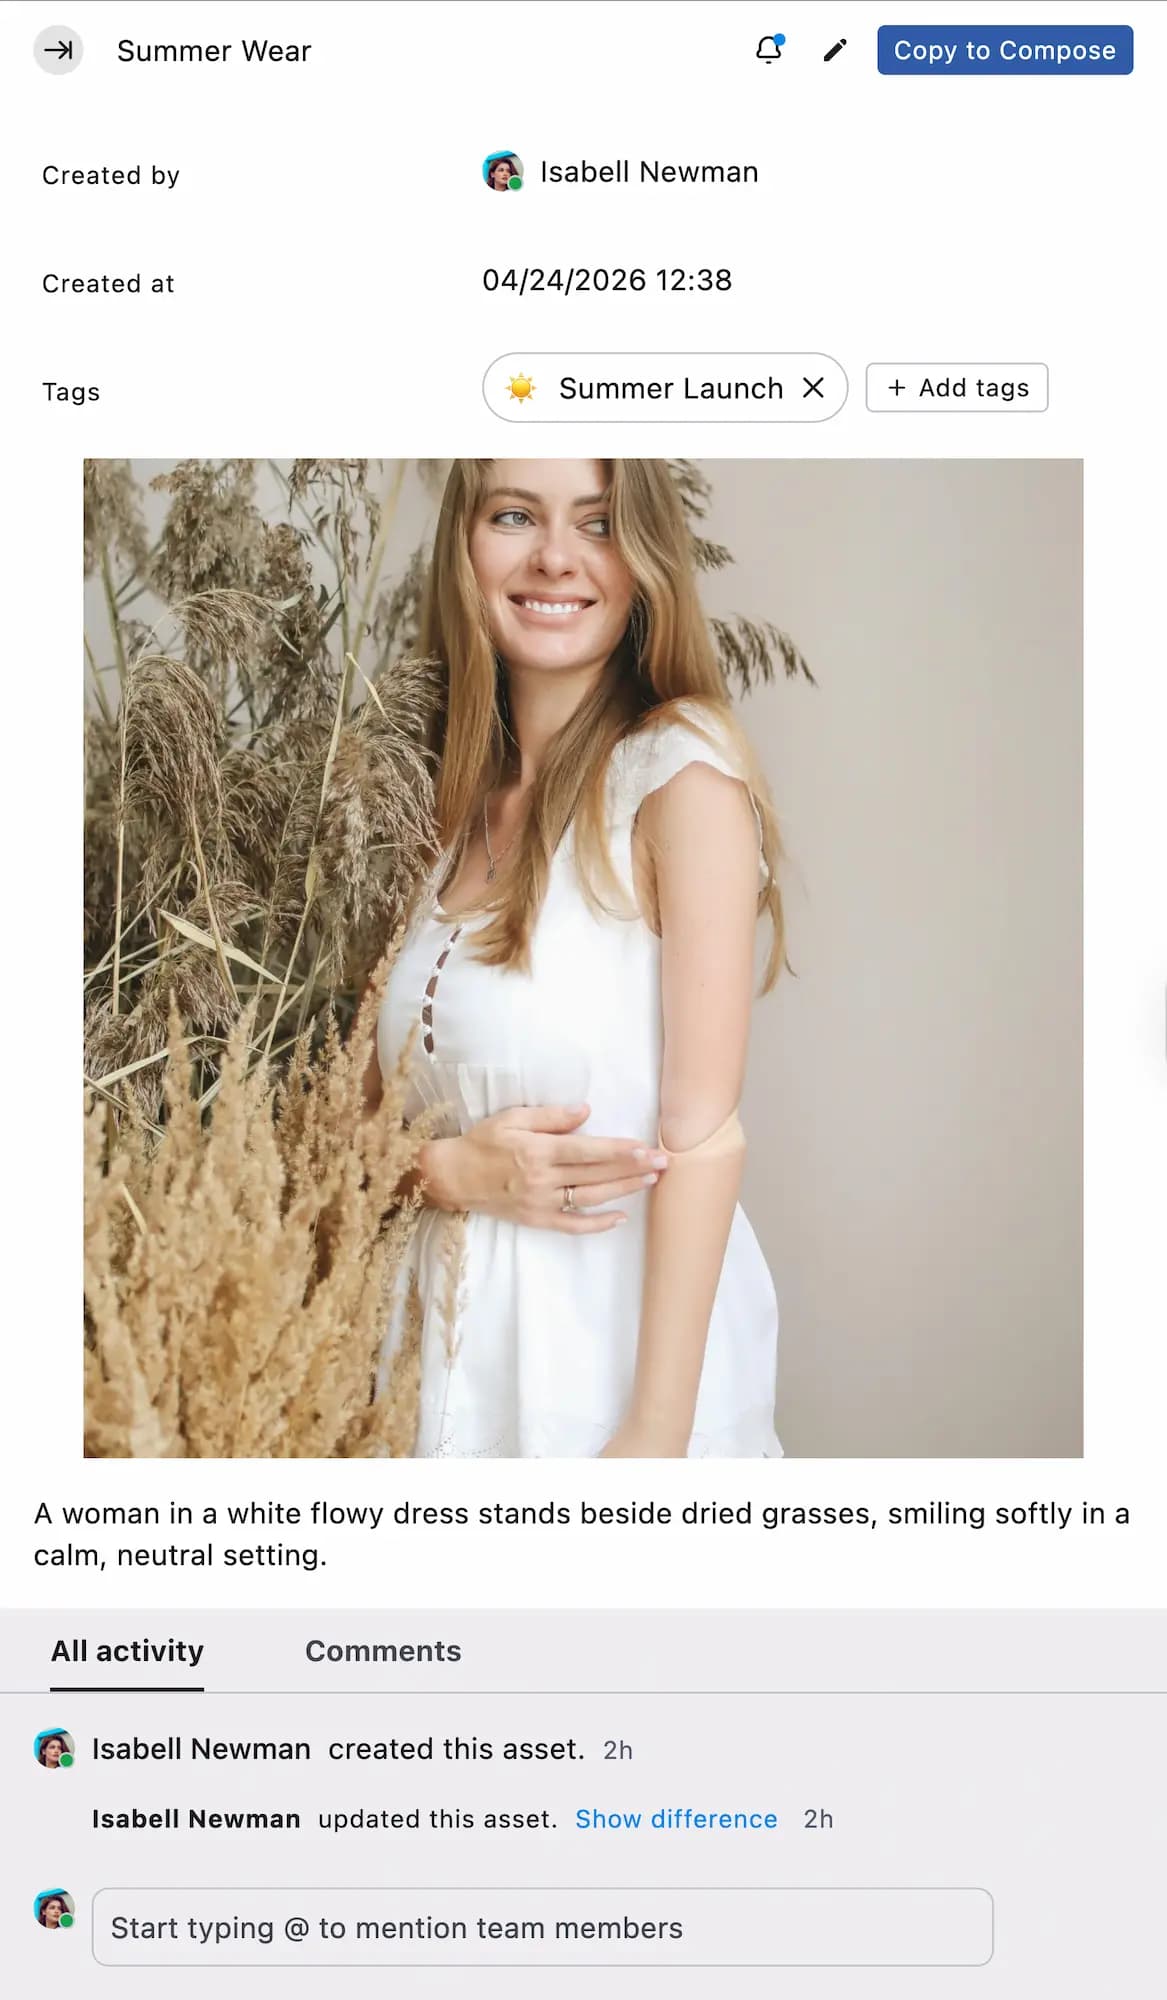
The added watchers. You can also add watchers by clicking icon.
Copy to Compose button.
Edit asset icon. Click on Edit will take you to the Edit Asset window in detail view.
Title
Created by
Created at
The added Tags (if any). You can also add tags by clicking Add tags
The uploaded asset
All activity of the uploaded assets
Comments dropped by you or your team on the uploaded assets
Using Assets
After assets are added to the Asset Manager, it's easy to use them.
If you attach an asset with Tags to Compose, the post will automatically include those Tags.
Copy to Compose
Click on any asset in the Asset Manager to open its detailed view. Clicking on Copy to Compose button will take you to the Create post window with the asset already added in the Global tab.
For text assets, the text will get copied in the caption field and the GIF, image or video asset will be copied in the Media section.
If your asset contains both Text and GIF/video/image, the text will get copied in the caption field and the GIF, image or video asset will be copied in the Media section.
If you have tags added to your asset, the tags will also get copied in the Create post window.
Pick from Asset Manager
Go to Compose and click Pick from Asset Manager in the caption box to add a saved text.
In the Media section, click Browse options > Pick from Asset Manager. The Asset Manager dialog will open where you can pick the asset and select Add. You can filter the assets by Users or Tags.
Compose: First Comment
You can include your commonly used hashtags or any text asset to use when scheduling a First Comment.
In the First comment box, select Pick from Asset Manager. From the Pick from Asset Manager dialog that opens, select the the asset and select Add. You can filter the assets by Users or Tags.
Media Annotation
Media annotation in Statusbrew allows teams to leave time-stamped comments on videos and image-specific feedback directly inside the platform. Instead of relying on external tools, you can now collaborate on creative assets where you manage your posts — making the review process faster and more organized.
Video Annotations
You can add comments tied to a specific timestamp in a video, making it easier to highlight edits and feedback. Click on the video in the Post Detail or Asset Detail to preview it and leave comments.
Stop & Comment: Pause the video at any timestamp and type your comment.
Playback Controls:
Use media controls to play/pause.
Click on any timestamp in the timeline to jump directly there.
Use the play/pause button above the text box.
If the video is playing and you focus on the text box, playback stops at that exact timestamp.
Comment Visibility:
All comments are displayed in the annotation panel.
Comments are also visible in Post Detail All activity and Comments section.
Clicking on a timestamp in a comment takes you directly to that moment in the video.
Image Annotations
For images, you can add comments specific to each asset in the set.
Add comments directly under each image.
In Post Detail, clicking on an image hyperlink in a comment opens that particular image.
Where to Annotate Media
From the Post Detail, clicking on the image or video.
From the Asset Detail, clicking on the image or video.
FAQs
Can I download a video or media from a published post?
Yes, you can download media from Asset Manager if the media was added to Statusbrew and is available there.
To download it:
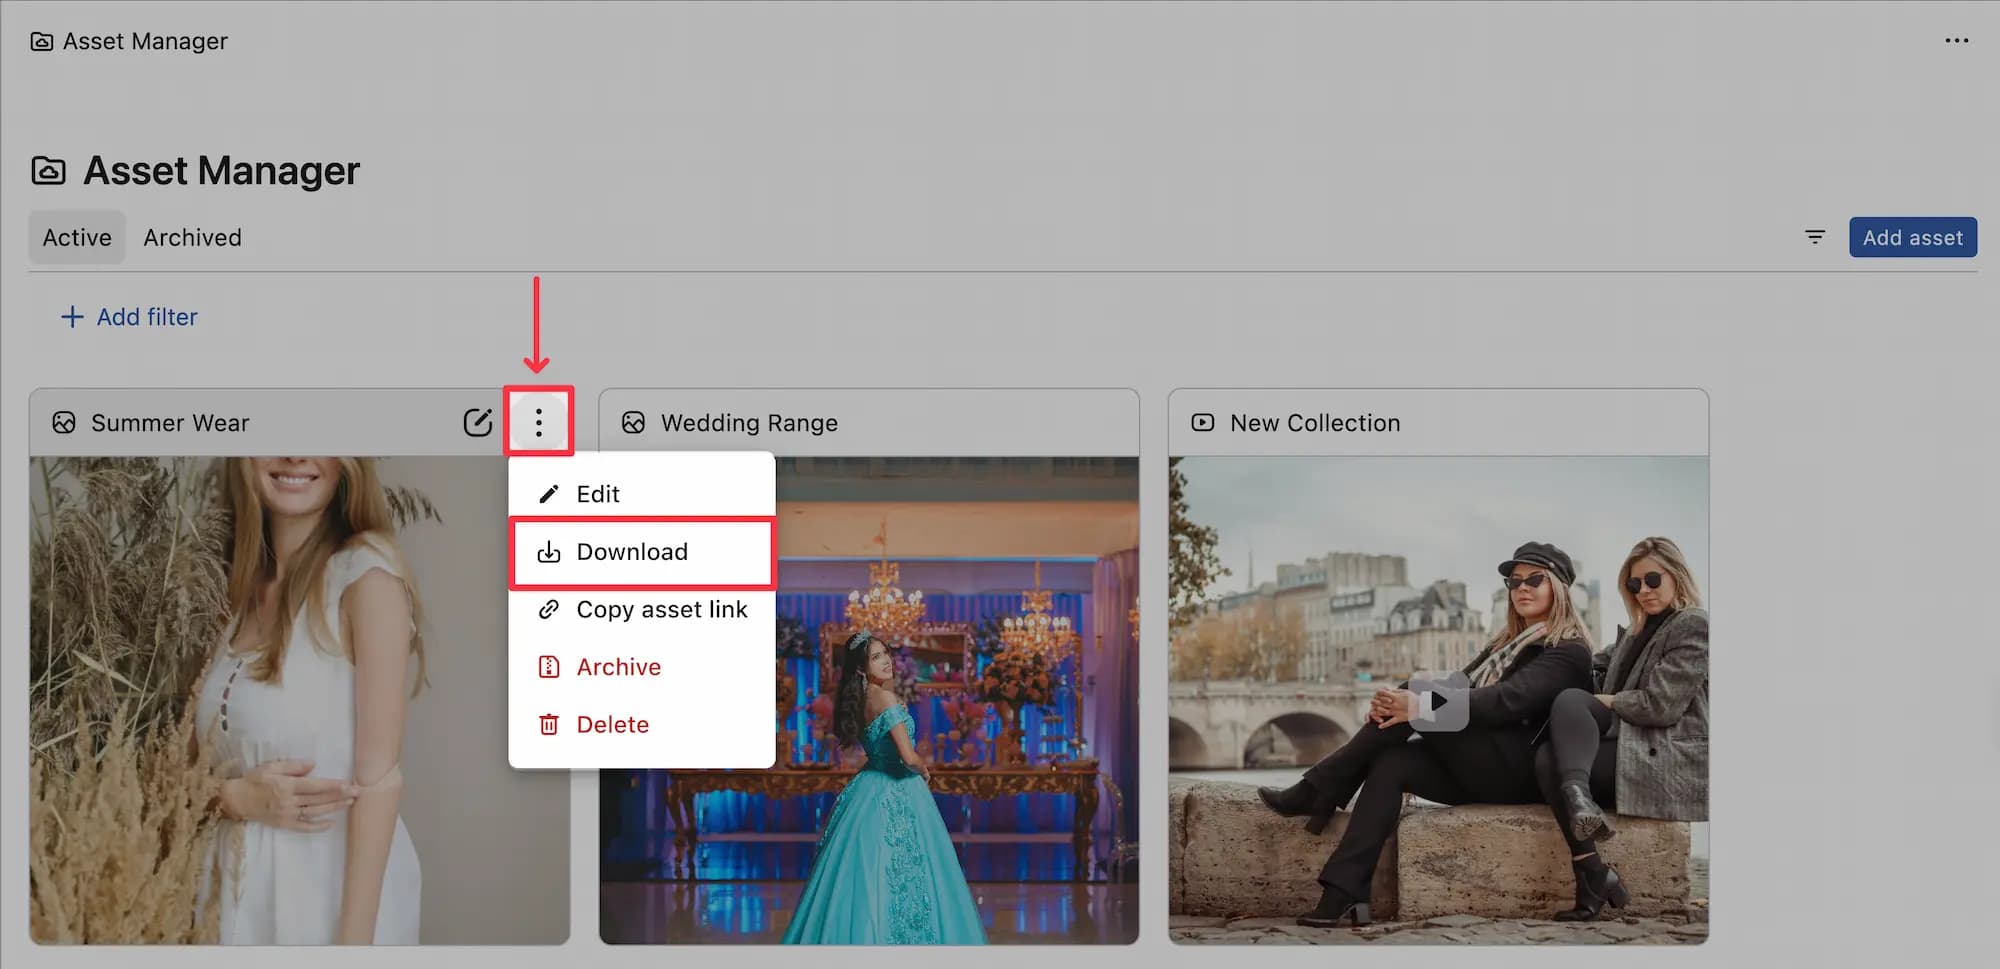
Go to Publish > Asset Manager
Locate the video or media file
Click the three dots on the asset
Select Download
You can also select Copy asset link to open or share the asset link separately.
There is no direct download button from the published post itself. The media must be downloaded from the Asset Manager.