Drafts
If you want to note down a content idea or start working on a post to finish later, you can save it as a Draft.
You can save draft content at any time to polish and publish later.
There is no limit to the number of drafts you can create.
Drafts are meant for single-use, meaning they will disappear from Drafts once they are scheduled.
Creating A Draft
You can create a draft from Compose. To create a draft:
Go to Compose.
Select the profile(s)/profile groups(s) you want to post to from the Profile Picker.
Add Caption and Media.
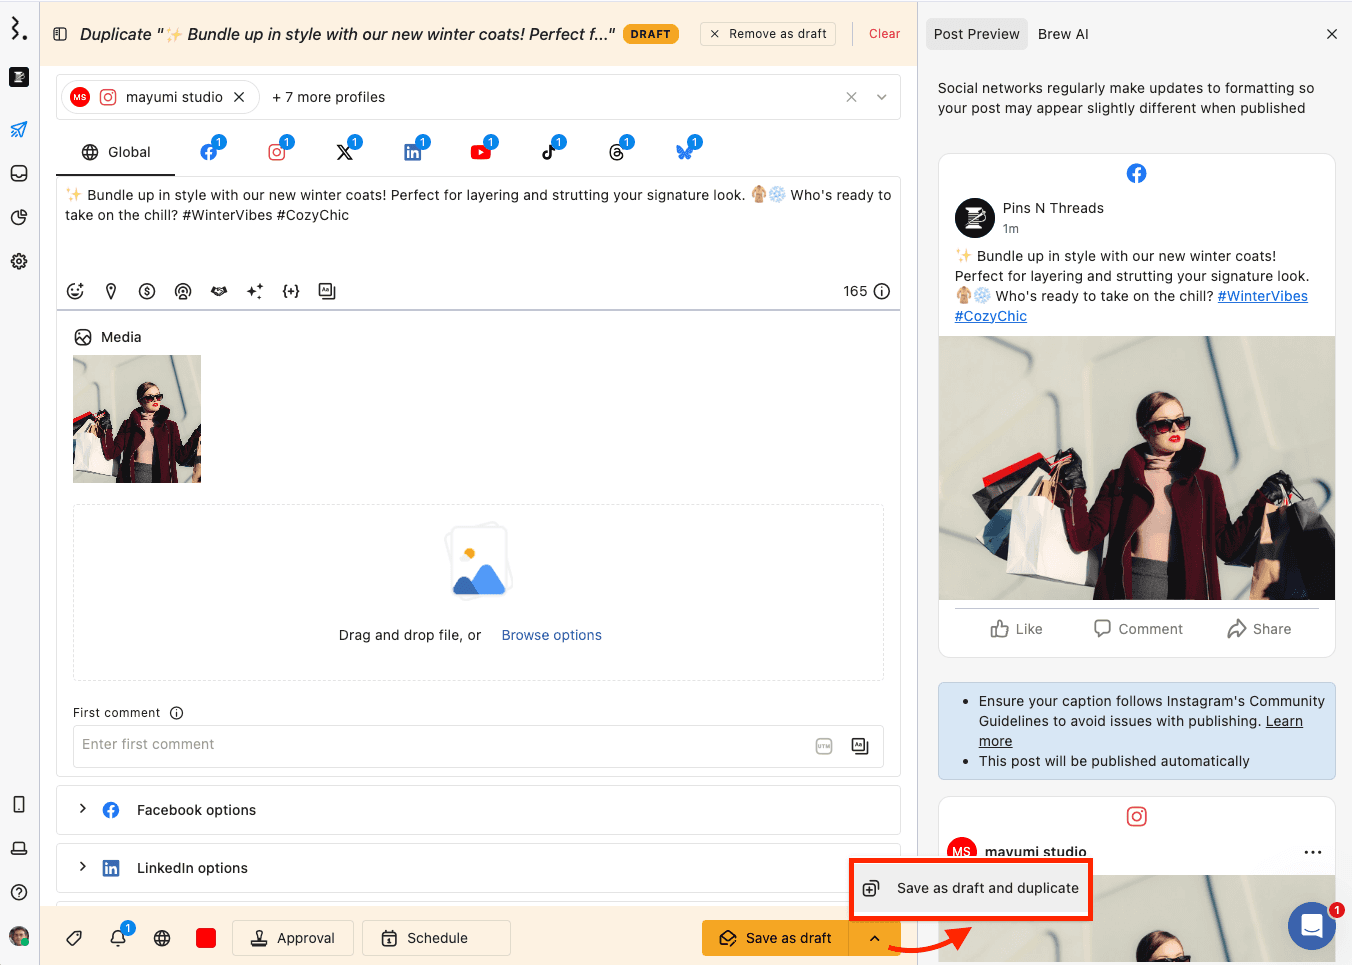
Select the Save as draft checkbox. When you perform this action, the Post now button will change to Save as draft.
Click Save as draft. Your post is now saved as a draft.
Note: Click in front of Save as draft and select Save as draft and duplicate if you want to make any modifications to the draft without losing the original one or want to save the draft for other profile(s).
Managing Drafts
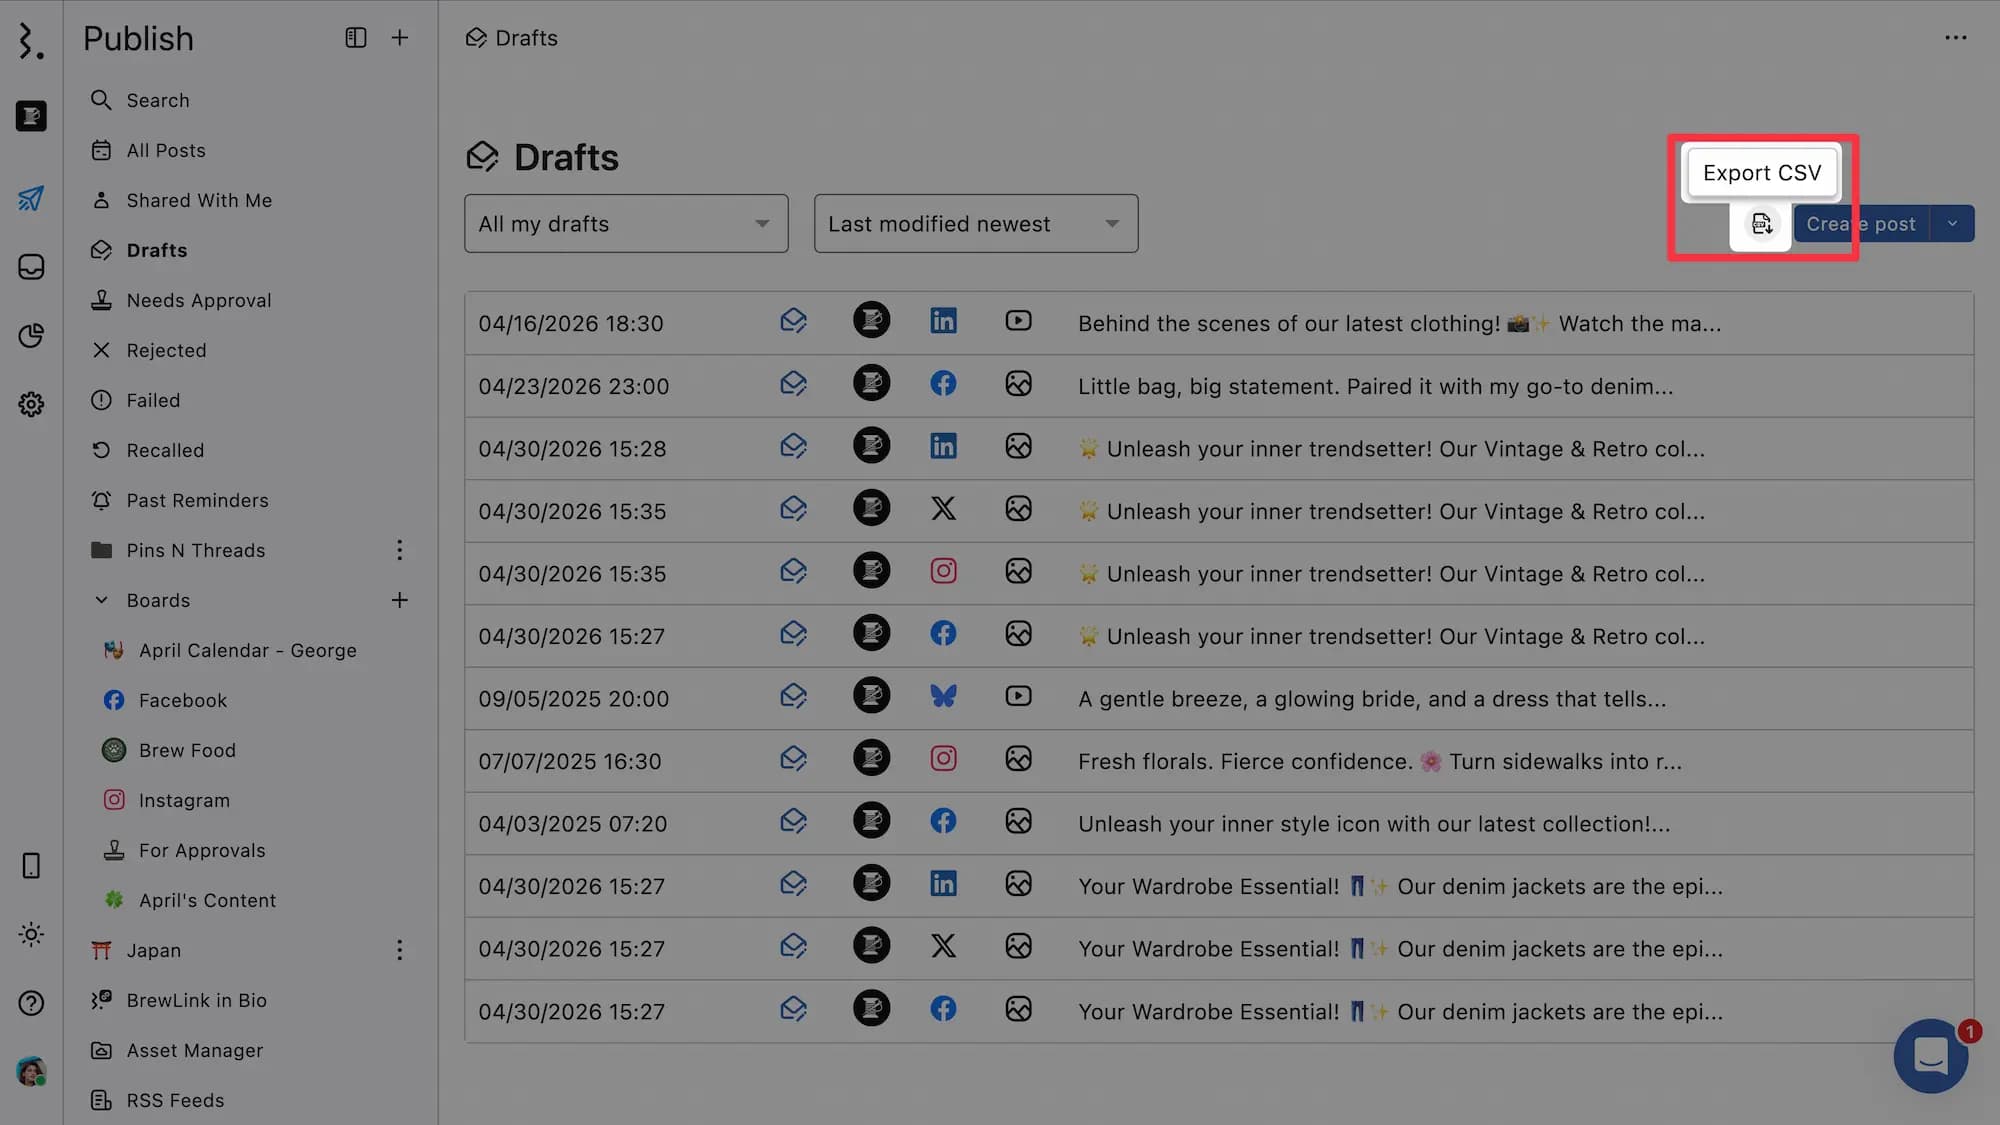
You can find your draft posts in Publish > Drafts.
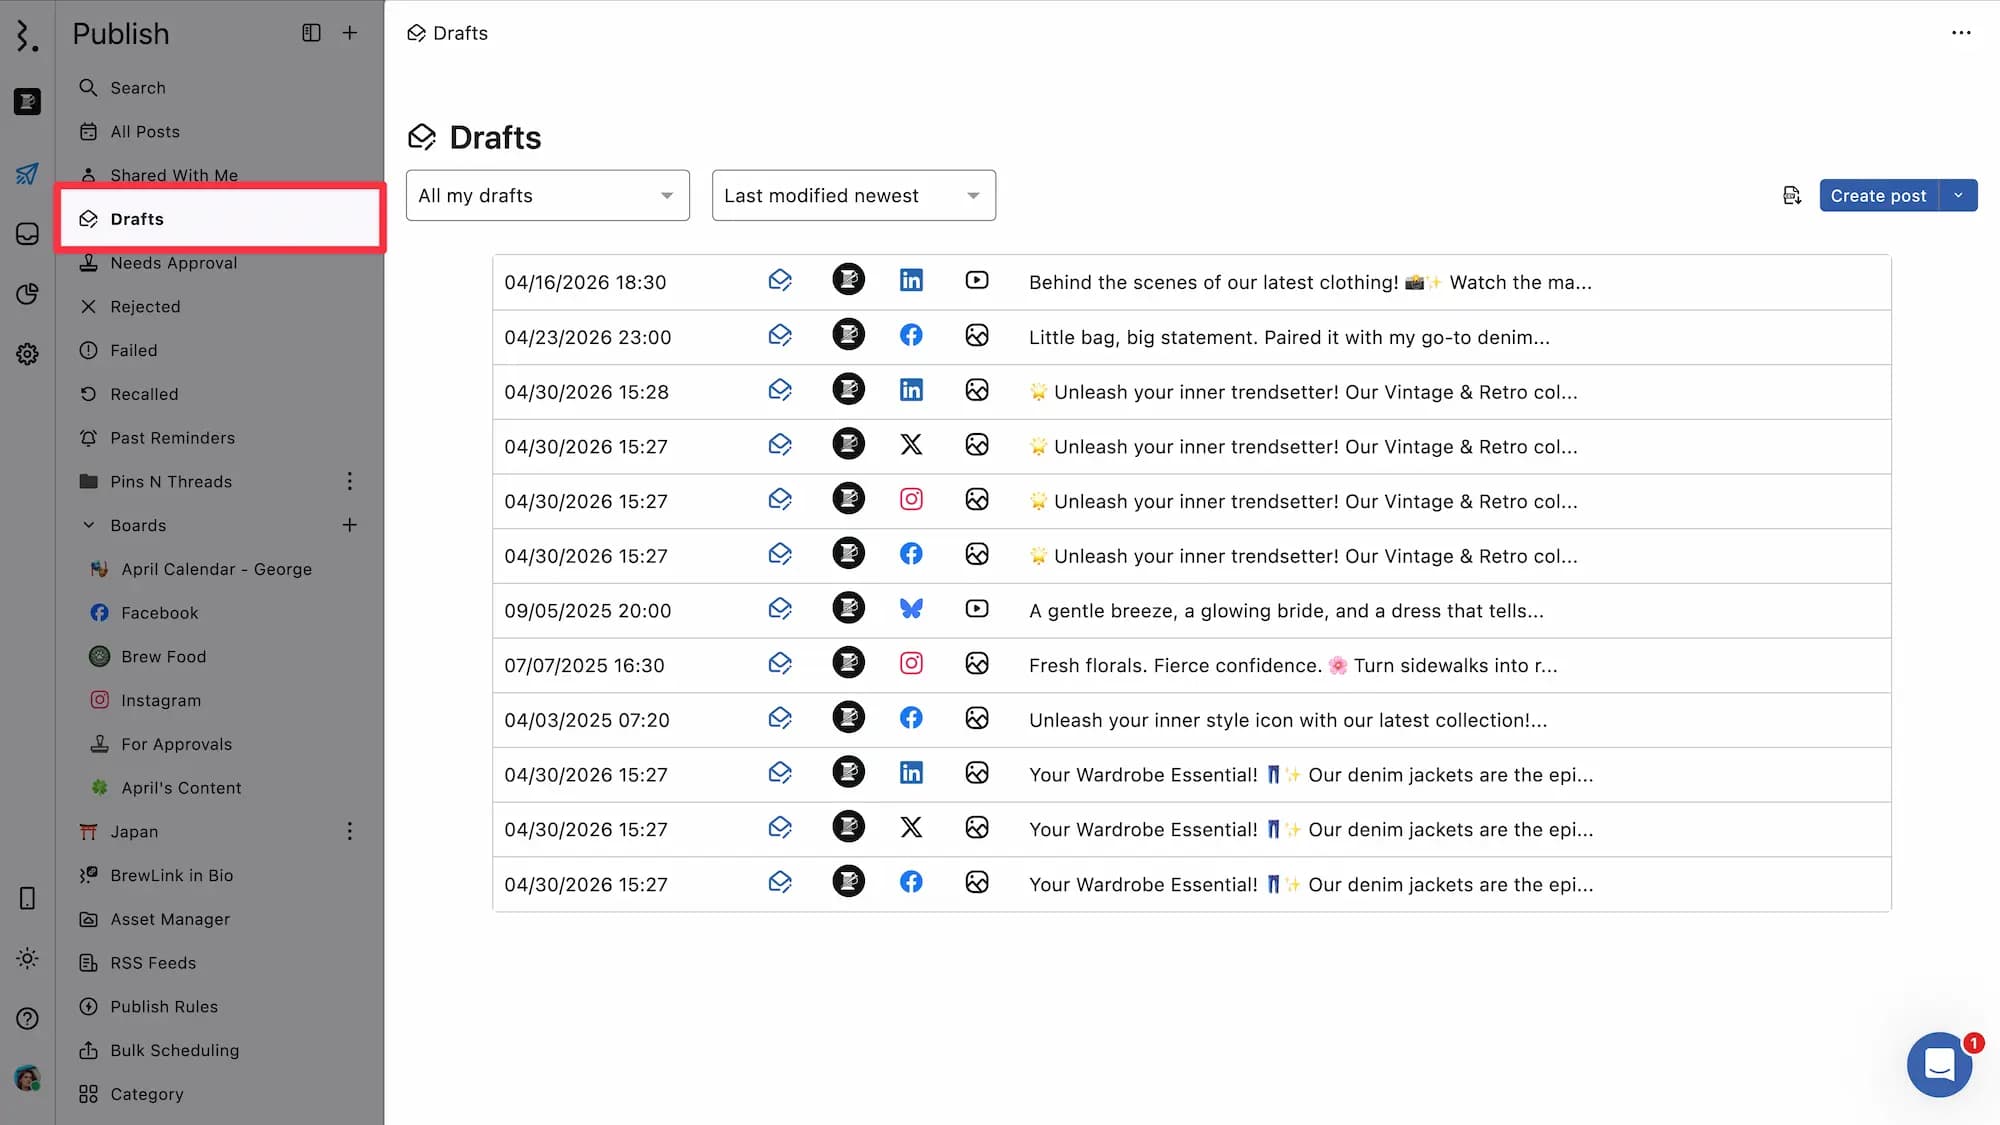
This section shows all drafted posts.
By default, the Drafts view displays your drafts sorted by Last modified newest, meaning the most recently edited drafts will appear at the top of the list. This helps you quickly access and continue working on your latest drafts.
You can customize the view using the available sorting and filtering options:
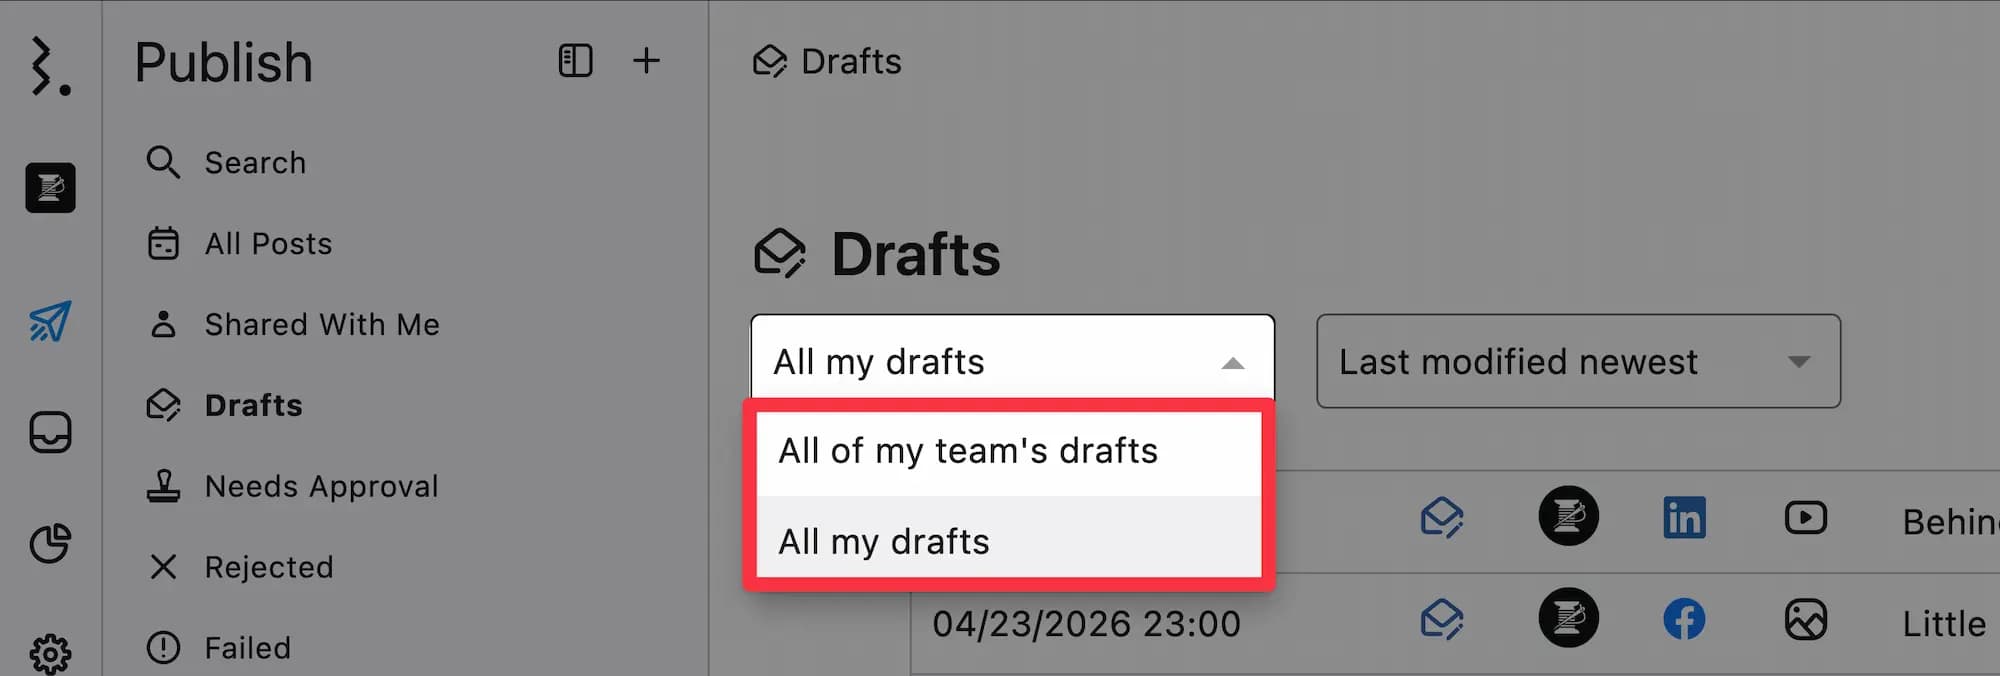
You can toggle visibility of posts across:
All my drafts: Displays only the drafts you’ve created.
All of my team’s drafts: Displays drafts created by anyone on your team and shared with you.
You can use the Sorting dropdown to organize drafts based on your preference:
Scheduled time soonest
Scheduled time furthest
Last modified oldest
Last modified newest

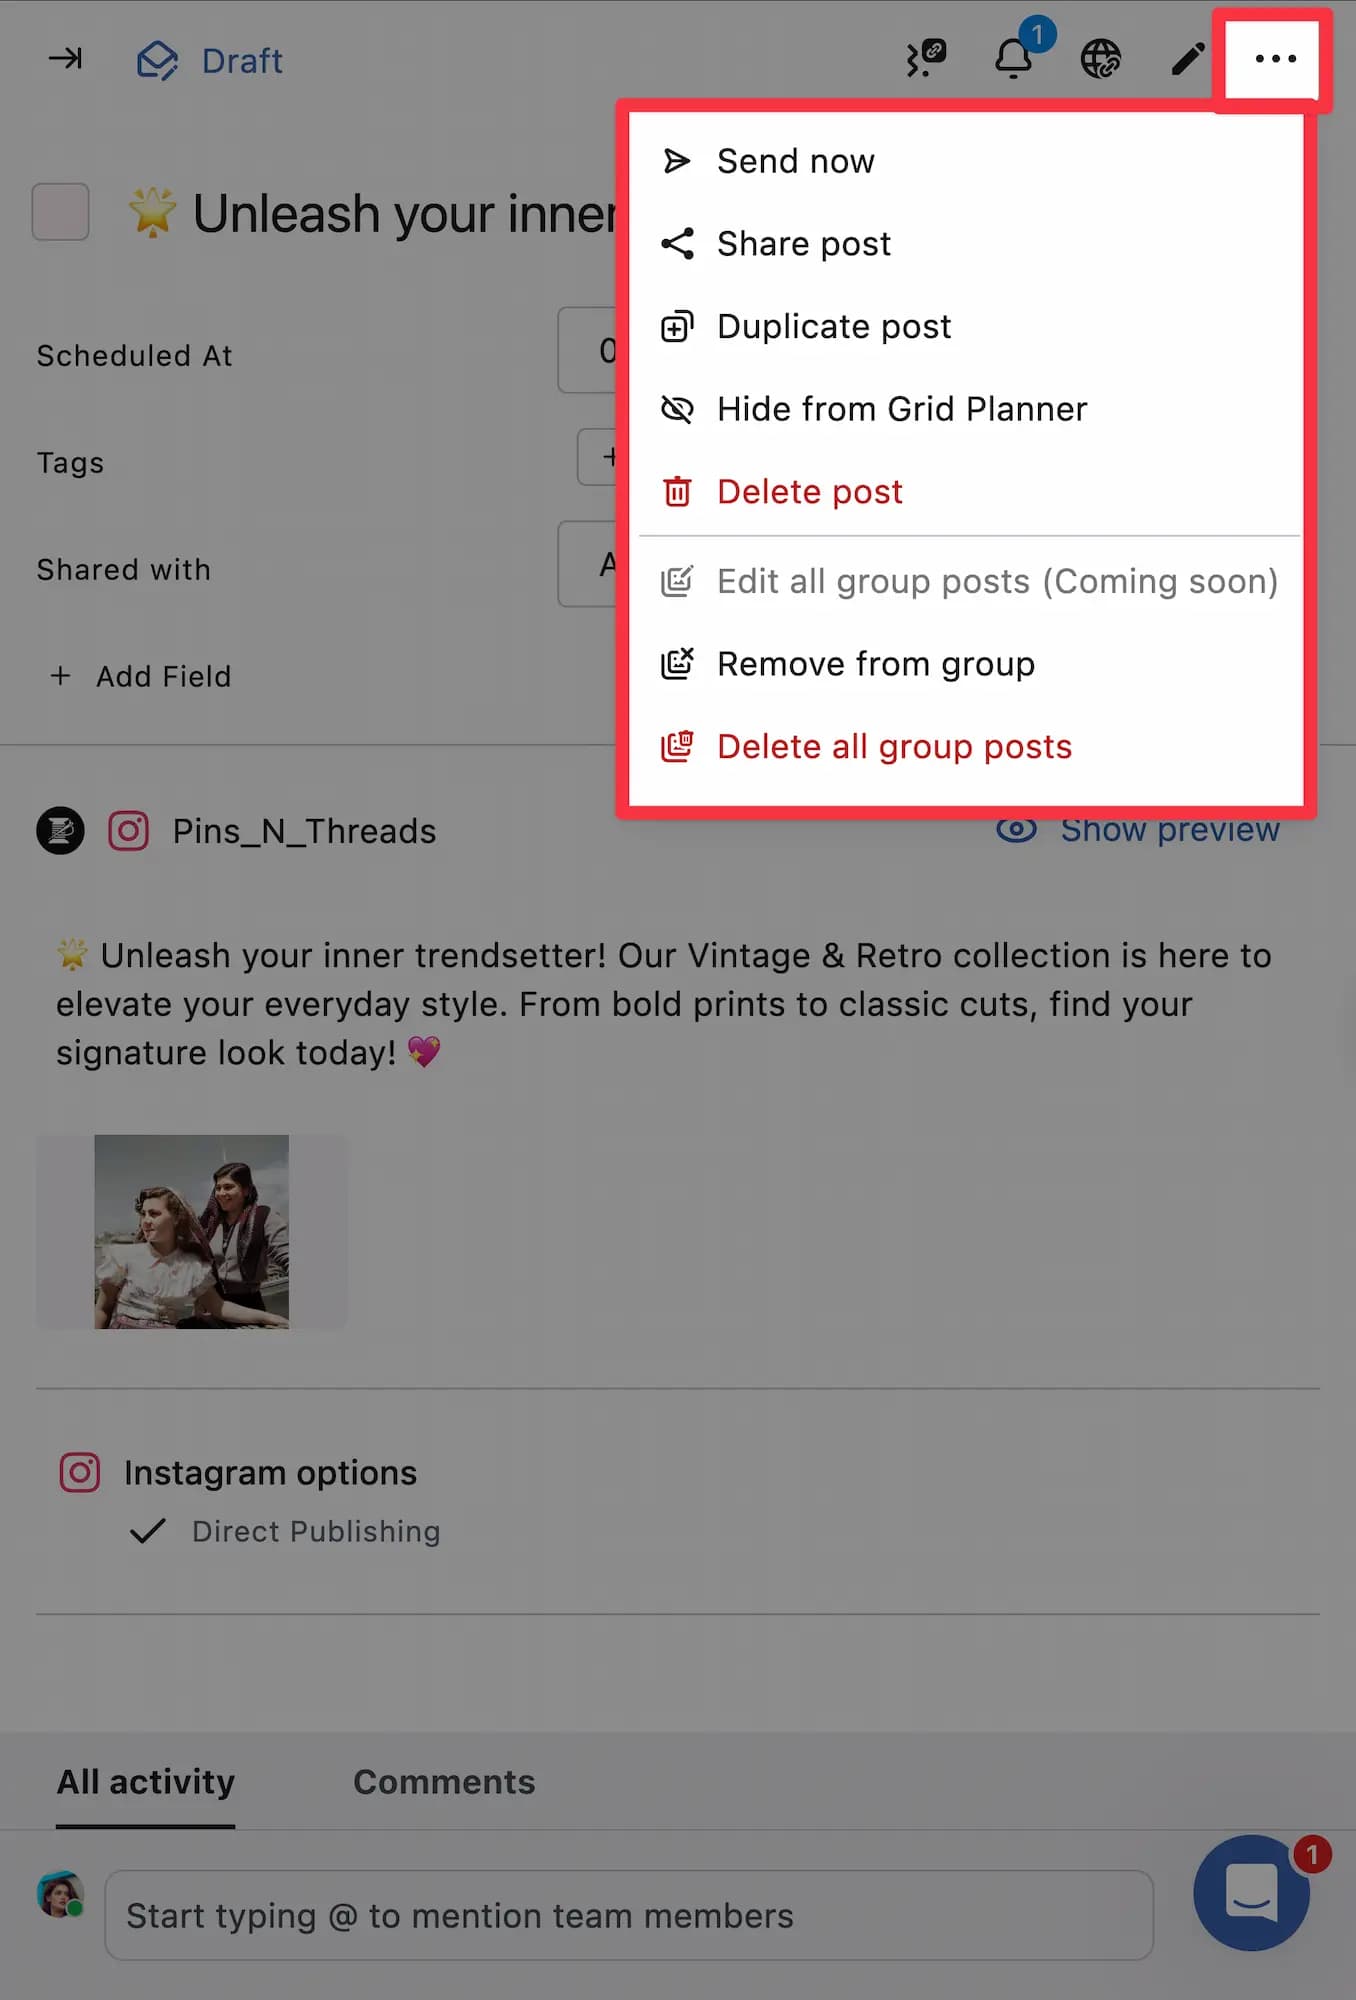
Click on any draft to open its detail view. From here, you can make quick edits to the drafts and even schedule/post them.
You can also see your Draft posts directly on the Content Calendar and open their detail view.
Tip:
Suppose you are creating similar posts for multiple profiles, and you also want to customize each one for its specific network. Select all the profiles from the Profile Picker in Compose and save the post as a draft. A separate draft will be created for each selected profile. You can then customize each post and schedule or post them.
Exporting Posts
If you wish to export draft posts, click (Export options) at the top right corner and select Export CSV.
Note: If you scheduled a draft and did not publish it on the same date, a timeout warning will be displayed in red. However, you can always edit the time by clicking Edit and reschedule it.
FAQs
How Do I Schedule a Drafted Post?

A post saved as a Draft will not publish or schedule automatically.
Even if you added a date and time while creating the post, it still needs to be moved to the Scheduled state before it can be published.
Open the draft from Publish > Drafts. At the top of the editor, click Remove as draft first. This switches the bottom button from Save as draft to Schedule. Then set your date and time and click Schedule.
If the Schedule button still doesn't appear, your publishing permission is set to Create Post (Needs Approval). Add an approver in the Approval section at the bottom of the editor and click Send for approval. A user with Full Publishing access must approve it before it can be scheduled.
Can I Share a Draft Post With My Team or an External Client?
Yes. Draft posts can be shared with both internal team members and external users.
For internal team members, ensure they have access to the profile where the post is being drafted. Once they have access, you can copy the drafted post link and share it with them through your internal messaging platform or email.
You can also add your team members as Collaborators on a Calendar Board and create a separate section for drafted posts so they can review them there.
For external users or clients, add them as recipients and send the draft post. They will receive an email with access to the post.
External users can also access shared calendar items from external.statusbrew.com and leave comments on drafted posts.
How Should I Share a Post With a Teammate to Complete the Caption or Cover Media?
If the post is not ready for approval yet, save it as a Draft first.
You can then share the drafted post with the teammate who needs to work on it.
They can open the draft and make the required changes, such as adding the caption, updating the cover media, or completing the post content.
Once the post is ready, you can move it forward by adding an approver or applying the required approval workflow.
Use approval only when the post is ready for review. For unfinished content, draft collaboration is the better first step.
Can I Create A Story Draft Without Media?
No. Story drafts need at least one photo or video before they can be saved.
If you try to save a story draft without media, you may see an error like:
“Param publishPosts doesn't contain a valid value”
This usually means the story post lacks a valid media item. It can happen when:
No media is added
The uploaded file format is not supported
The file size is too large
The media dimensions or aspect ratio are not supported for that network
If you only want to save an idea or reminder for a future story, create an event on the calendar instead. Events can be used as internal reminders with or without adding media.
Can I Edit a Draft Post for All Selected Profiles at Once?
Currently, if a draft is created with multiple profiles selected, you cannot edit it globally for all selected profiles in one go.
When you reopen the draft, Statusbrew lets you edit the post for each profile separately. This is because each network/profile can have its own caption, media, character limits, publishing rules, and platform-specific settings.
For now, you can open the draft and update each profile’s version individually.
If you want the same content across all profiles, update one profile first, then manually copy the changes to the other selected profiles.
We are working on global editing for multi-profile drafts, so you’ll be able to make changes across selected profiles more easily. This will be released soon.