Shared Links For Calendars
Let’s say you’re an agency managing multiple brands’ social media accounts, and your client needs to review and approve upcoming posts. Instead of adding them as a user in Statusbrew (which would require paying for an additional user seat), you can generate a Shared Link to the content calendar and share it with your client for review and approval.
Shared Links in Statusbrew allow you to securely share your publishing calendar — whether in List, Month, or Preview view — with anyone outside your organization.
Your client can view scheduled content, give feedback, and approve posts without needing login credentials or direct access to your Statusbrew account. This makes it easier and more cost-efficient to collaborate with external stakeholders without expanding your paid user base.
Shared Links For Calendars is available on Premium and above plans. See our pricing page for more details.
If you're a legacy customer who previously had access to shared links but they've stopped working or disappeared, this may be due to a plan change or account transition. Contact our support team with details about your account history, and we'll review your access and help restore the feature if applicable.
How Do I Create Shared Links For Calendars?
When you’re in the List, Month, and Preview View of the calendar, you can create a Shared Link to send to your client, stakeholders, and other team members. There is no limit to the number of active Shared Links you can share at one time.
To create a Shared Link:
Go to Publish.
Ensure you’re in a supported view.
Click Share Link.
Click Create new link. A new shared link will be created with message "External link created successfully. Link is copied to clipboard and ready to share." The list will appear under Shared link. By default, it is named Shared Calendar.
Hover on the right side of the link created and click (More options) to edit settings and configure access.
Select Edit. The Edit shared link window will open.
Change the Link title if you want to (up to 64 characters)
Add the Link description if you want to (up to 256 characters)
Select Calendars.
Date ranges will be copied from the calendar view when creating a shared link. You can change Date range options from below options:
Select from calendar: Click the icon and select the desired range from the date picker.
Select from range: This lets you pick from predefined ranges, such as:
Last 7 days
Last 30 days
Next 7 days
Next 30 days
Last week
Next week
Last month
Next month
Select from dynamic range: Use the dynamic range slider to set a relative time window based on the current day. You can define how many days before and after today the calendar should display.
For example:
Setting the default range (-10 to +30) will show 10 days posts in the past and 30 days ahead of today.
A full span (-90 to +90) will display posts from 90 days in the past up to 90 days ahead of today.
Select a Time zone. By default, the time zone follows your user preferences set in Your Account. But if you are working with clients in different time zones, you can select their time zone here.
By default, users can’t change the date range in the external view to access content for any time period. But if you don’t want to restrict users, you can deselect the checkbox beside Lock date range. Remember, users can still select a specific date or date range within the limits of the date range you’ve set.
Select Data sources. External users will not be able to change the data source.
Filters will also be copied from the calendar view when creating a shared link. You can add or remove Filters if needed.
Select Link privacy setting. By default, the link is publicly accessible.
Public (Anyone with the link can have access). No sign-in or invitation is required.
Invite Only (Only the invited people can have access to this link). If you choose the Invite Only option, even you won’t be able to access the dashboard until you add yourself.
Add Recipients If you've set the calendar link privacy to Invite Only, you’ll need to specify who should receive access. Adding recipients ensures that only selected individuals can view the calendar. To add recipients:
In the Email addresses field, enter one or more email addresses — separated by commas.
(Optional) Add a message in the Message box if you'd like to include additional context with the invitation email.
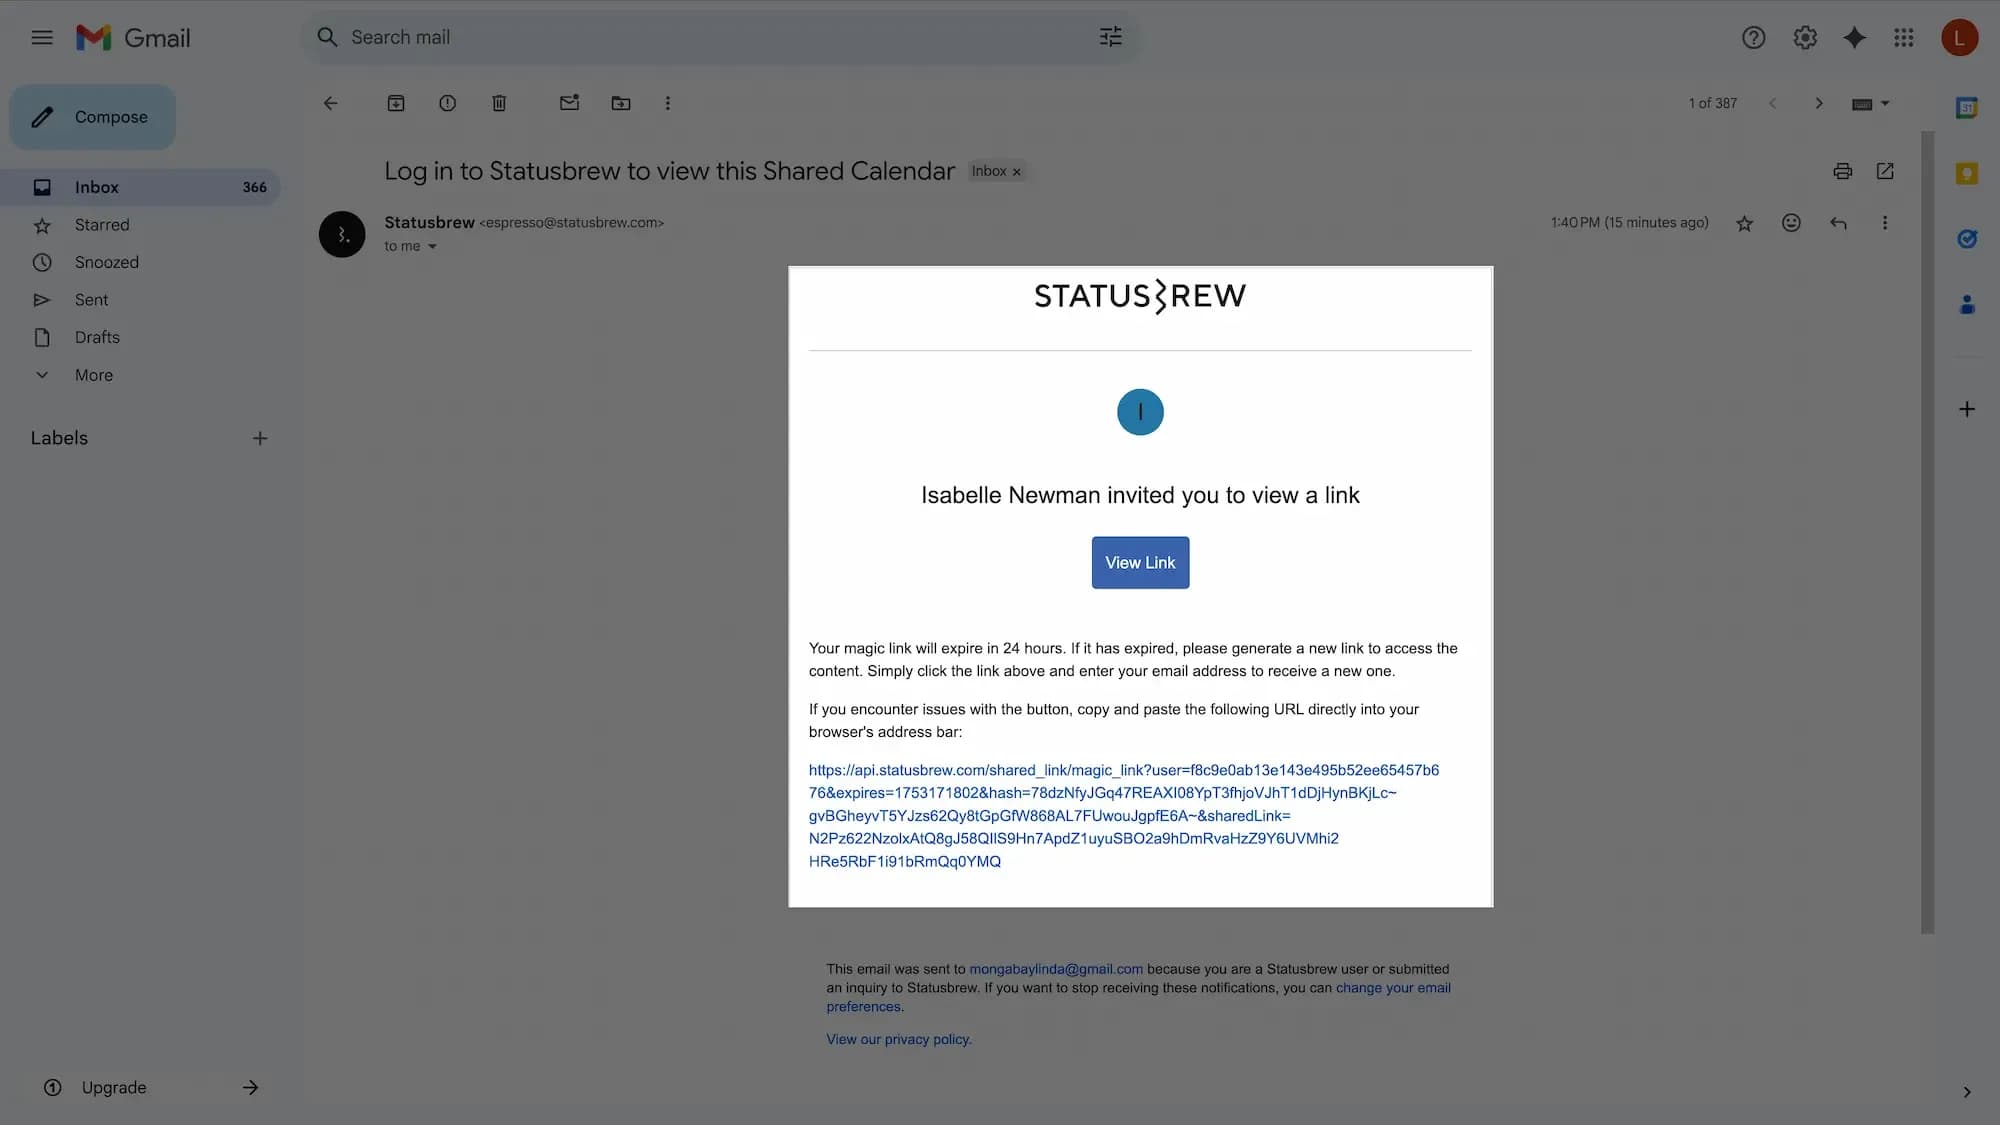
Click the Send invites button. An email invite (such as the one below) will be sent to the recipient(s): The recipient's name and email will appear above the input field under Recipients. Once the invites are sent, you can also choose to Resend the email invite (this helps in case the original email was missed or lost) or Revoke the access. Once revoked, the user will no longer be able to view the report from the link sent over email. This allows you to track who has been invited and manage access easily from the same view.
Set Link expiry You can control how long your calendar link remains accessible by setting an optional expiry date. This is especially useful when you're sharing time-sensitive content schedules that shouldn’t remain open indefinitely.
Toggle the switch to enable expiry settings. You’ll now see an input field labeled Link expires on.
Click the icon inside the input box. Select the desired expiry date from the date picker.
If you don’t want the link to expire, simply leave the toggle off.
However, we recommend setting an expiry date for added control and to avoid unintended access later.
Note: If you enable the toggle but do not select a date, the system will prompt you with an error:
“Please select an expiration date for the link or choose 'No Expiration'.”
Make sure to either set a date or turn the toggle off to proceed.
Once saved, the expiry is applied immediately. If needed, you can return to this section later to modify or remove the date.
Note: You cannot select an expiry date in the past.
After the link expires, the calendar won't be accessible through the shared link but will remain accessible to you or your team members who have the access to it.
How To Manage Shared Links For Calendars?
Go to Publish.
Ensure you’re in a supported view.
Click
Share Link.
You will be able to view a list of all active Shared Links created by you.
Hover on the right side of the link created and click (More options) to Edit, or Delete a shared calendar link. You can also notify users (internal & external) about the changes you made to the calendar via the “Notify” option.
Hover on the right side of the link created and click (Copy link) to copy the calendar link and share it with external users.
Click Manage links to open the Shared Links window.
Alternatively, you can access this window by going to Settings > Shared Links.
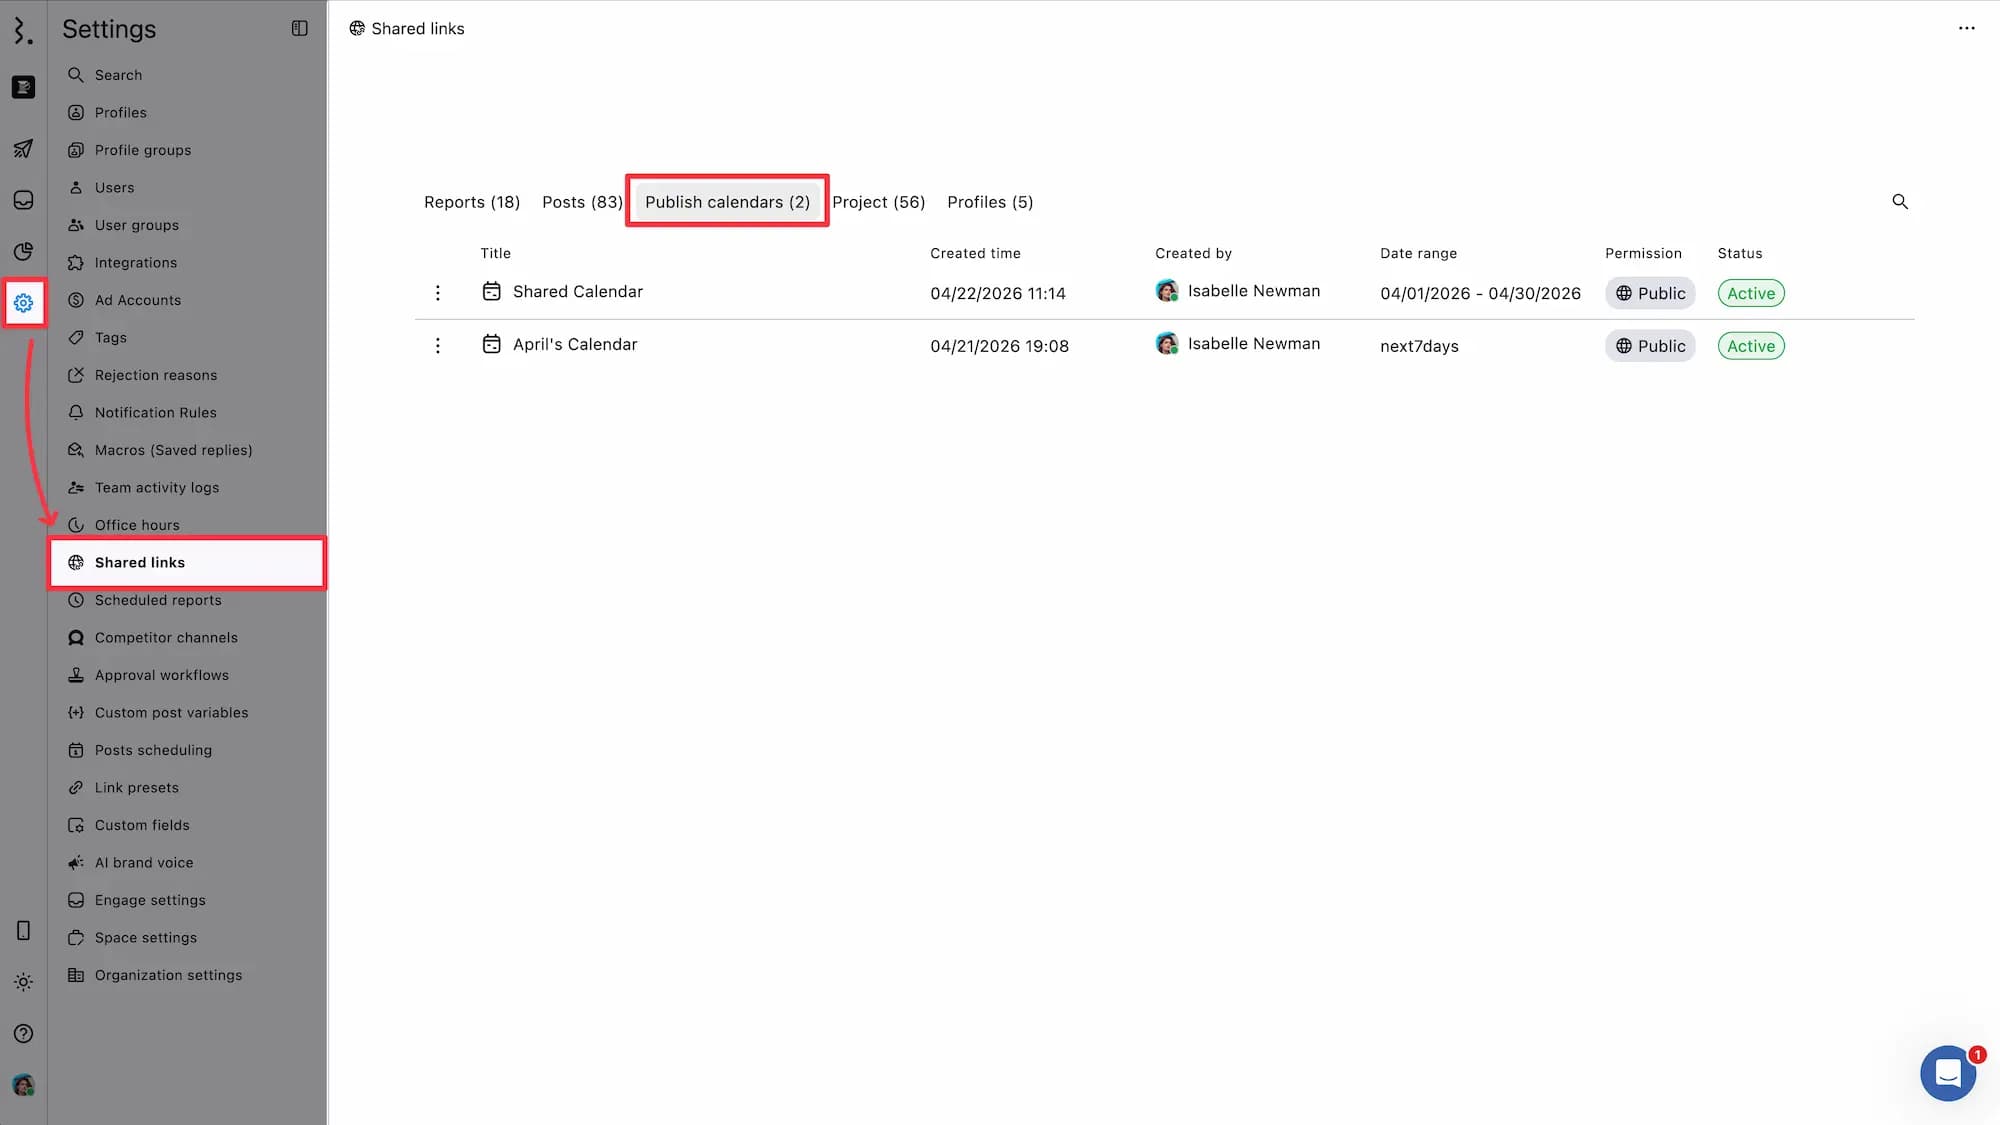
Here you will be able to see a list of all active and expired Shared Links created by you and your team.
Each row displays:
Type – Indicates whether the link is for a Calendar or a Report.
Title – The title of the shared link.
Date range – If a range was set, shows the time period visible to external viewers for each link.
Last updated at – Indicates when the link was last modified and by whom.
Permission – Displays the access level Public or Invite only.
Status – Shows whether the link is currently Active or Expired, along with the expiration date if applicable.
Use the (More options) on the left side of each row to Delete any created Shared Link. You can also copy the link using the (Copy link) icon on the right side of each row.
This view helps you monitor which links are still valid, track who created or updated them, and manage access as needed — all in one place.
Points To Remember
Use a Unique Title & Description: Assign a clear, descriptive title and description for each shared link to avoid confusion when managing multiple calendars.
Live Data Updates: Any changes made to the original calendar will reflect in the shared link version upon refreshing the page, ensuring everyone sees the most up-to-date information.
Set an Expiration Date: Setting an expiry date improves security and prevents unintended access. After expiration, the link becomes inaccessible, but the calendar remains available to authorized users.
Configuration Updates Require Refresh: Any changes made in the Edit Shared Link page require external users to refresh the page for updates to take effect.
Simple & Secure Sharing: Share calendar views effortlessly with team members, clients, or stakeholders—no login or Statusbrew account required.
Collaboration: External users can click on any post within the shared calendar to open the Post Detail view, where they can view the post, it’s insights (for published posts) leave comments for feedback directly on specific posts.
FAQs
Why Can’t I Access Shared Links?
Shared calendar links and shared report links are available on Premium plans and above.
If you're trying to access or create shared links but don't see the option, or see an upgrade dialog box, check your current plan. You'll need to upgrade to Premium or higher to use this feature.
If you're a legacy customer who previously had access to shared links but they've stopped working or disappeared, this may be due to a plan change or account transition. Contact our support team with details about your account history, and we'll review your access and help restore the feature if applicable.
If you need further help with plan upgrades or legacy account access, ask to speak with our sales team by saying "human please" in the live chat.
What Is the Best Way to Share a Calendar With a Client?
The best way is to add the client as an external user to your approval workflow, and then ensure that the same workflow is selected when scheduling the posts. This allows the client to review and approve multiple posts in a single step via a single link.
The client can then go to external.statusbrew.com, verify their email address, and access all pending posts awaiting their approval, along with any calendars and reports shared with them via a single link. This is the easiest option when the client needs to regularly review, comment on, or approve content.
Another way is to create a Shared Link for the calendar and add the client or a stakeholder as a recipient. This lets them view multiple posts and leave comments. You can create it from Publish → Calendar (board) → Shared Link → Create new link and customize the title, date range, time zone, and recipients.
Learn more about how approval workflow works in Statusbrew.

Note: If you only copied the calendar shared link and sent it to the client without adding them as a recipient, they can only view the calendar. They cannot approve, reject, or comment on posts.
Why Can’t I See Grid or Post Performance in a Shared Calendar Link?
If you open an external shared link created from All Posts, you will only see limited views, such as Preview, List, and Month.
The Grid and Post performance views are not available on external shared links created from All Posts.
If you are a Statusbrew user with login access, open Statusbrew directly and go to Publish > All Posts to use views like Grid or Post performance, based on your permissions.
If you want to share a Grid-style view with an external user or client, create the shared link from a Calendar Board instead.
In a Calendar Board, you can create a section/tab and choose the View type for that section.
To create a Grid-style section:
Go to Publish > Calendar Boards.
Create a new board or open an existing one.
Create or edit a section.
Select Grid as the View type.
Save the section and share the board link.
Note: Grid view is available only for Instagram profiles.