Create A Space
Now that you're familiar with the concept of spaces, let's see how to create and manage the spaces.
If you’re not sure what a space is in Statusbrew, refer to our article on What is a Space for a detailed explanation. For detailed guidance on when to set one up a new one, see When Should I Create A New Space.
Creating A Space
Spaces or workspaces can be created by the primary owner or owners by following these steps -
Open the Space switcher pane by clicking your space logo from the app sidebar.
Click (Create space) icon in the top right corner
Give your space a Name, and upload a logo if you want (Recommended picture size: 360x360px)
Select the organization in which you are creating this space. (Applicable only if you have owner access to multiple organizations)
Click Create
Switching Spaces
Open the Space switcher pane by clicking your space logo from the app sidebar
Select the desired Space from the list to switch

Mark Space as Favorite
For quick access, you can mark your frequently used space as a favorite. To do so:
Open the Space switcher pane.
Hover over the desired space in the list, and click (Add as favorite) icon in front of it.
Now, this space will appear in the Favorite spaces section at the top of the Space switcher pane.
To unmark a space as Favorite, click (Remove from favourites)
Reordering Spaces
You can customize the order of your Spaces in the Side Peek navigation by simply dragging and dropping them. This makes it easier to prioritize the Spaces you access most often.
Spaces marked as Favorites cannot be dragged, and their order is determined by the organization structure.
Only non-favorite Spaces can be reordered. You can drag them into the sequence that works best for you.
The order you set is saved per user and updates instantly, without requiring a page reload.
You can also reorder Spaces on the Space Switcher screen.
Space Settings
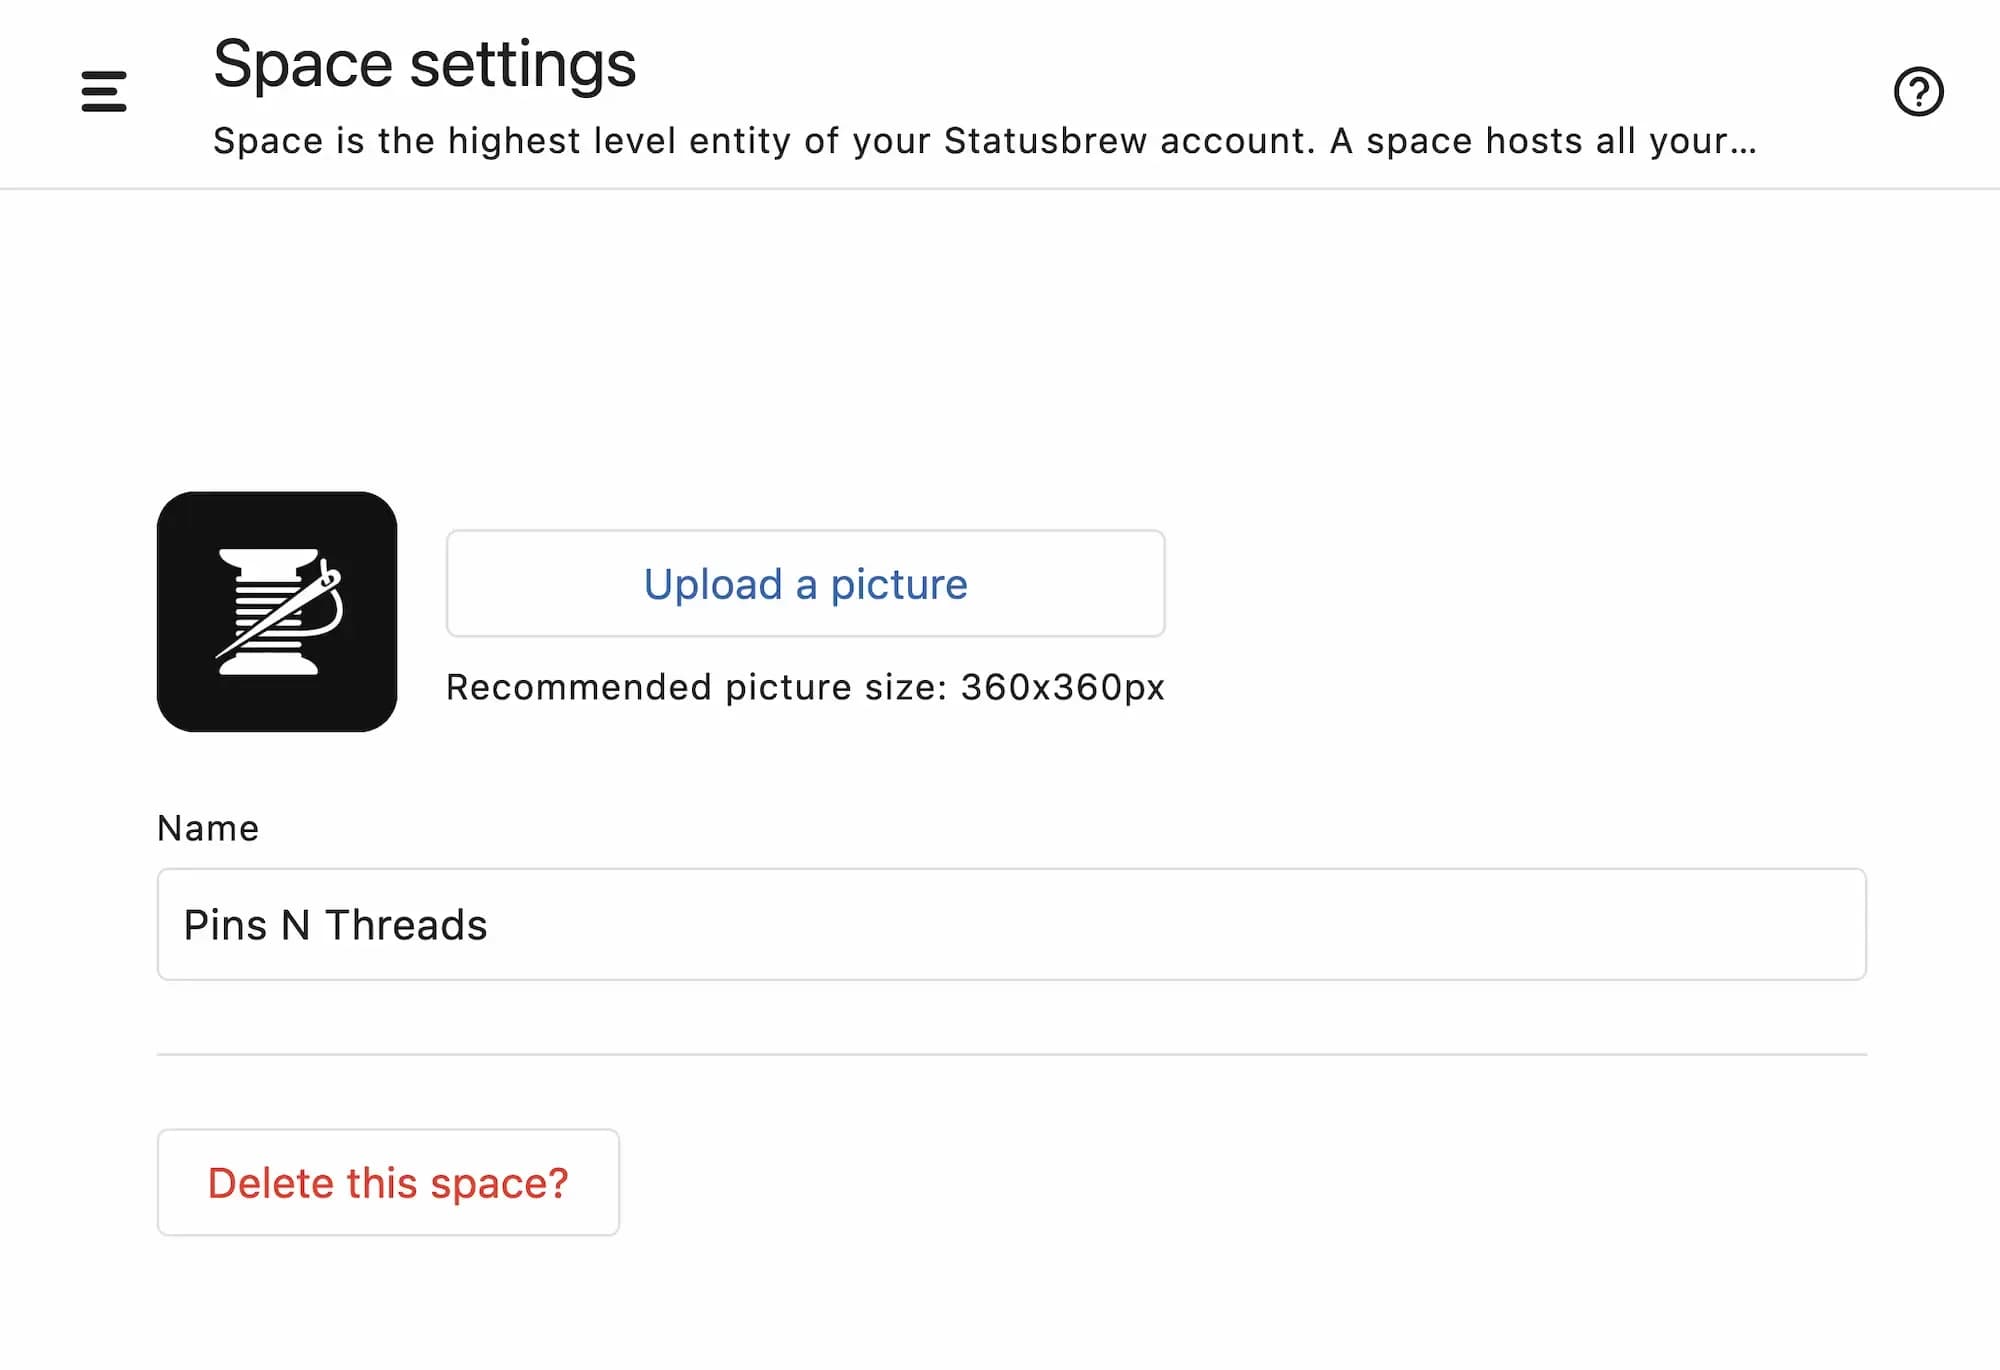
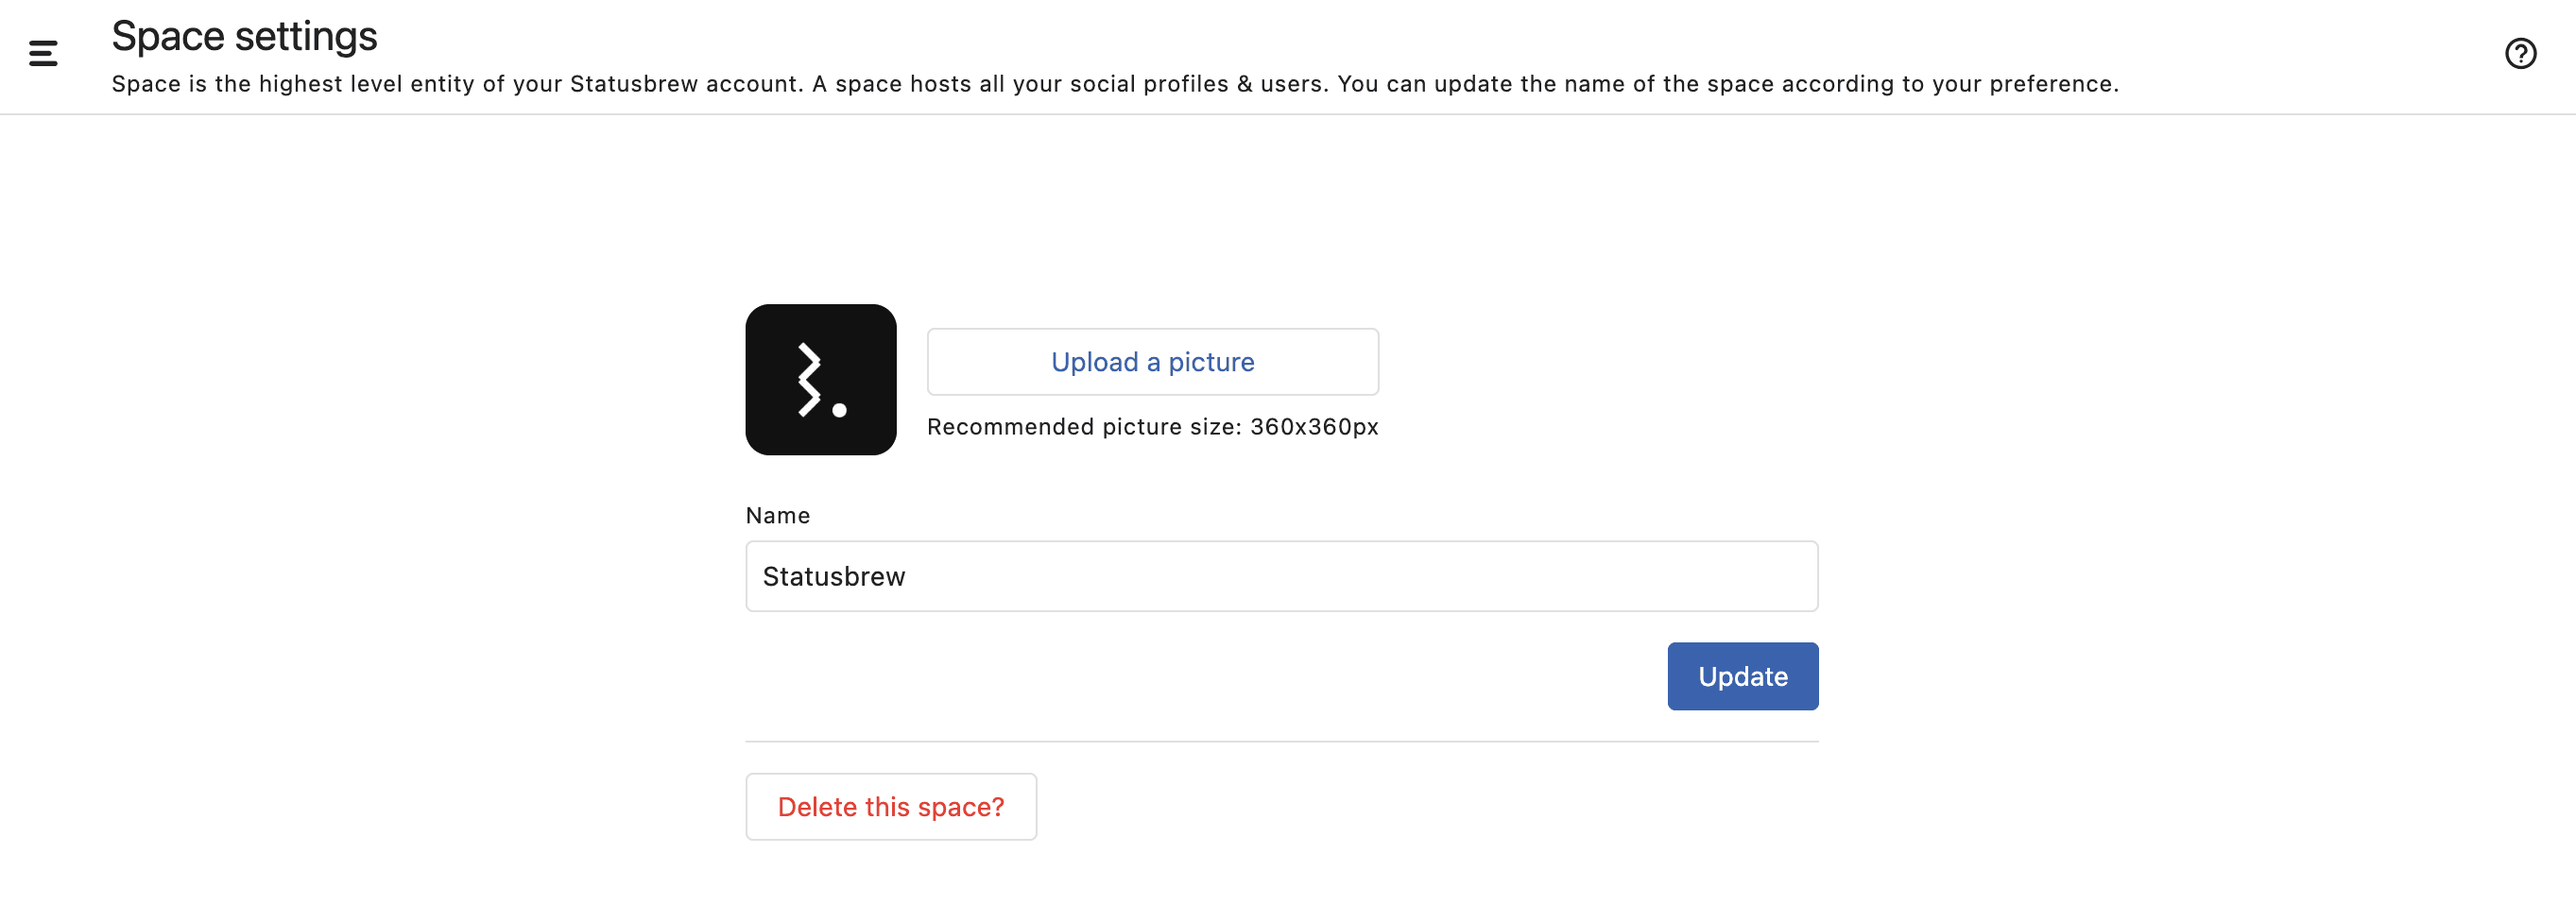
From Space settings, you can update the name and the logo of a space. Only owners can access space settings. To do so -
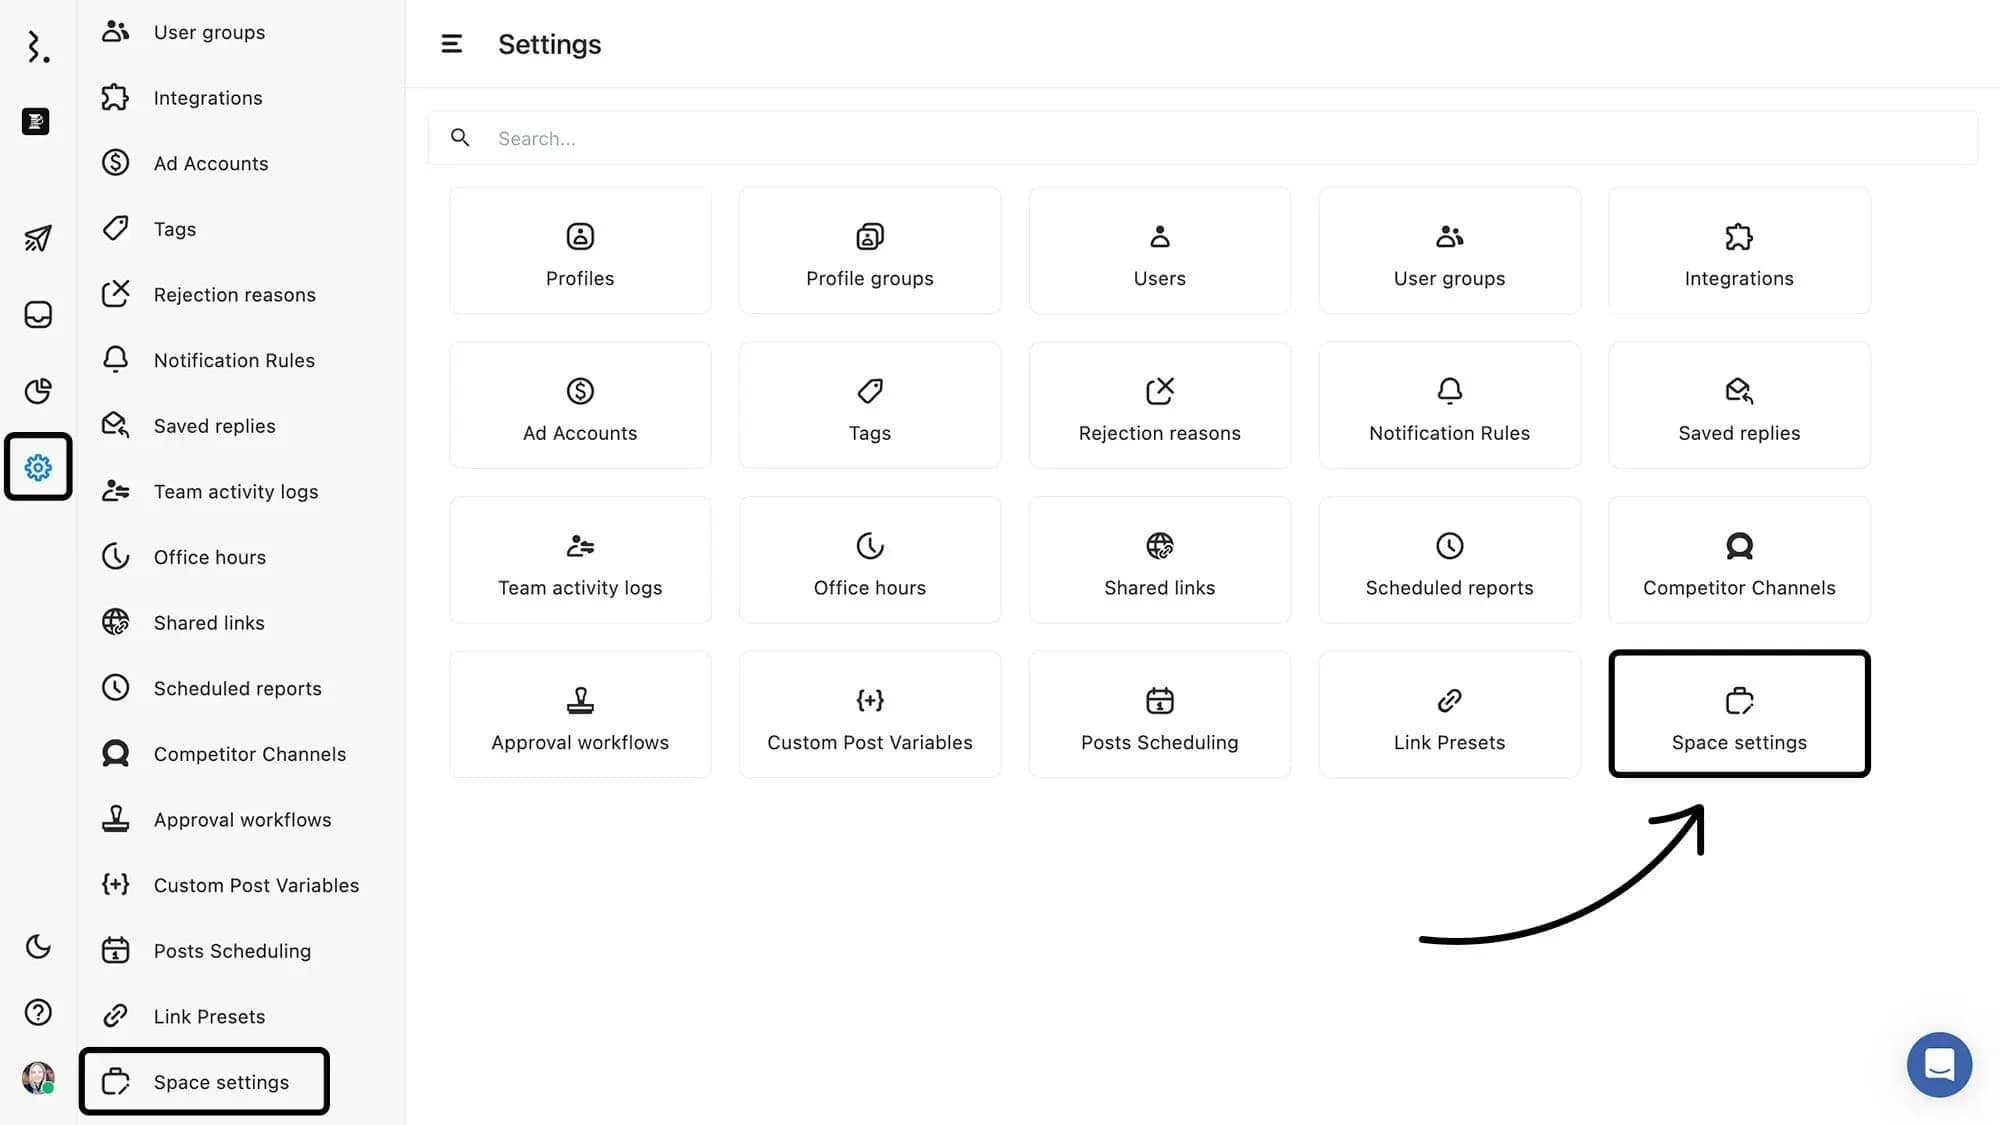
Go to Settings and click on Space settings
You can change the space logo and/or name
Click on Update to save the changes
Adding Users To Space
You can grant access to users for spaces either while inviting them or later on from Settings.
Users and user groups - both can be added to specific spaces and marked as admins. You can also grant owner access to users, which will provide them access to all spaces. In the case of the user groups, if you mark them as admin - all the users that are a part of that user group will have admin access for that particular space.
Add Users To Spaces While Inviting Them -
Go to Settings and click on Users
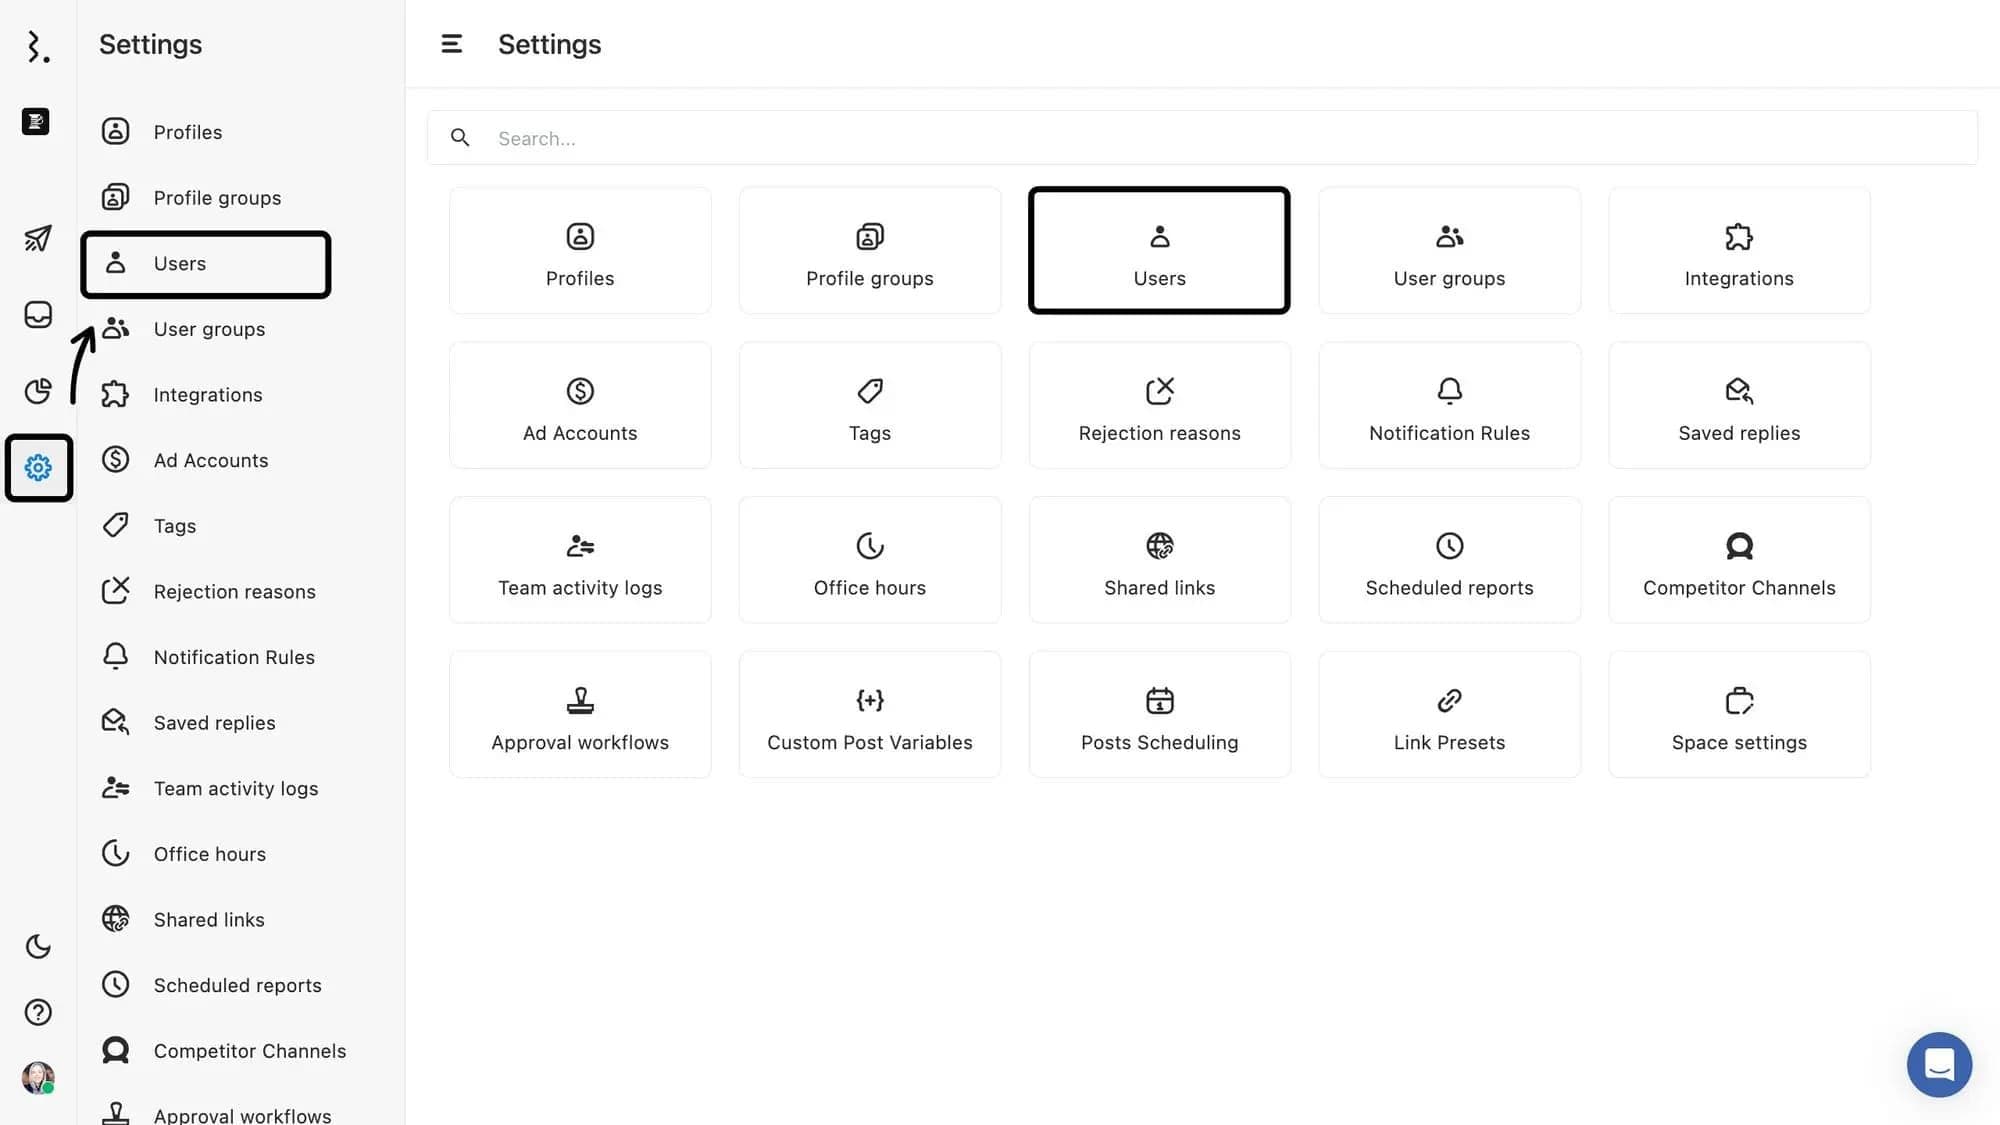
Click on the Add users button in the top right corner
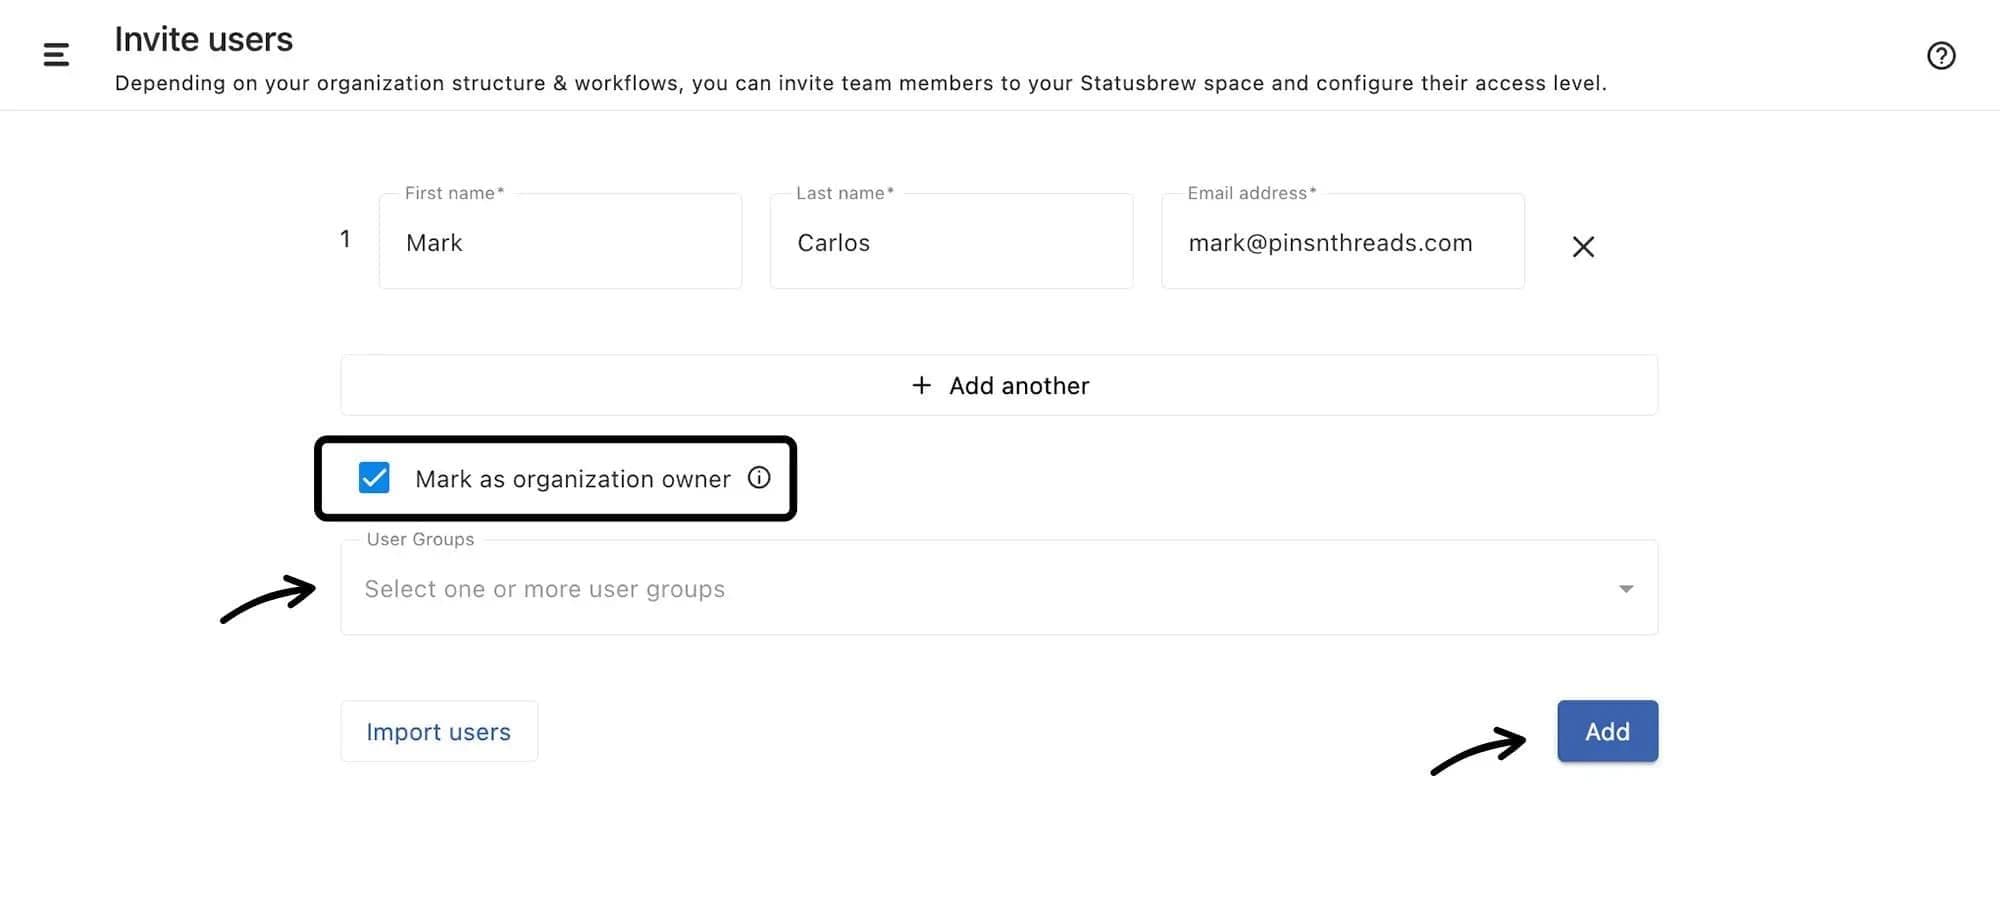
Fill in the required user details
Now, if you check the option Mark as organization owner, they will have access to all the spaces in the organization by default. There can be multiple owners of an organization.
You can add the user to a specific space by clicking the Add to space button and selecting the space. You can also choose to mark the user as an admin for the selected space.
Click Add to invite the user. You can add multiple users at a time.
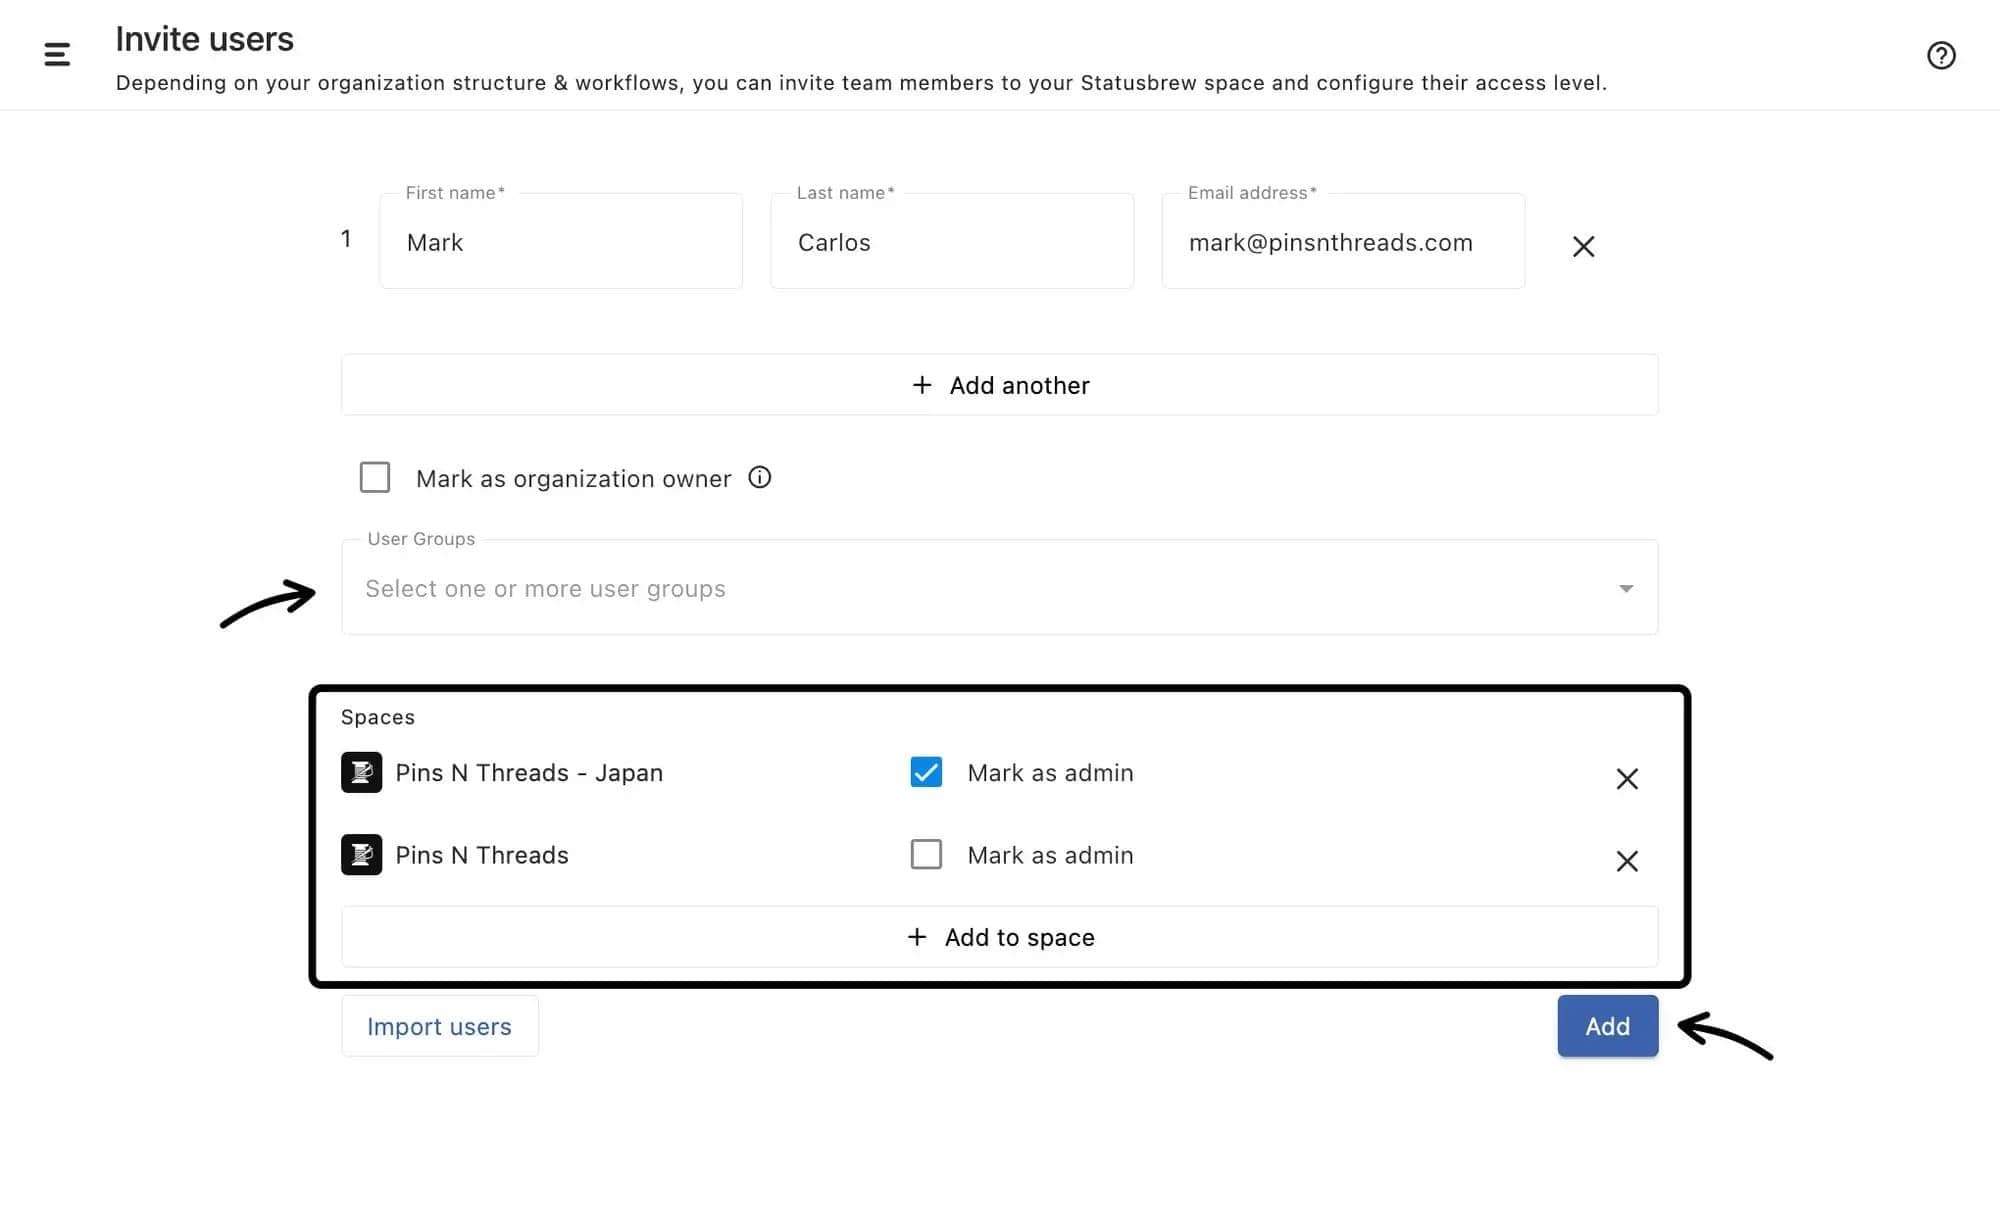
If you choose to mark user(s) as organization owner(s), you won’t be able to add them to other spaces.
Learn more about Invite Users To Statusbrew.
To update access for users or user groups
Go to Settings > Users
Click (More) beside the user/user group you want to edit and select Edit from the drop-down menu.
You can check the option Mark as organization owner to make the user/user group the owner of the organization. To remove this role, uncheck the option.
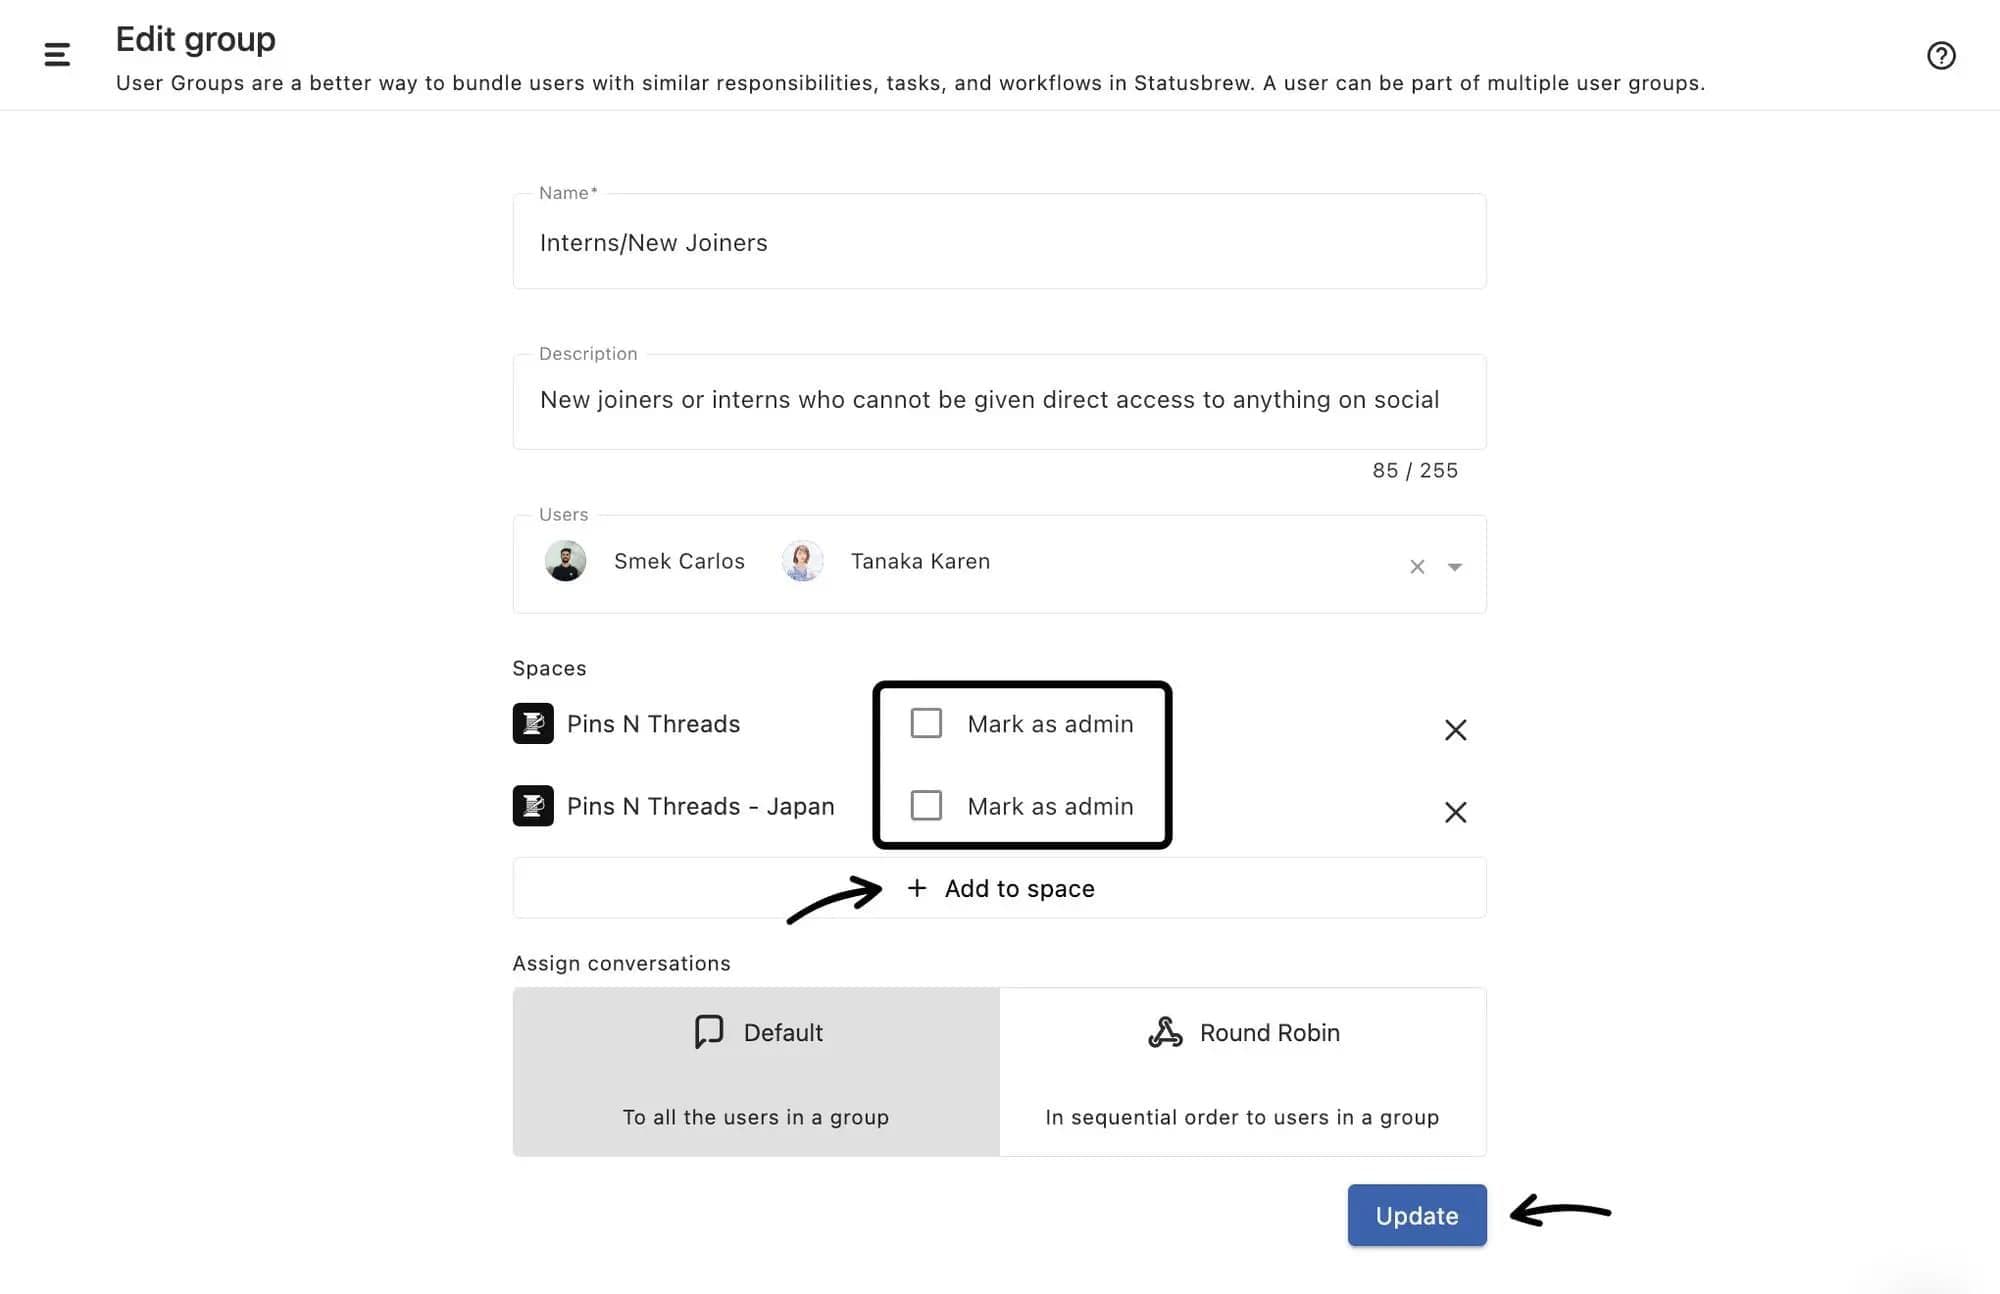
Click on the Add to space button to add them to another space
You can also choose to Mark as admin for selected spaces. To remove admin rights, uncheck the option.
To remove user/user group from a space, click (Remove from space) besides the space.
Click on Save/Update to apply the changes.
Deleting A Space
Refer to our article on Deleting a Space to learn how to remove a Space from your Statusbrew organization safely and what to consider before you do so.
Important: When you delete a space, all data associated with the space, like tags, macros, rules, etc, would be deleted. This action cannot be undone.