Creating Publish Rules Using AI
Instead of building a publish rule step by step, you can describe what you want in plain language and let AI generate the rule configuration for you. This is the fastest way to set up approval workflows, auto-tagging, rejection rules, and notification alerts in Statusbrew Publish.
The AI rule builder is in Beta. It's a great starting point, but it can make mistakes. Always review the trigger type, filters, data sources, and actions it is configured before saving. Every field is editable after generation.
Who Can Do This?
The AI rule builder is available on Premium and above plans. Primary Owners, Owners, and Admins can create and manage Publish Rules.
How Does It Work?
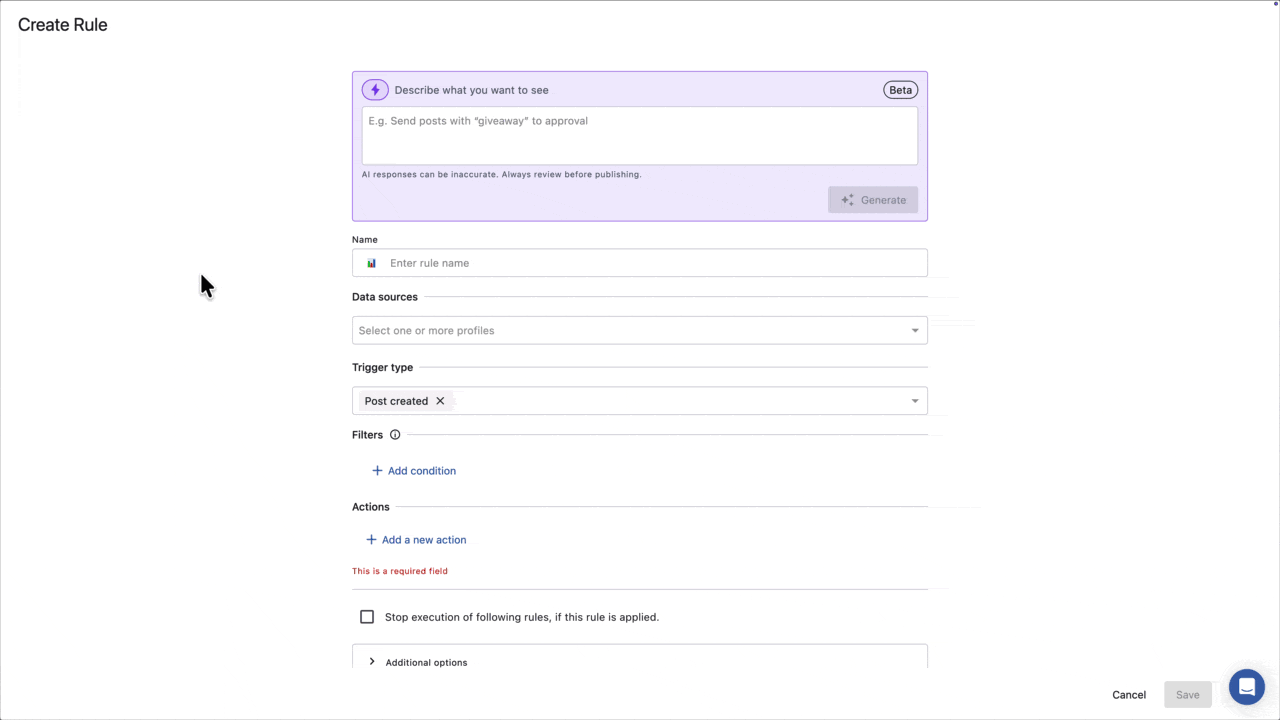
When you open the Publish Rule builder, you'll see a Describe what you want to see field at the top of the form. Type a plain-language description of the rule you want and click Generate.
The AI reads your description and automatically configures:
Rule name
Trigger type
Filters (message content, tag, actor, post type, state, and more)
Actions (reject, send for approval, add/remove tags, add watchers, send notifications)
Data sources (when you mention a specific network name)
Once generated, a confirmation banner appears: "We've configured this rule based on your request." All fields remain fully editable. Review everything before clicking Submit.
Available Trigger Types
Publish Rules support the following trigger types:
Post created
Post updated
Post deleted
Post approved
Post step approved
Post rejected
Post recalled
Post published
Post failed
Reject the post and Send post for approval actions only work with Post created and Post updated triggers. They will not work with Post deleted, Post approved, Post step approved, Post rejected, Post recalled, Post published, and Post failed triggers.
How To Write A Good Description?
You do not need to use technical terms or exact field names. Write the way you would explain it to a teammate.
Three things that make a description work well:
The trigger: What post-event should fire the rule? A post is being created, updated, rejected, published, etc.
The filter or condition: What makes this post different? A keyword in the caption, a specific tag, who created it, the post type, etc.
The action: What should happen? Reject it, send for approval, add a tag, notify someone, send a Slack alert, etc.
The more specific you are, the better the result. A vague description like "do something when a post is created" will still produce a rule, but a specific one like "send posts with 'giveaway' in the caption for approval when created on Instagram accounts" will produce exactly what you need.
Examples
Approval workflows
When a post is created by
<user name>or<user group>on<network>accounts, send for approval to<select reviewer>When a post is tagged with
<tag>is created on Facebook accounts, send for approval via<select approval workflow>and send a Slack alert to<slack channel>in<slack team name>
Rejection rules

When a post containing
<keyword>is created or updated on LinkedIn accounts, reject the post with<rejection reason>and send an email to<user name>When a post with
<keyword>in the caption is created on Instagram accounts, reject the post with<rejection reason>and send a Microsoft Teams alert to<microsoft team name>
Tagging
When a post containing
<keyword>is created on Facebook accounts, add<tag>tag and send a Slack alert to<slack channel>in<slack team name>When a post is rejected on Twitter accounts, remove
<tag>tag and send an email to<user name>
Adding watchers

When a post is created by
<user name>on LinkedIn accounts, add<user name>as a watcher and send a Microsoft Teams alert to<microsoft team name>When a post is updated on Instagram accounts, add
<user name>as a watcher and send an email to<user name>
Before You Save
Once the AI generates your rule, we recommend reviewing and completing all fields before clicking Submit. In particular, cross-check the following:
Data sources: Verify that the correct profiles are selected. If you did not mention a specific network in your description, select the profiles manually.
Trigger type: Confirm the trigger matches what you intended.
Filters: Review any generated filters and confirm they match your conditions.
Slack Alerts: Click the action to select the Slack team and channel.
Microsoft Teams Alerts: Click the action to select the connector.
Send notification: Select the recipient user or user group.
Send email: Select the recipient user or user group.
Send email to external users: Add the external email address.
Send post for approval: Select the reviewer and approval workflow.
Reject the post: Select the rejection reason.
Add/Remove tags: Confirm the correct tag is selected.
Additional options: If you want the rule to run only during specific hours or days, configure this manually under
Additional options
.
FAQs
Can I regenerate a rule with a different description?
Yes. Clear the description field, type a new prompt, and click Generate again. The form will be updated with the new configuration.
Why is my data source blank after generating?
The AI only selects data sources when you explicitly mention a network name in your description. Add the network name to your prompt (e.g., "on Facebook accounts") and regenerate.
Can I use multiple filters in my description?
Yes. Describe all the conditions you want, and the AI will attempt to generate the corresponding filters. Always review the generated filters before saving to confirm they match your intent.
Can I edit the rule after the AI generates it?
Yes. Every field: name, trigger type, filters, data sources, actions, and scheduling is fully editable after generation. The AI output is a starting point, not a final configuration.
Is the AI rule builder available on all plans?
The AI rule builder for Publish Rules is available on Premium and above plans.